
$500 buys a full outdoor kitchen when a salvage yard and a weekend of work replace a big-box store: that budget covers a prep counter, a grill station, a sink and storage, where the store version buys only a single grill cart. These cheap outdoor kitchen ideas are built around that gap, using pallets, cinder blocks and secondhand finds to put a working kitchen outside for a fraction of retail prices.
Inside are 20 builds and buys with exact dollar figures, measurements and material grades, plus honest notes on what cheap materials cannot do. Every idea lists what to skip, what to buy used and what to build yourself, so the budget goes to the parts that matter most. Costs stay visible throughout, because a budget plan only works when every dollar is accounted for. A tape measure and a Saturday afternoon are enough to start the first build.
Pallet Prep Counter
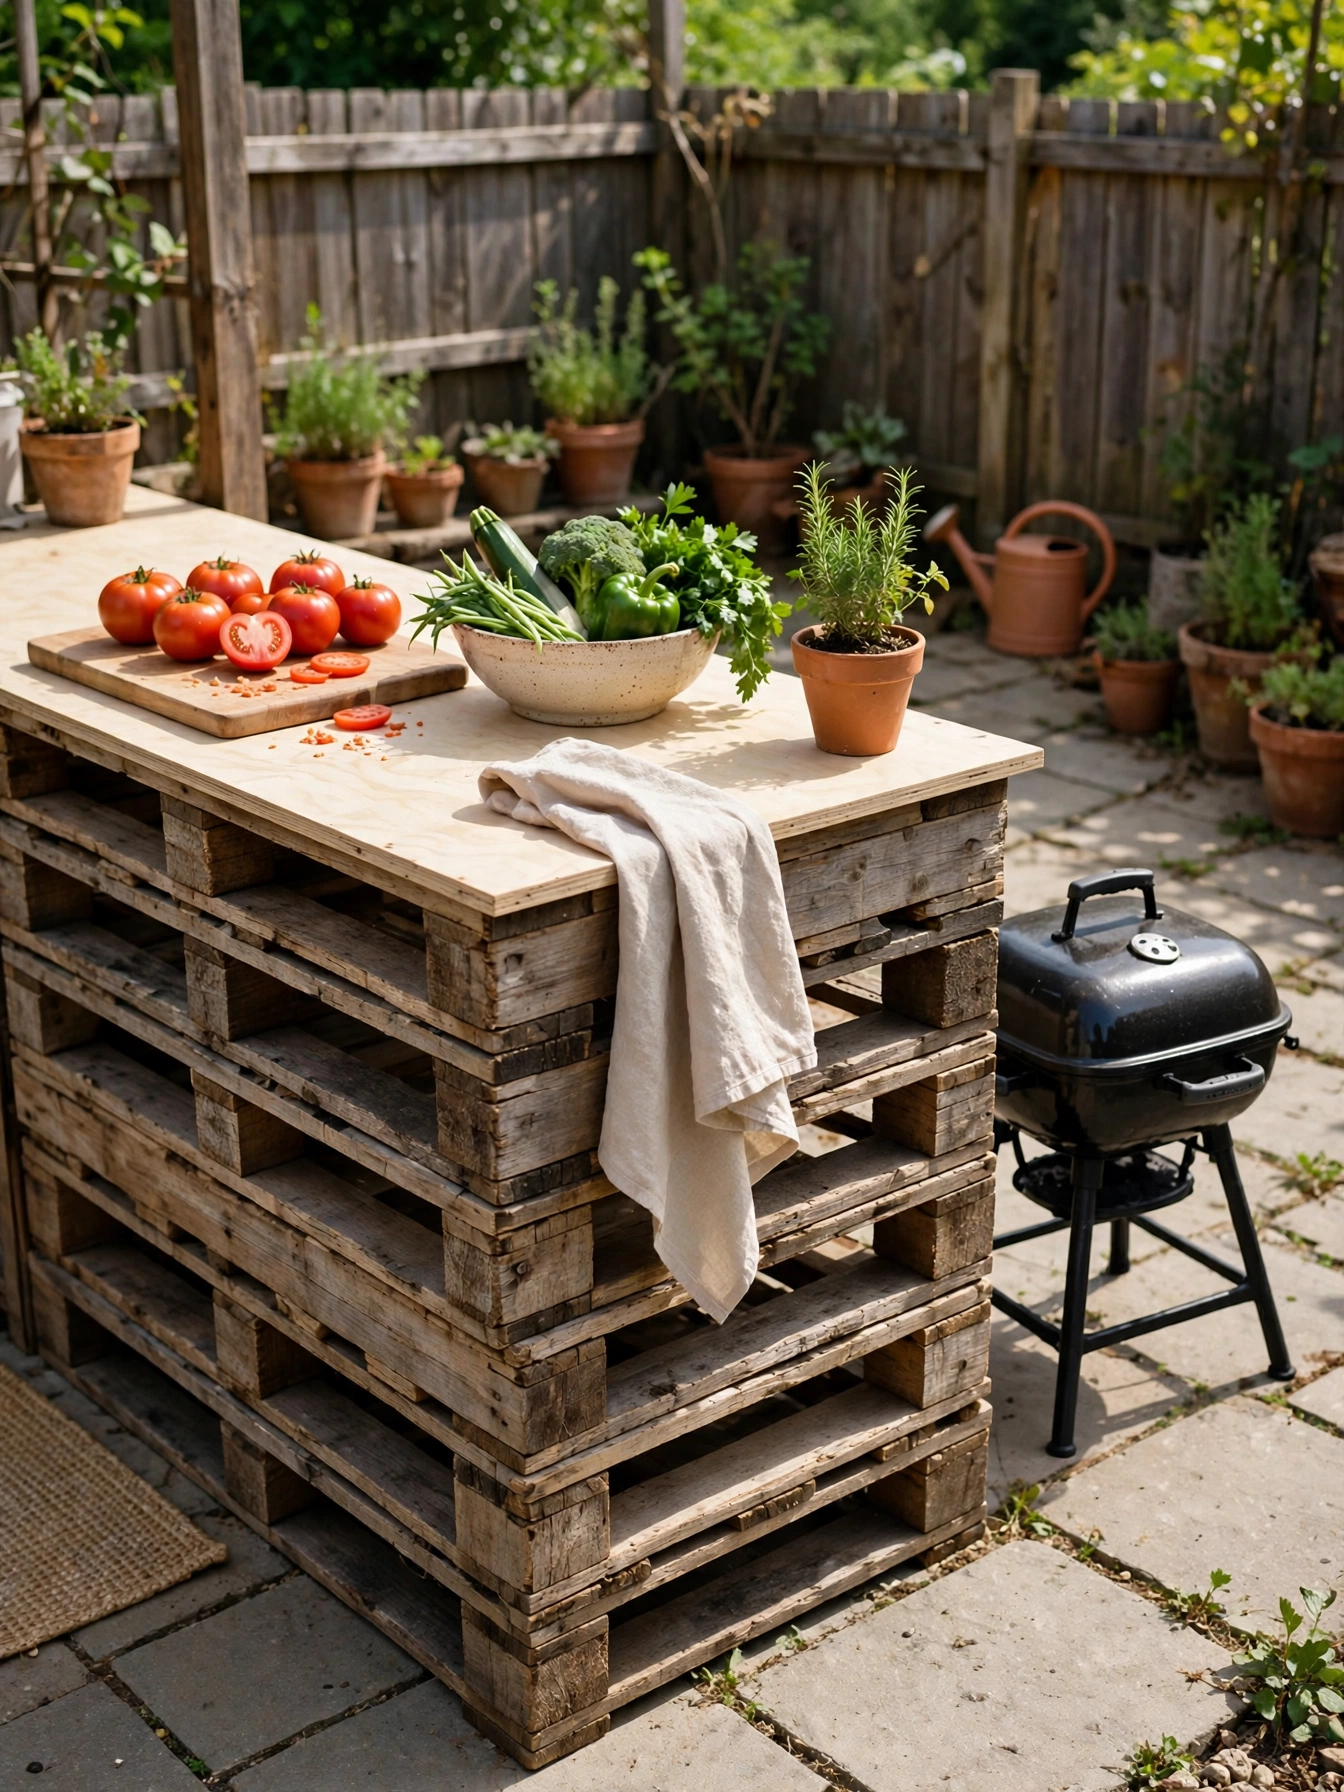
Why This Works:
- One 5.5 inch pallet on a 30 inch timber frame, plus a 3/4 inch plywood top, reaches 36.25 inches (30 + 5.5 + 0.75), about the 36 inch prep height
- Heat-treated pallets marked HT are safe for food prep areas
- A 40 by 48 inch top fits a cutting board, a tray and a drink
- Casters on the base let the counter roll under cover in rain
A pallet counter starts with the stamp, not the wood. Look for the HT mark burned into the side, which means the pallet was heat treated, and walk away from any pallet stamped MB, since methyl bromide treatment is not safe near food. Pallets measure 40 by 48 inches and about 5.5 inches thick, so one pallet sits on a 30 inch timber frame under a 3/4 inch plywood top: 30 + 5.5 + 0.75 equals 36.25 inches, about the 36 inch counter height the National Kitchen and Bath Association recommends for prep work. Screw the pallet to the frame with 3 inch exterior screws and add four locking casters rated for 100 pounds each, which keep the counter steady while chopping. Pressure-treated lumber costs more and resists rot better, but pallet wood sealed with exterior polyurethane handles two or three seasons outdoors for a fraction of the price.
Weekend cooks use the counter for prep while the grill heats beside it, and screws, casters and a plywood top come to $40 to $90 when the pallets come free from a warehouse or garden center. The top stays narrow enough for a small patio, yet it holds a full cutting board and a tray of raw meat without crowding. Pallet wood scratches and stains faster than a sealed hardwood top, so treat it as a replaceable work surface rather than a forever counter. For the same 36 inch work height, a secondhand stainless steel cart lists at $120 to $270, well above the pallet build, but it will not match the counter to the exact size of the patio.
Cheap Outdoor Kitchen Ideas on Pallets
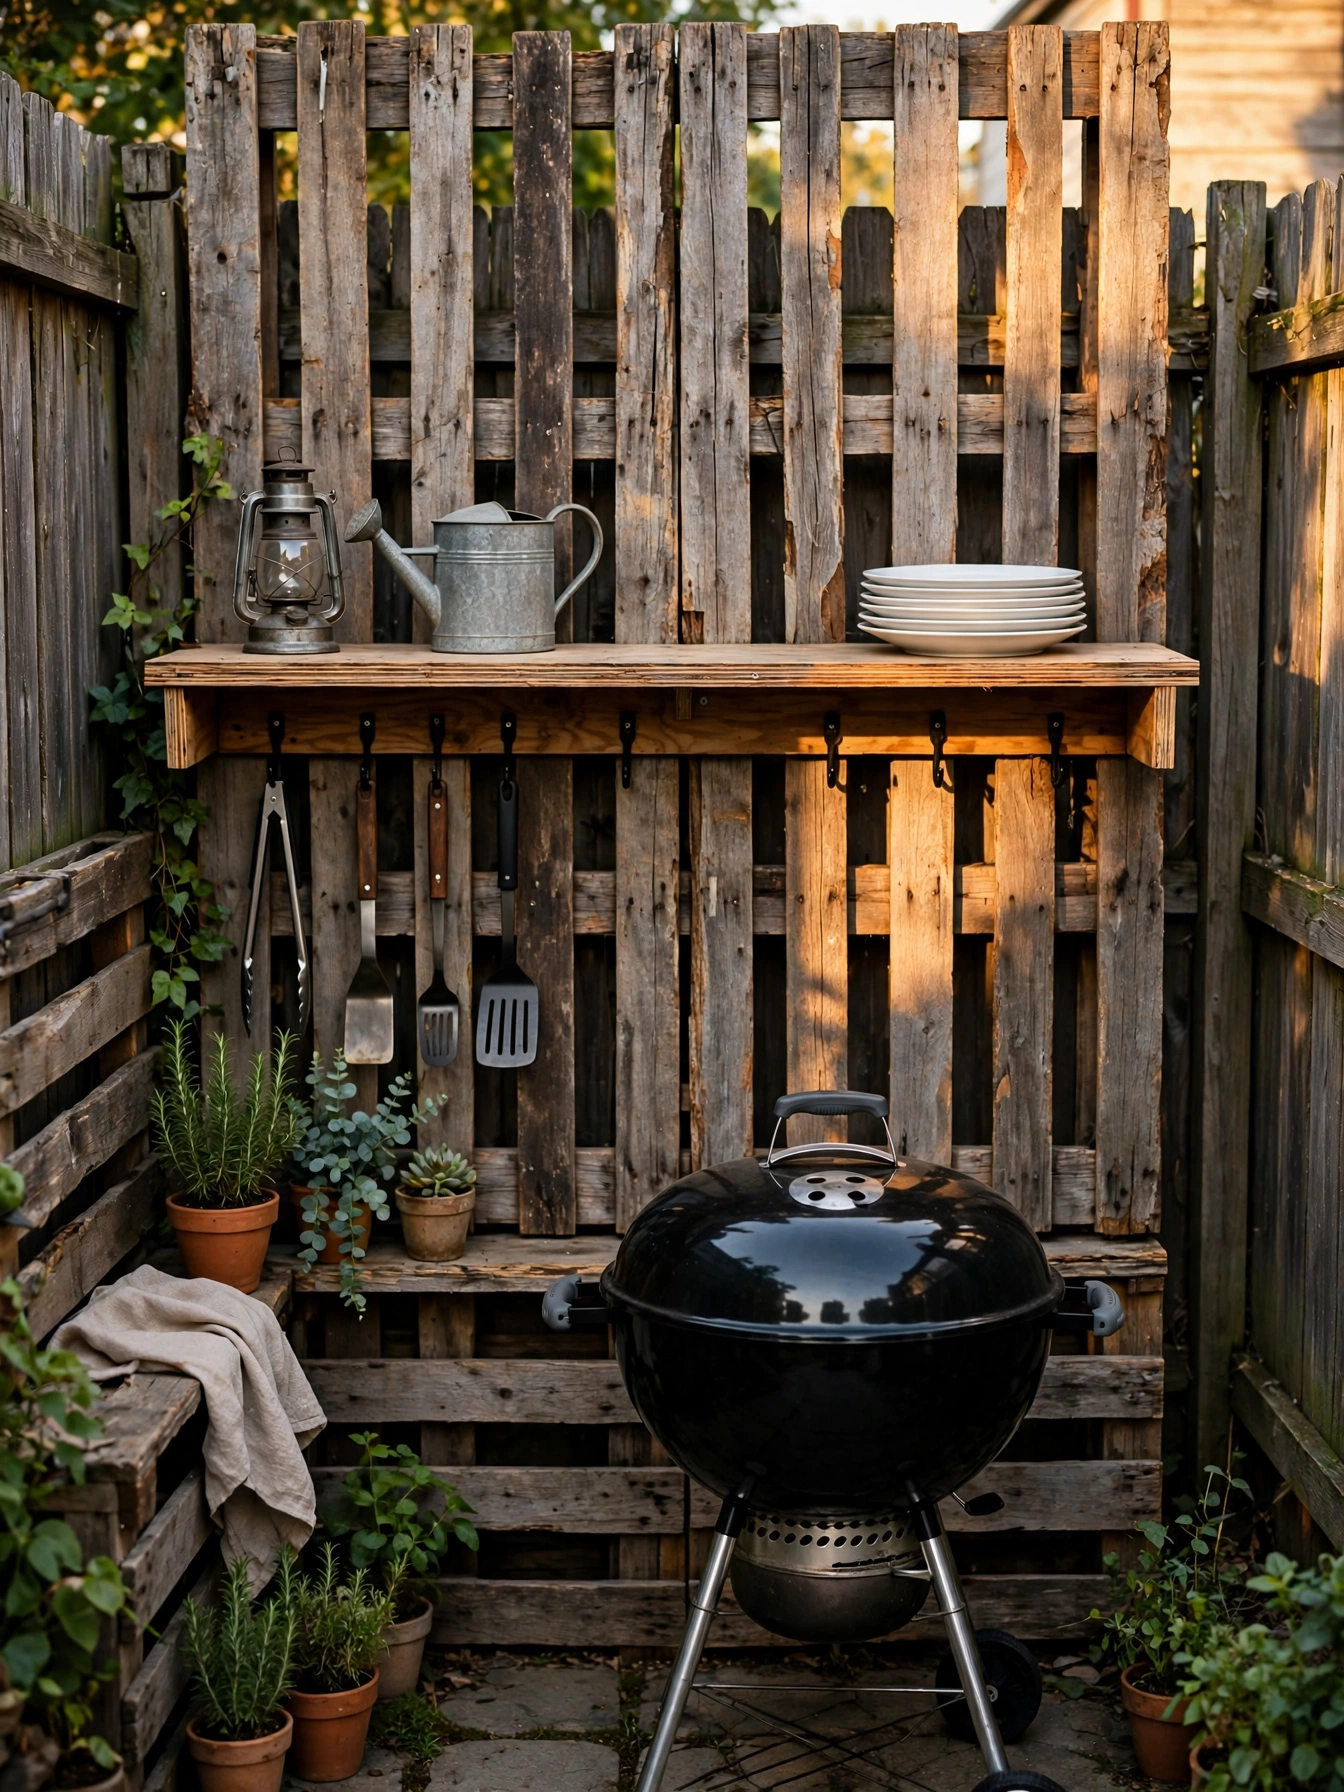
Why This Works:
- Three upright pallets create a cooking wall on a 10 foot patio
- A plywood shelf at 36 inches high doubles as a serving ledge
- Hooks screwed into the slats keep tools off the prep surface
- The whole wall comes down in an hour if the yard layout changes
Pallets turn into a full cooking wall when three of them stand on edge against a fence or a house wall. Anchor each pallet to the fence with two 3 inch lag bolts driven into a stud or a fence post, and add a 12 inch deep plywood shelf at 36 inches high for serving. The upright slats hold S-hooks rated for 10 pounds each, which carry tongs, spatulas and a towel without drilling new holes. Set the wall at least 24 inches from the grill so heat never reaches the wood, and leave a 6 inch gap behind the pallets so air moves and the wood dries after rain. A freestanding metal shelving unit offers the same storage for about $120, while the pallet wall uses free material and fits the exact width of the patio.
A small yard is where a pallet wall pays off most, because a built-in kitchen would eat the whole patio while the wall stores tools vertically and leaves the floor free for chairs. Plates, spices and tools sit within arm’s reach of the grill, so the cook stops walking back inside for every forgotten item. The wood needs a fresh coat of exterior stain each year, and a pallet wall cannot hold a heavy sink or a stone countertop. A metal shelving unit with the same storage costs about double, so the pallet version keeps the budget for the grill. Materials for the wall land near $30 to $70 for the shelf, hooks and bolts when the pallets are free, which leaves most of the budget for the grill itself.
Cinder Block Grill Base

Why This Works:
- Sixteen standard blocks build a base that never rusts or rots
- A 24 by 24 inch paver top spreads grill heat across the blocks
- Concrete pavers under the base stop the blocks sinking into soil
- The open cores of the blocks store firewood and charcoal bags
Sixteen cinder blocks and a bag of mortar hold a grill steadier than most store-bought carts. One block measures 8 by 8 by 16 inches and weighs about 28 pounds, so a two-layer base of 16 blocks stands 16 inches high and carries a 22 inch kettle grill with ease. Lay the first course on a level bed of 2 inches of sand over a 24 by 48 inch paver pad, then stack the second course with the cores vertical so firewood slides into the hollow centers. Rest the grill on a 24 by 24 inch concrete paver, which spreads heat and keeps the blocks from cracking under direct flame. The National Kitchen and Bath Association recommends 36 inches of work height, so add two more courses and a 4 inch paver cap to reach the full 36 inches if the grill sits too low.
Grill nights change when the cooking surface sits at a steady height and the tools hang within reach, and the block base costs $60 to $120 for blocks, pavers and a bag of mortar. The base never needs paint or stain, and a cracked block swaps out in ten minutes without tools. Weight is the catch: once the base is built, it stays where it stands, so pick the spot before the first block goes down. A wheeled grill cart matches that price and moves anywhere, but it wobbles on grass and rusts at the joints.
Secondhand Grill Rescue
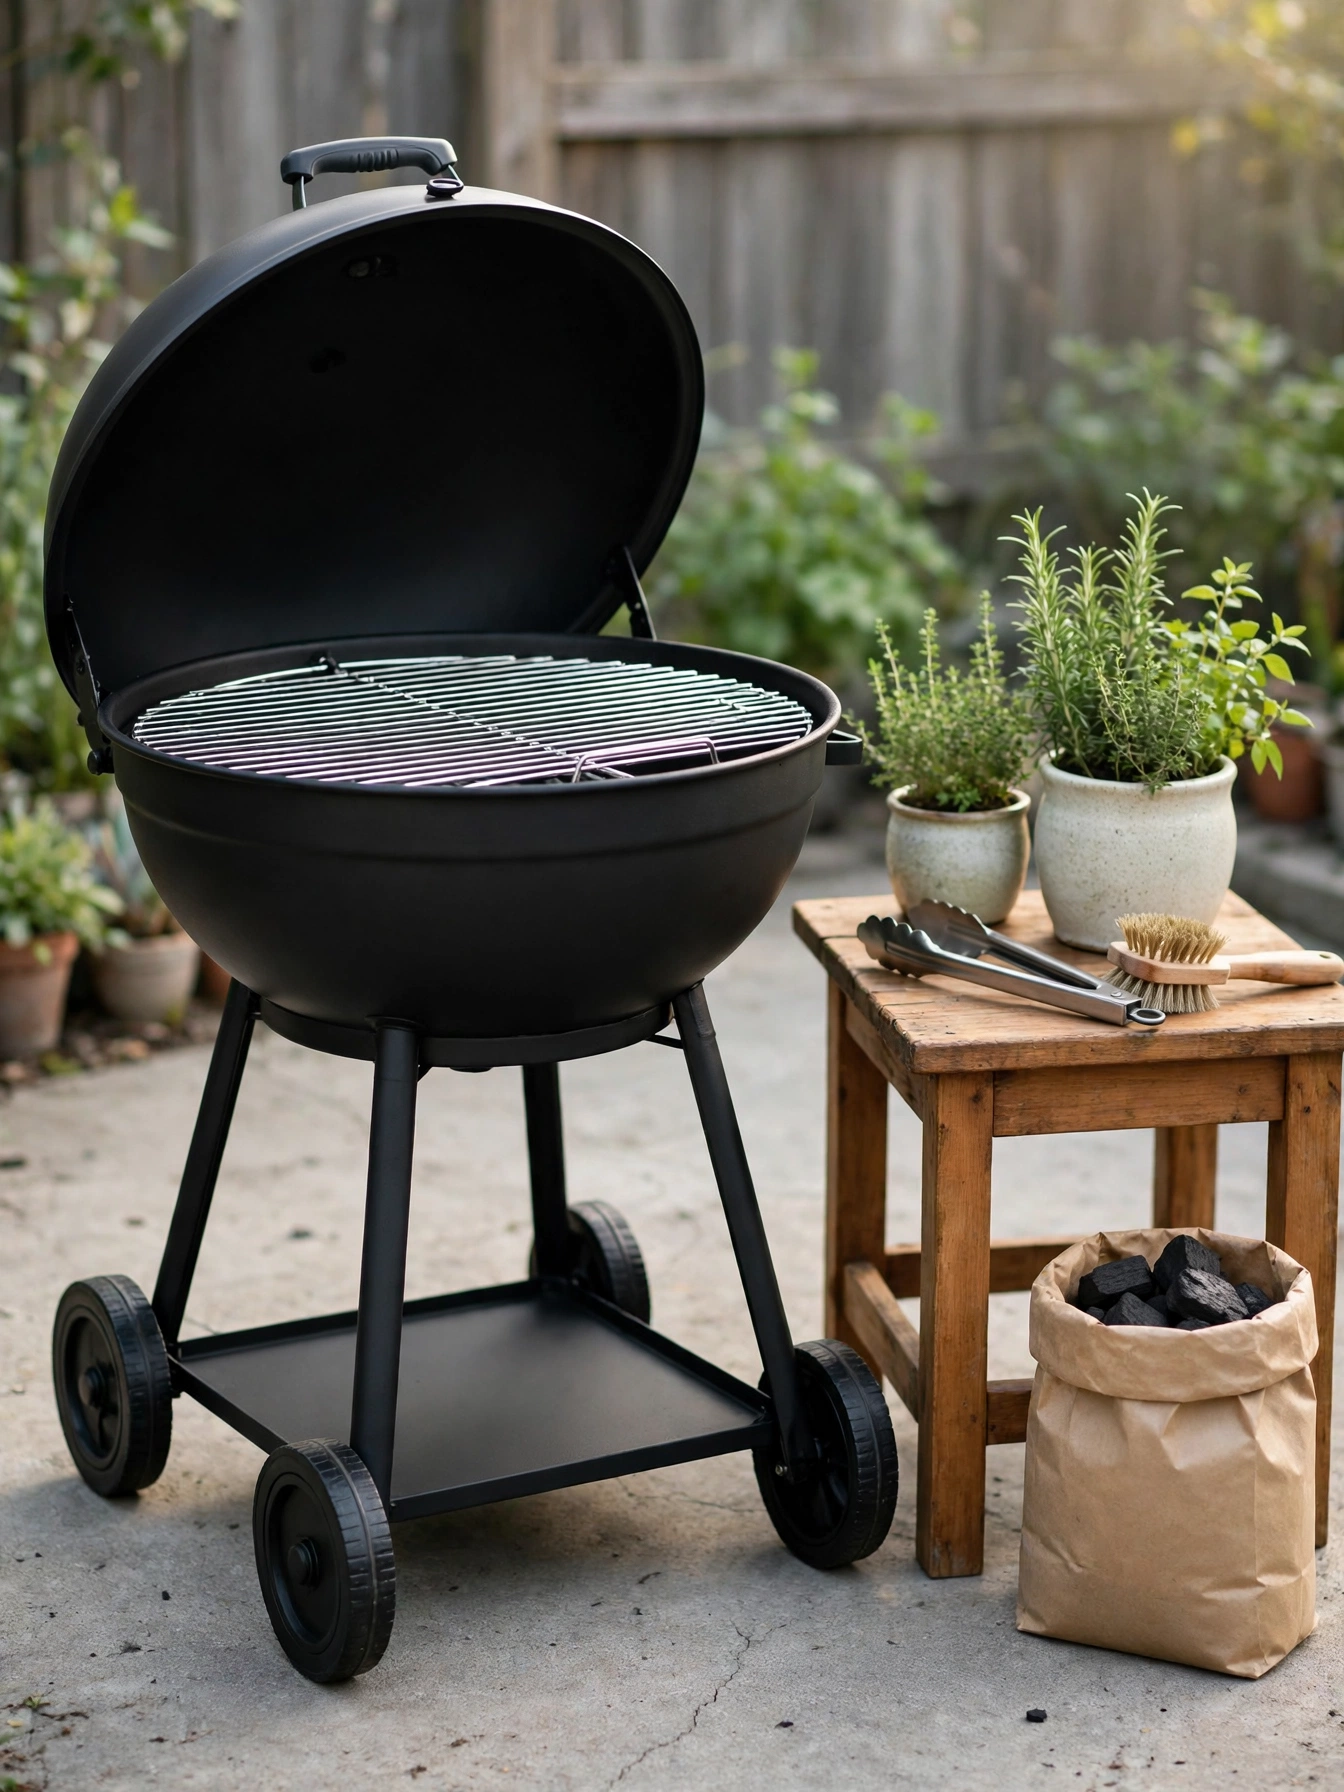
Why This Works:
- A $40 charcoal grill cooks as well as a $200 new one after a deep clean
- Gas models from resale sites often need only new burner tubes
- New burner tubes at $25 to $45 revive a grill that looks finished
- A wire brush and an hour of scrubbing restore most used grates
A used grill hides its problems in the burner tubes and the grease tray. For a gas grill, pull the grates and check the burner tubes for rust holes wider than a pencil eraser, since a tube with holes flames unevenly and wastes gas. For charcoal models, check the bowl for rust holes and the legs for wobble, and skip any grill with a cracked firebox, because heat escapes through the crack and the body will not last a season. Plan on $25 to $45 for replacement burner tubes, $20 to $60 for a new grate, and about $12 a can for heat-resistant paint rated for 1200 degrees Fahrenheit to cover surface rust. The Spruce notes that a grill stored under a cover lasts about twice as long as one left open to rain, so a $20 cover protects a $40 rescue.
Twice-weekly cooking under a cover is what makes the rescue pay: the savings only hold when the grill gets used instead of sitting out in the rain. The honest limit is lifespan: a rescued grill gives two to four more seasons, not ten, and parts for off-brand models can be hard to find. On resale sites, a used charcoal kettle in good shape goes for $40 to $90, and a used three-burner gas grill for $80 to $200, roughly half what a comparable new model sells for. A new mid-range gas grill lists at $300 to $500 and carries a warranty, which the rescue cannot match.
Folding Table Cook Station
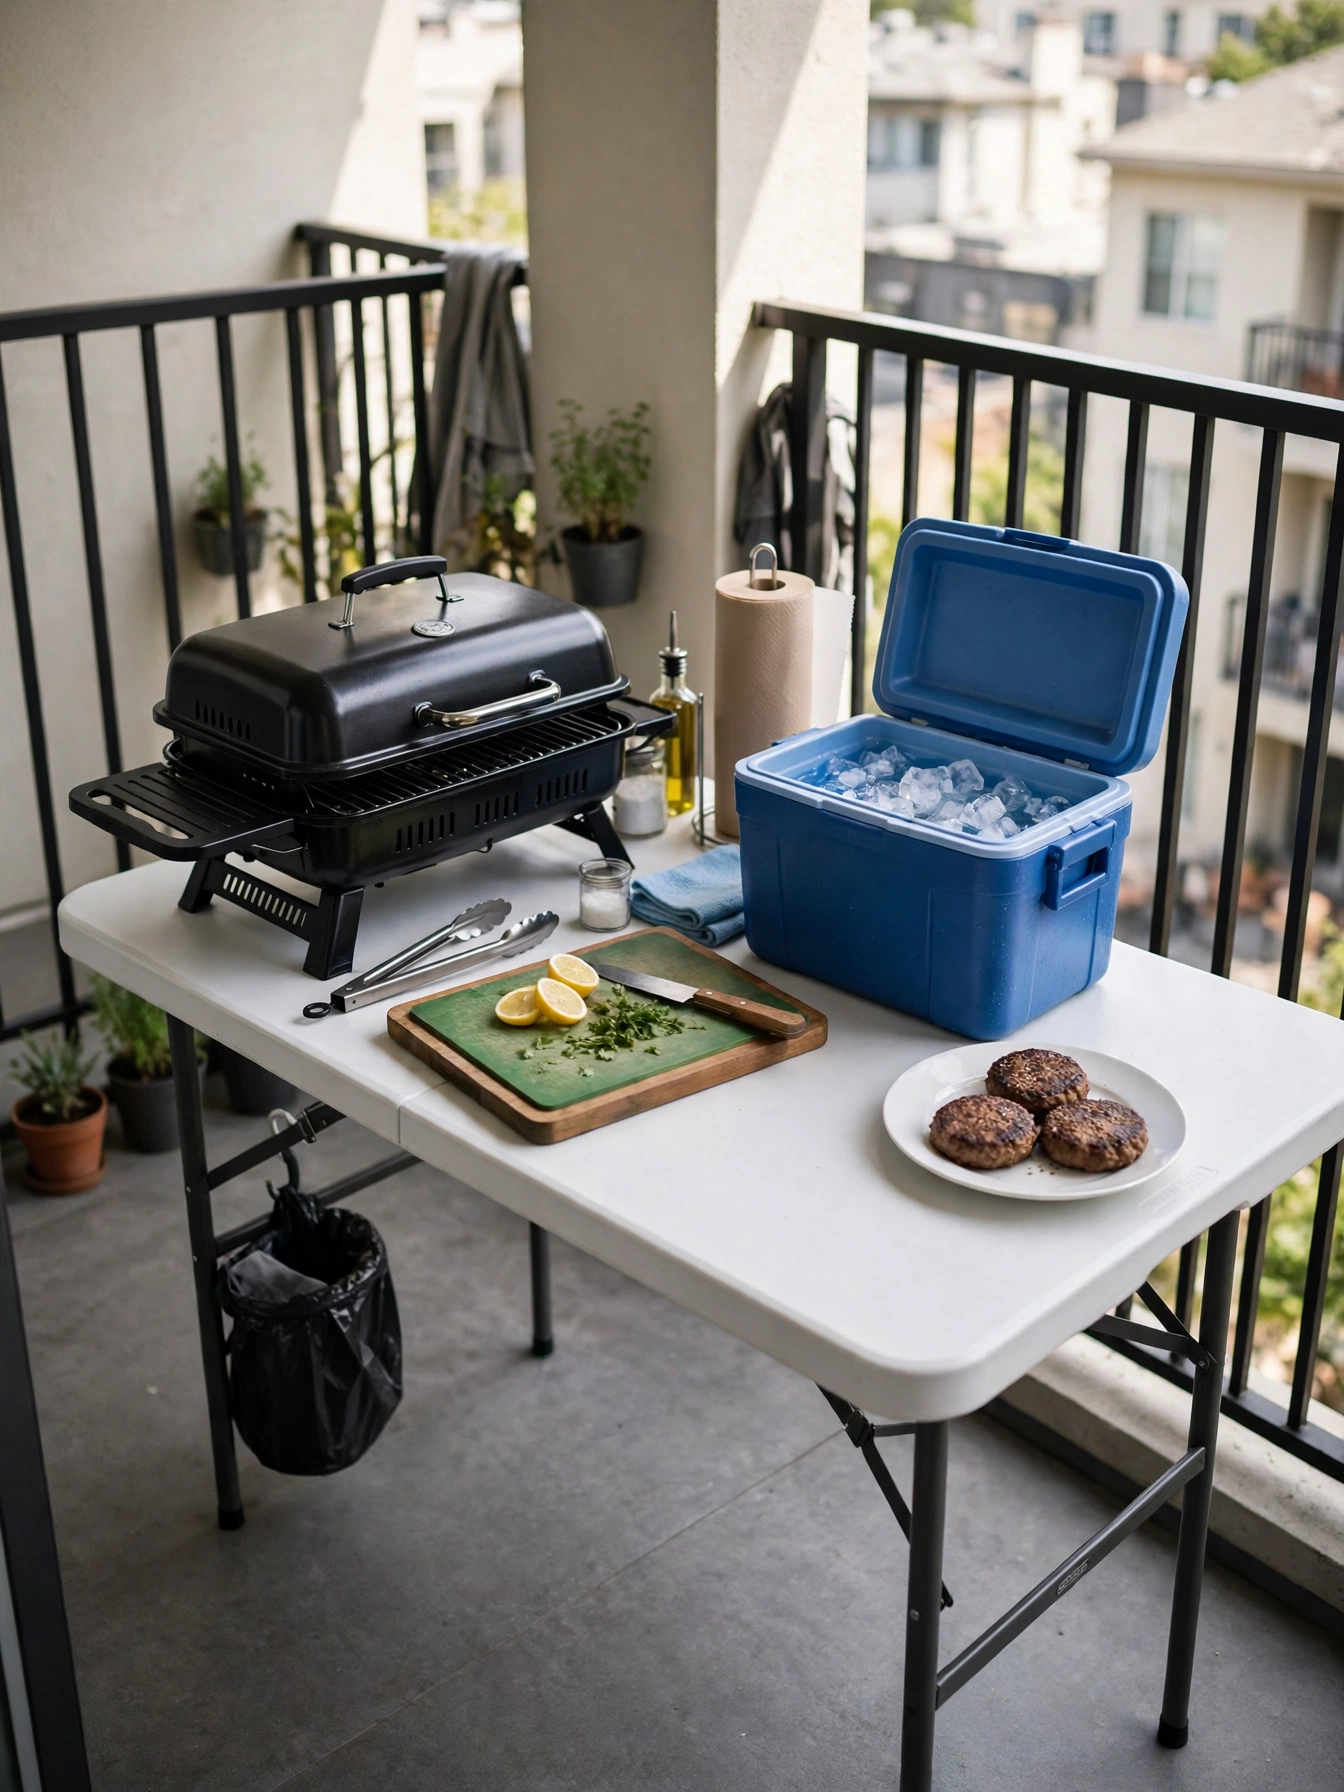
Why This Works:
- A 6 foot table gives 15 square feet of prep space for under $80
- Adjustable legs raise the surface toward a comfortable 36 inches
- A cutting board over one end creates a heat safe prep zone
- Two folding stools tuck under the table when dinner ends
Folding tables fail as cook stations for one reason: height. Most folding tables stand 29 to 30 inches high, which is 6 to 7 inches below the 36 inch prep height the National Kitchen and Bath Association recommends, so long prep sessions strain the lower back. Choose an adjustable-height table that rises to 36 inches, or set the legs on 6 inch bed risers rated for 100 pounds each. A 6 foot table measures 72 by 30 inches and holds a portable grill on one end plus a cutting board on the other, with 24 inches between them as a safety gap. Never set a hot grill directly on a plastic tabletop, since the heat warps the surface in minutes; use an 18 by 24 inch cement board pad under the grill instead.
A folding table station fits renters and small patios because the whole setup folds flat in October and leans against a wall all winter. The table carries about 200 pounds across its surface, which covers a grill, food and a cooler with room to spare. Wind tips a light table more easily than a heavy cart, so weigh the legs down with two 10 pound sandbags on breezy balconies. For the table, risers and a cement board pad, expect to spend $60 to $120, which is less than a single purpose-built outdoor cart.
Rolling Cart Kitchen
Why This Works:
- Four locking casters let one person move a full cart across a patio
- A 36 by 24 inch top adds prep space without a permanent footprint
- Open shelves below hold baskets that slide out for serving
- The cart parks against the house wall when the patio needs floor space
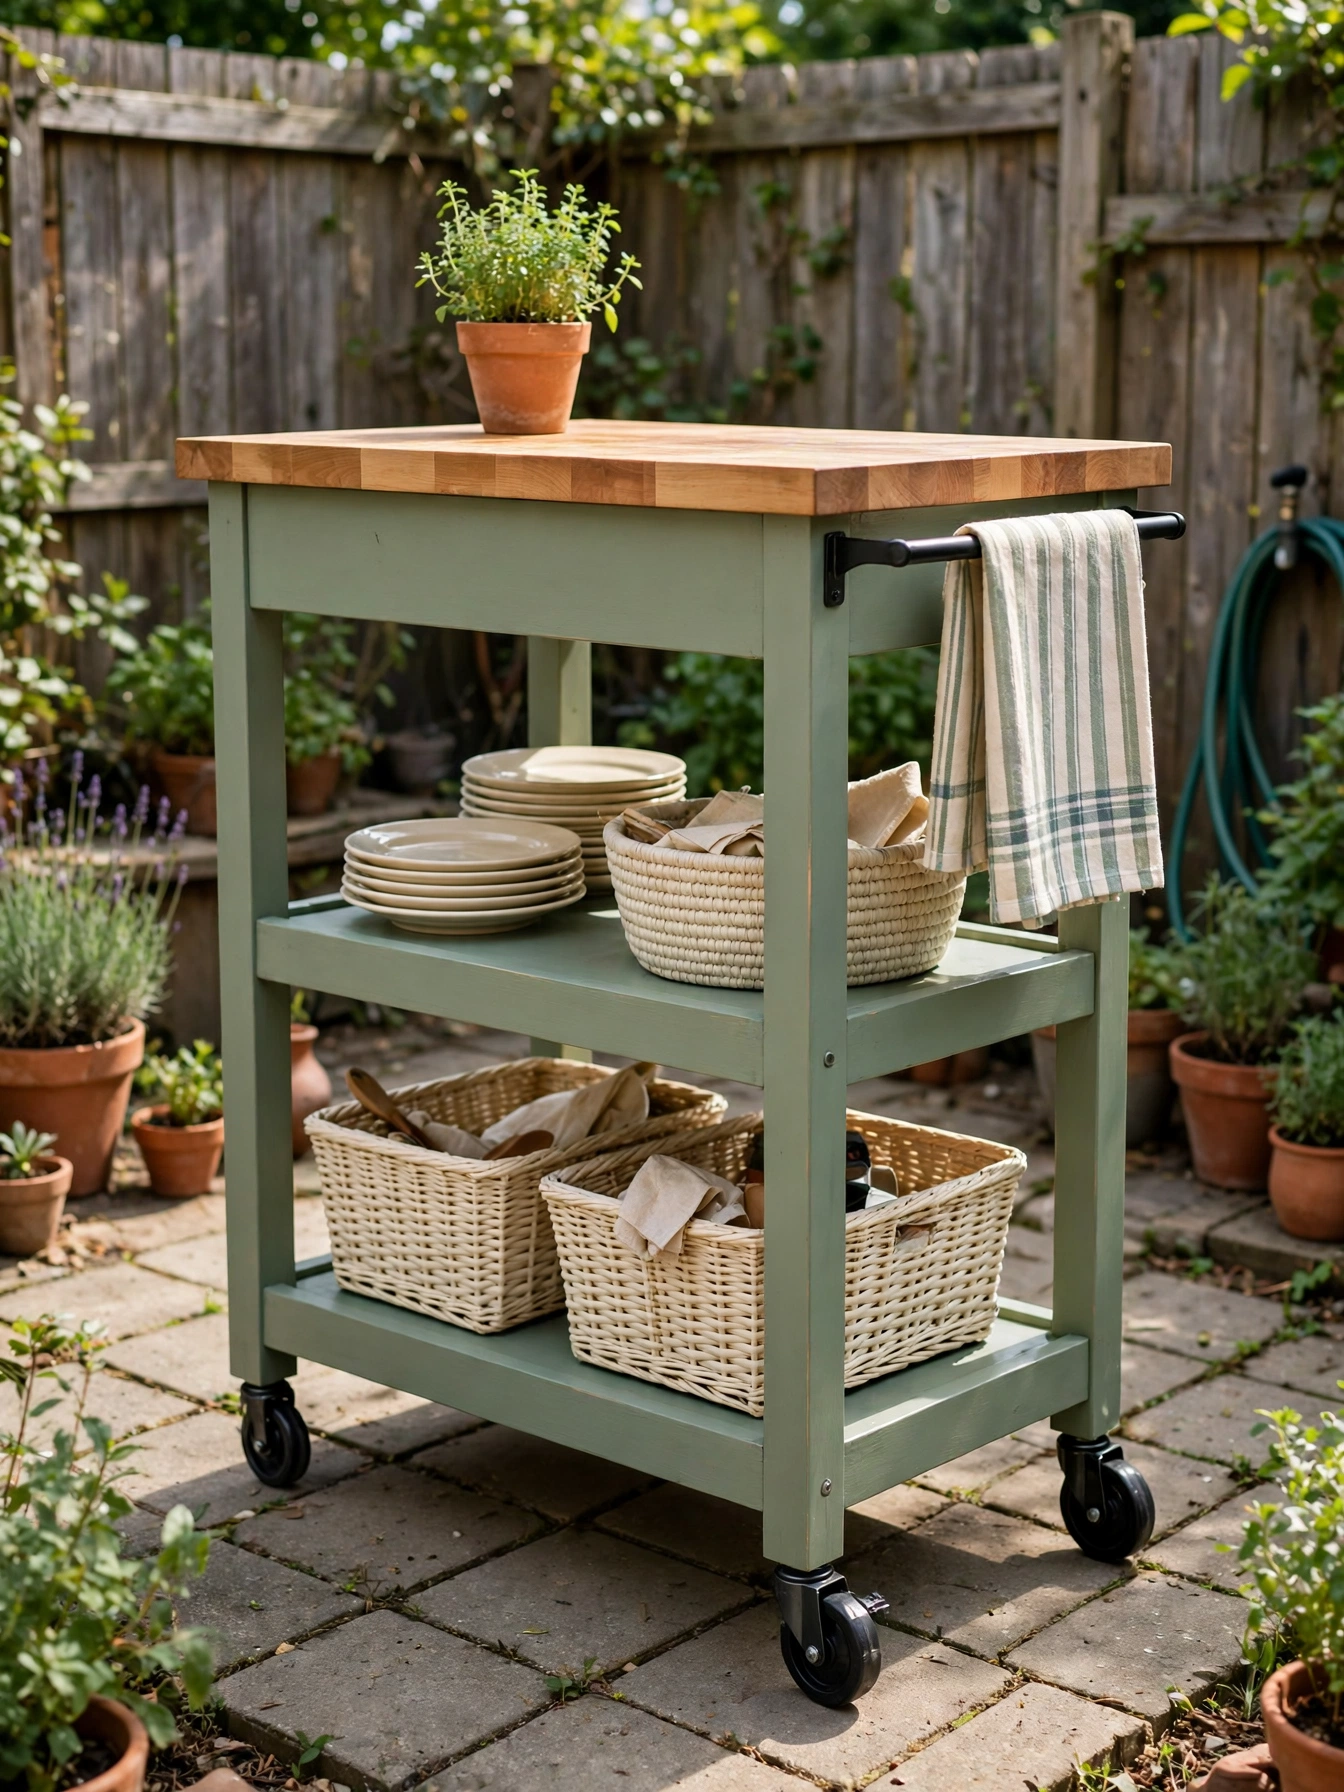
A rolling cart earns its place when the patio is too small for anything fixed. Choose four locking casters rated for at least 100 pounds each, so the cart safely carries up to 300 pounds of countertop, food and equipment without wobbling. Hold the top at 36 inches high to match standard counters, and size it 36 by 24 inches for a small patio or 48 by 30 inches for a larger one. The butcher block top should measure 1.5 inches thick, since thinner tops flex under a heavy mixer or a full Dutch oven. Skip casters without locks, because the cart drifts during chopping and the movement dulls knife work.
On a small patio, 6 square feet is all it takes to add a prep surface and a serving station, and the cart costs $80 to $160 built from a thrifted dresser base or a flat-pack kitchen cart plus casters. The load limit rules out a heavy stone slab, so butcher block or plywood suits the format better than quartz. Butcher block weighs less than stone and takes a knife without complaint, while a laminate top costs less but chips at the edges within a year. Lock all four casters before chopping, and oil the butcher block every month so it does not dry out and crack.
Concrete Paver Countertop

Why This Works:
- Pavers at $3 to $6 each beat a stone slab by hundreds of dollars
- A 12 by 12 inch paver grid lifts off for cleaning or repair
- Concrete handles hot pans and grill heat without scorching
- The 1.5 inch thickness resists cracking under a heavy pot
For the lowest price on a countertop that still takes heat, concrete pavers beat every other option. Each paver measures 12 by 12 inches and 1.5 inches thick, so eight pavers cover a 24 by 48 inch counter frame built from pressure-treated 2 by 4 lumber. Set the frame at 34.5 inches high so the pavers finish at the 36 inch prep height the National Kitchen and Bath Association recommends. Bed each paver on a 1/4 inch layer of sand so the surface levels evenly, and leave a 1/8 inch gap between pavers for water to drain. Do not glue pavers down with construction adhesive, because a cracked paver then needs a chisel instead of a ten-minute lift and swap.
Eight pavers, a level, a saw and one Saturday produce a heat-proof counter with no mortar, no trowel and no masonry experience. The finished counter lands at $60 to $120: eight pavers at $24 to $48, a lumber frame adding $30 to $60, plus screws and sand. The surface feels rougher than polished stone and stains from tomato sauce if it is never sealed, so plan on a concrete sealer coat each spring. A laminate outdoor top sits in the same price range and wipes smoother, but it warps in rain and cannot hold a hot pan.
Stock Tank Sink
Why This Works:
- A 100 gallon stock tank costs less than a purpose-built outdoor sink
- Galvanized steel shrugs off rain, mud and garden dirt
- A gravity-fed hose fills the tank without any plumbing
- The tank doubles as an ice bath for drinks at a party
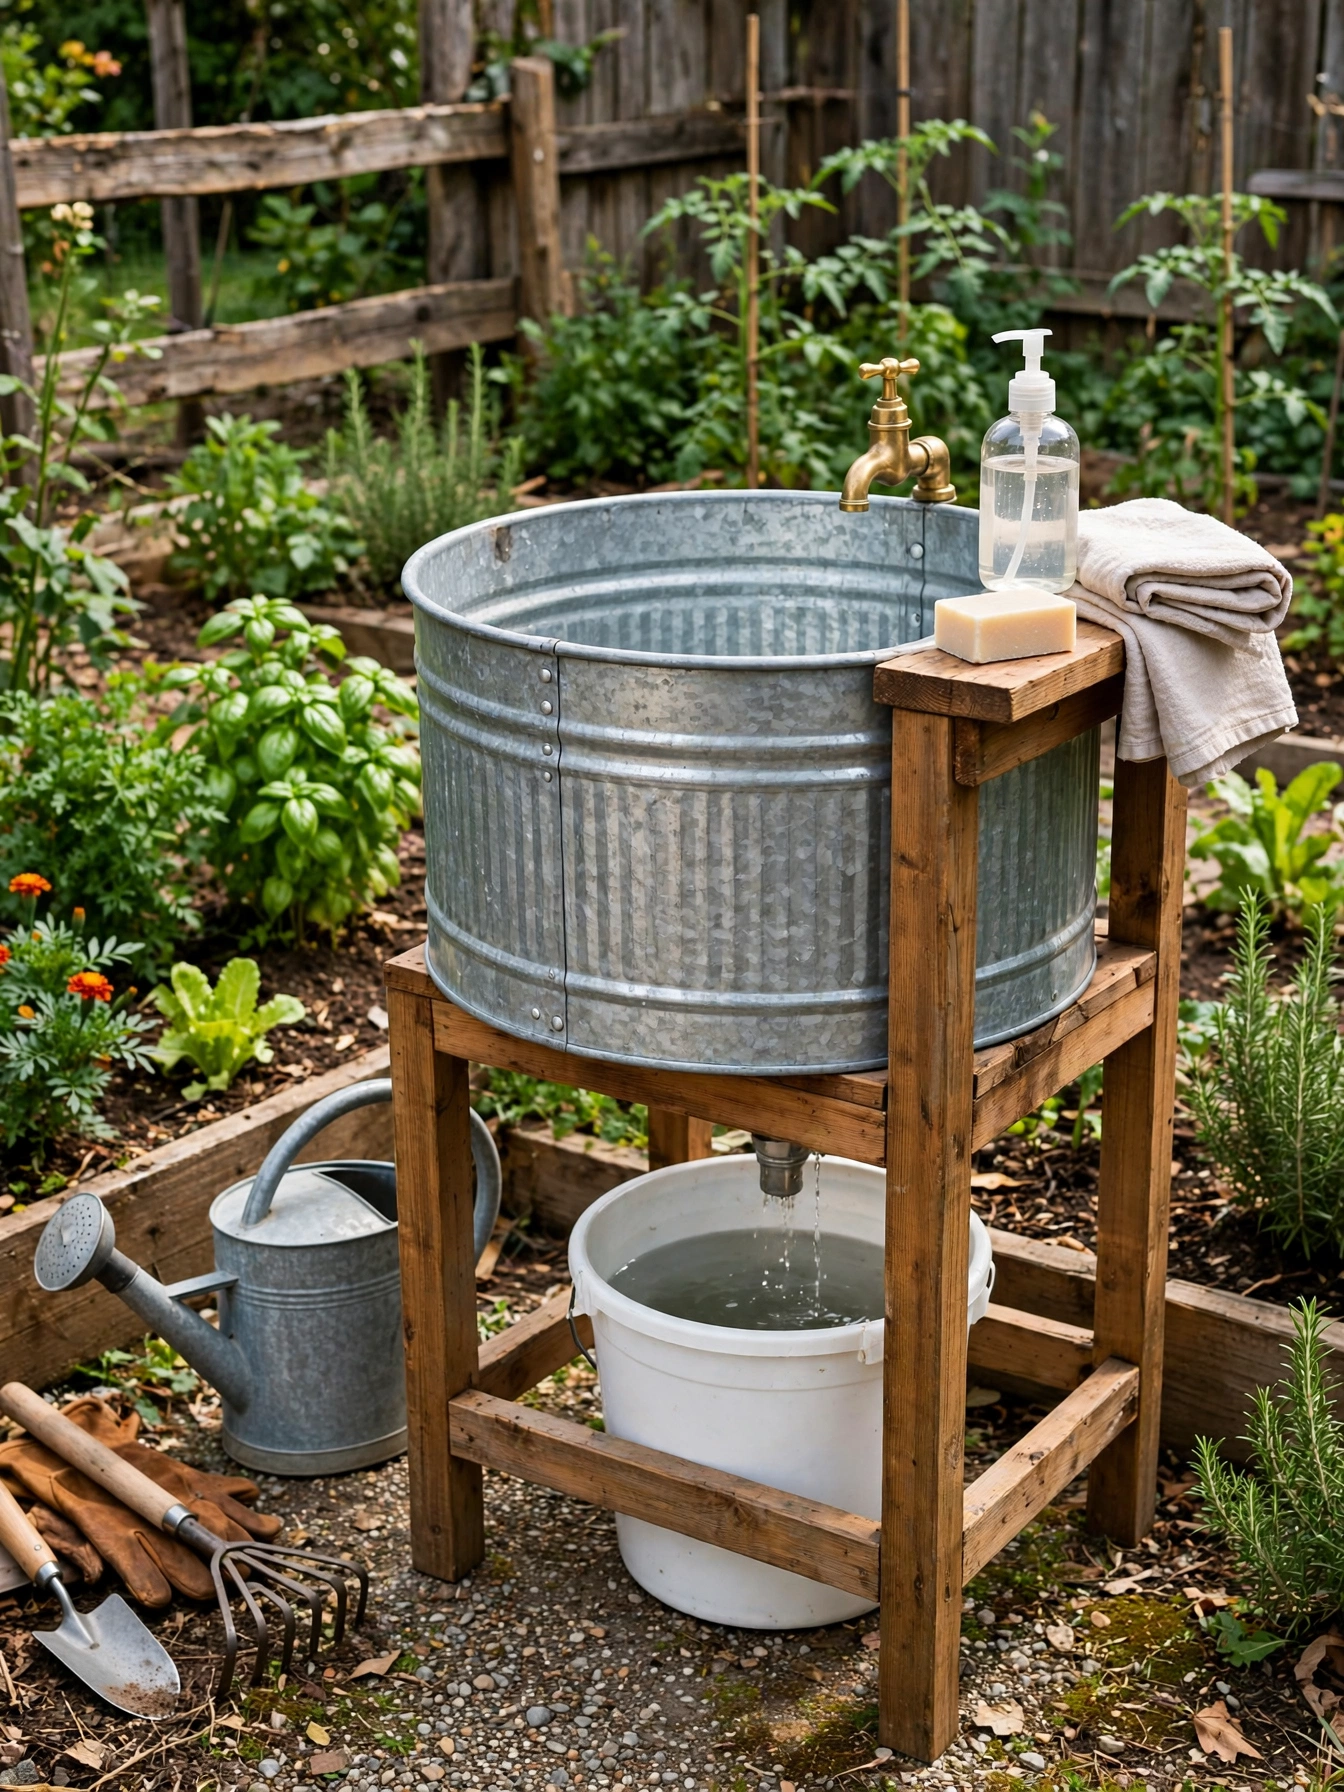
A stock tank sink starts as farm equipment and ends as the most useful fixture in a budget outdoor kitchen. A 100 gallon round tank measures about 2 feet high and 4 feet across, which sets the rim near the 36 inch work height when it sits on a 12 inch wooden stand. Drill a 1 inch drain hole 2 inches above the bottom and fit a brass bulkhead fitting, then run a garden hose from the spigot to a simple faucet mounted on a 2 by 4 post. A licensed plumber should connect any permanent water line, since a buried supply line must meet local code and a leak under a patio goes unnoticed for weeks. Point the drain above a gravel bed or a bucket, because soapy water must never run straight onto a vegetable garden.
Garden cooks rinse vegetables steps from the beds instead of carrying muddy produce through the house, and the whole setup costs $80 to $150 for the tank, fittings and a wooden stand. Cold water is the limit: the tank holds cold water only, so greasy pans still go inside for a hot wash. A hose-fed faucet runs at garden pressure, about 40 to 60 PSI, which is plenty for rinsing but slower than a kitchen tap. Cover the tank with a plywood lid in winter so leaves and ice stay out.
Milk Crate Storage Wall
Why This Works:
- Crates at $5 to $10 each build a full storage wall for under $80
- A 12 by 12 inch crate holds a stack of plates or six spice jars
- Open fronts keep everything visible, so nothing gets forgotten
- The wall lifts off the fence in minutes when moving day comes
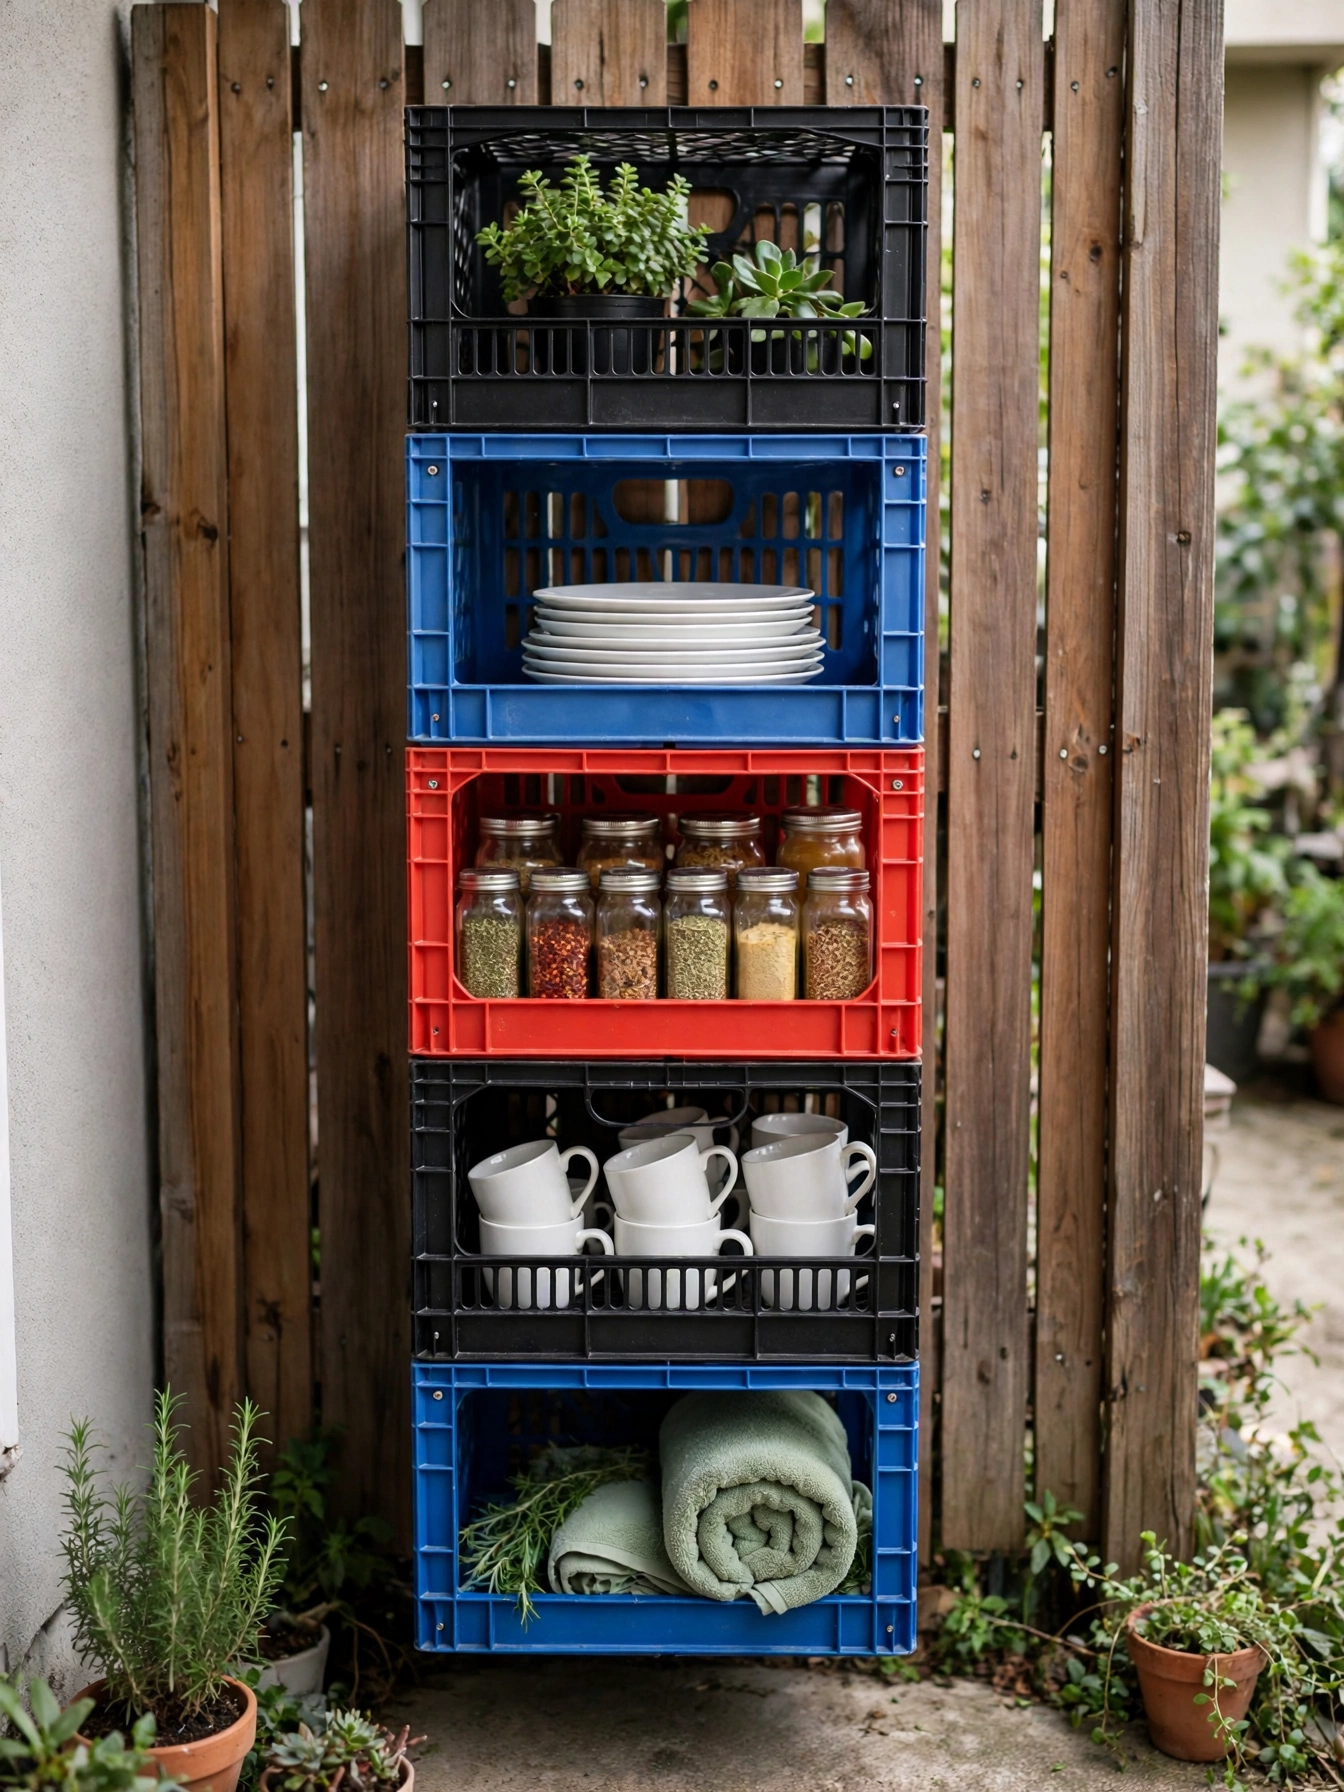
Milk crates turn a bare fence into a pantry when the patio has no room for a cabinet. A standard crate measures about 12 by 12 by 12 inches and holds 25 pounds of dishes, so eight crates stacked two wide and four high cover a 24 by 48 inch stretch of fence. Screw each crate to the fence with two 1.5 inch exterior screws through the back grid, and stagger the rows so the weight spreads across the fence boards. Keep the heaviest crates at the bottom, since a top-heavy wall pulls screws out of a softwood fence in one windy season. According to The Spruce, outdoor storage needs airflow to stop mold, and the open grid of a crate gives exactly that, unlike a sealed plastic bin.
No holes go into the house with this pantry, because the crates mount to a fence or a freestanding frame, which suits renters and small-space cooks. Plates stay outside near the grill, so setting the table takes one trip instead of three. Rain reaches open crates, so store only dishes and sealed jars, and keep paper goods inside. A weatherproof outdoor cabinet holds the same dishes and costs about three times as much, so the crates win on price alone. A crate wall holds $40 to $80 in crates and screws, which leaves the budget for the grill and the counter.
Scrap Wood Shelving
Why This Works:
- Offcut 2 by 6 boards cost $2 to $5 each at a lumber yard
- Brackets rated for 50 pounds hold a full shelf of plates
- An 11 inch deep shelf fits a dinner plate without overhang
- Scrap wood shelves mount under a roof overhang and stay dry
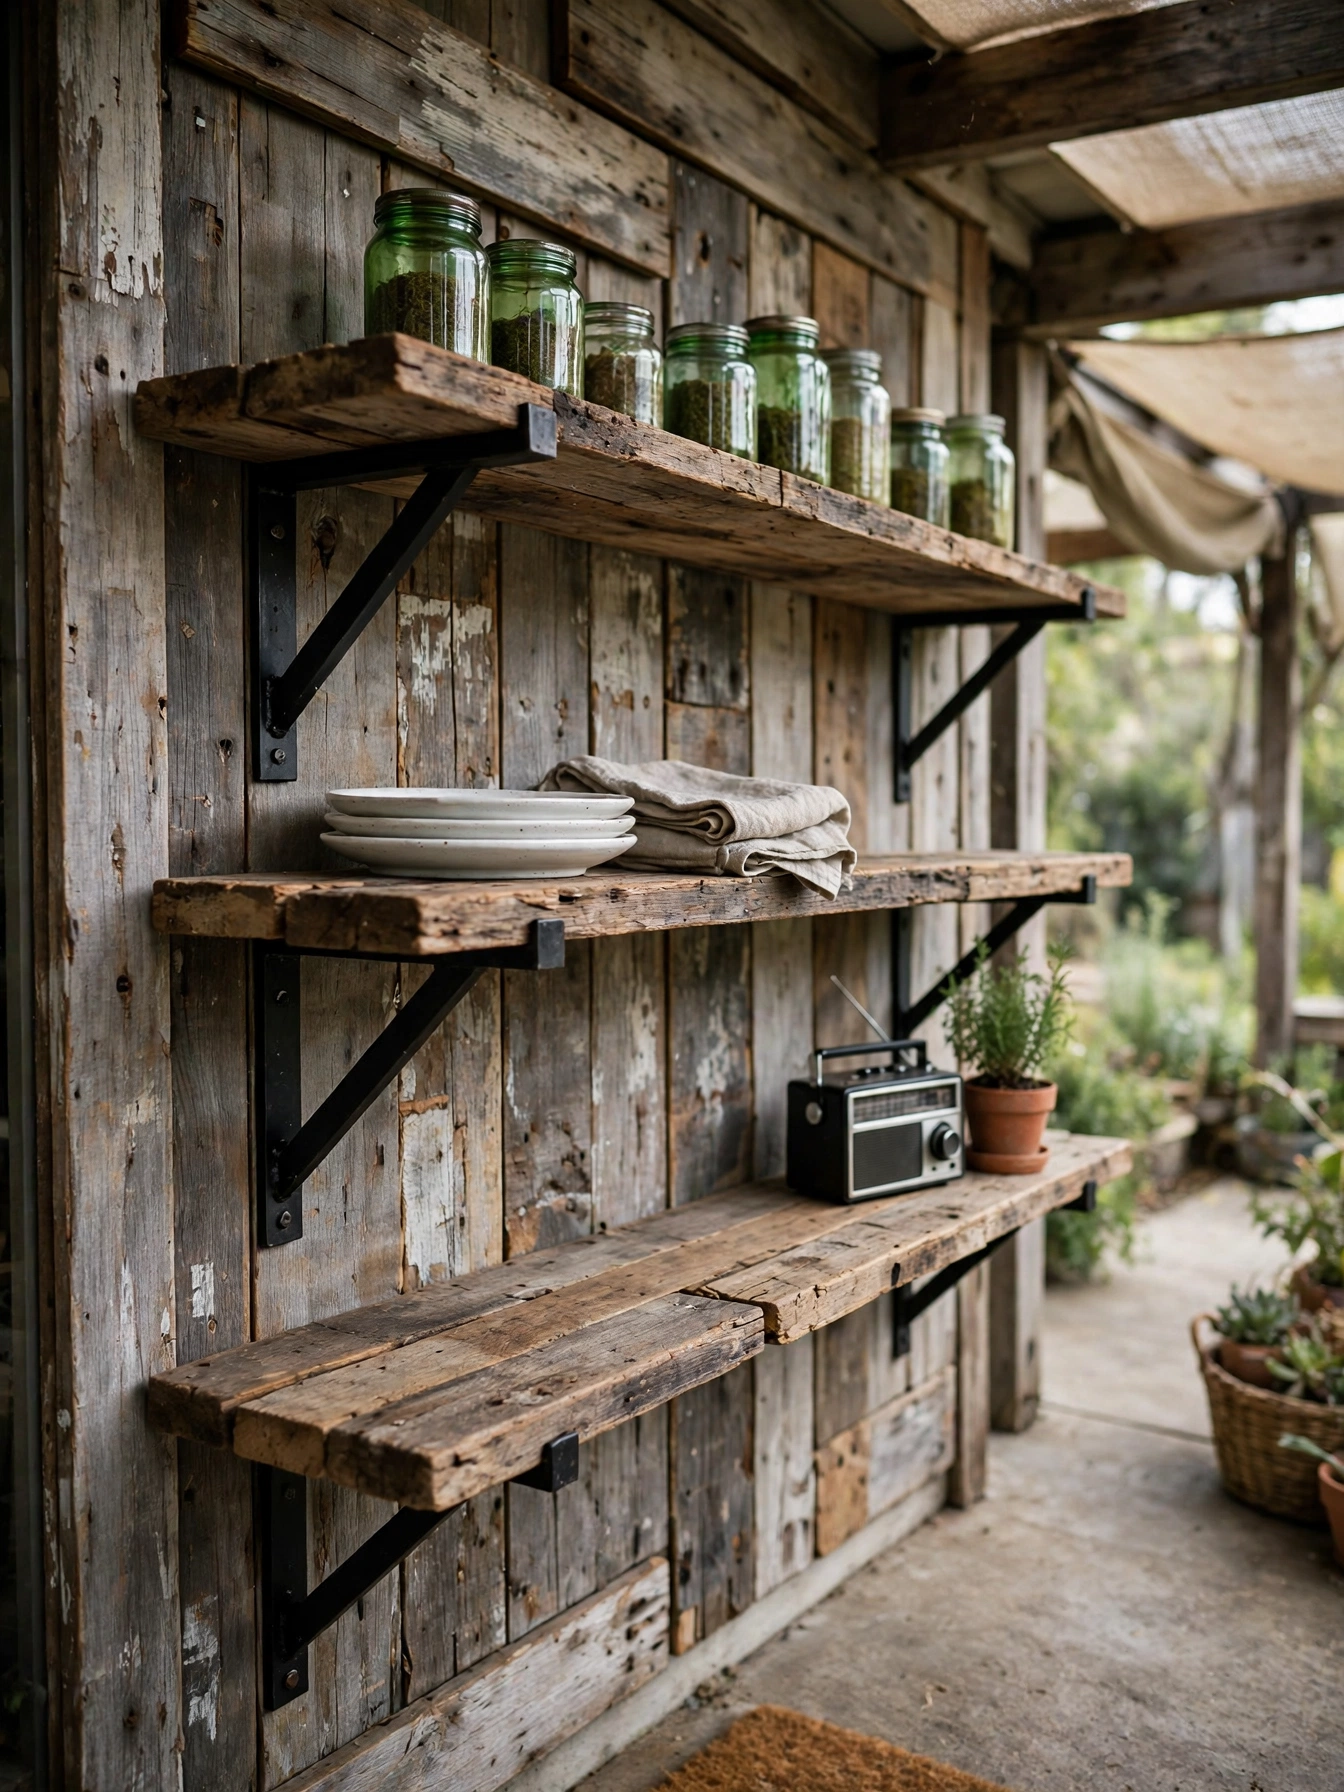
Scrap wood shelves use the offcuts a lumber yard sells for pennies, and they hold more than they look like they should. Cut two 2 by 6 boards to 36 inches long for each shelf, and mount them on steel brackets rated for 50 pounds, spaced 16 inches apart to hit the wall studs. An 11 inch deep shelf fits a dinner plate with an inch to spare, and two shelves spaced 14 inches apart hold plates below and glasses above. Sand the boards with 120 grit paper and seal with exterior stain, since raw offcuts soak up rain and warp within a season. Never mount shelves with drywall anchors outdoors, because the anchors pull out of damp siding and the shelf comes down with the dishes.
Plates and spices stay outside through the whole cookout when the dish station sits steps from the grill on a covered patio. The boards need a fresh stain coat each year, and shelves under an open sky need a cover or they gray and split. Glass shelves look lighter but show every fingerprint and cost about twice as much, while painted wood hides dust and suits the rustic look. A ready-made outdoor shelf unit holds the same dishes for roughly double the outlay, so the scrap version wins for a tight budget. Brackets, screws and stain for the shelf pair run $25 to $60 when the boards come from the offcut bin.
Cheap Outdoor Kitchen Ideas for Renters
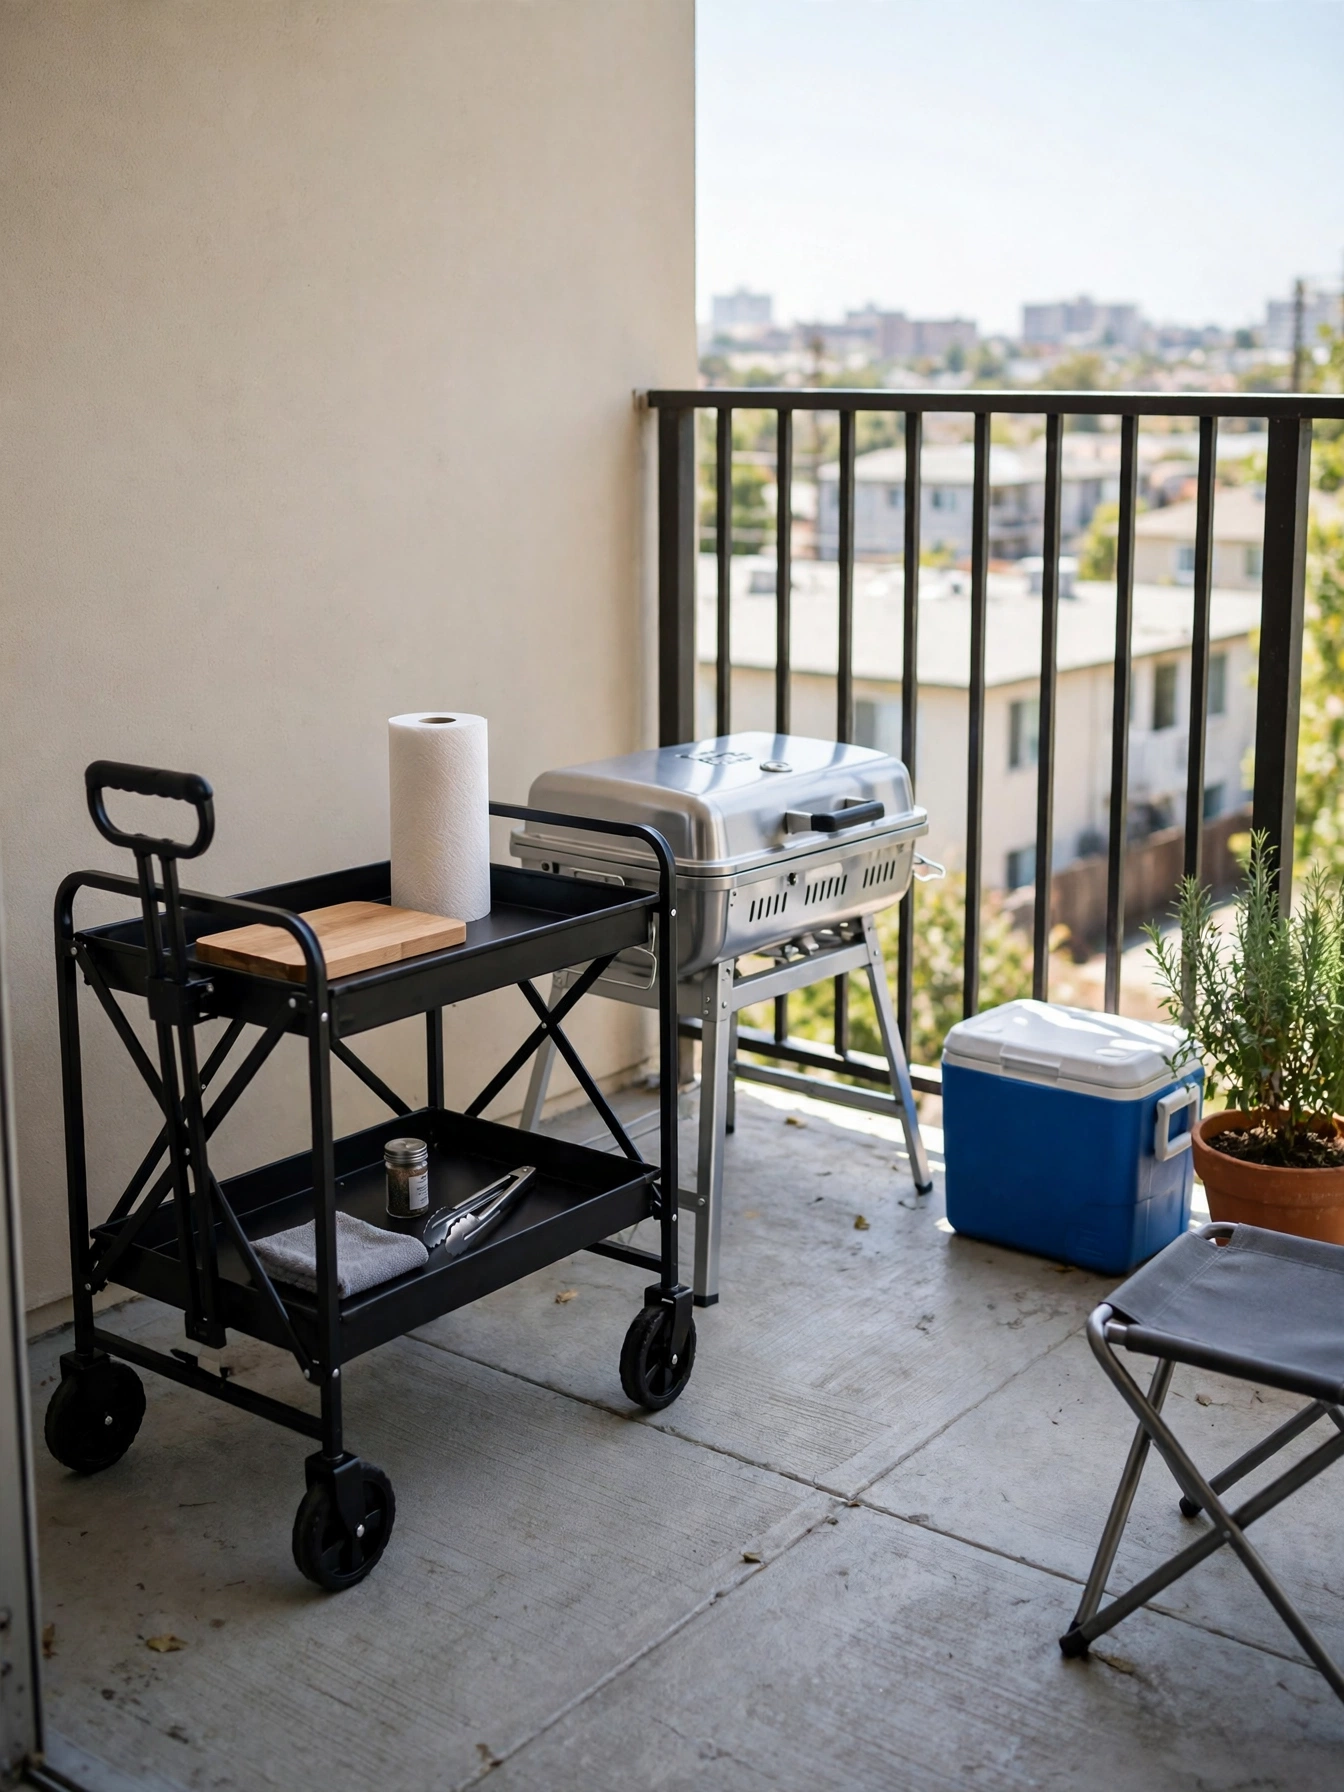
Why This Works:
- Every piece stands free, so no holes go into a landlord’s wall
- A folding cart and a portable grill pack into a car on moving day
- The setup fits a 6 by 10 foot balcony with room for two chairs
- A cooler with ice replaces a fridge and costs nothing to run
Renters build outdoor kitchens from pieces that leave with them, not fixtures that stay behind. A folding cart at 36 inches high gives the prep surface, a portable grill at 14 inches wide gives the heat, and a 48 quart cooler gives cold storage for the day. Keep every piece freestanding and skip wall anchors, screws and glue, since a lease usually bans holes in exterior walls and a deposit covers the damage. The National Kitchen and Bath Association recommends 36 inches of work height for prep, and a folding cart meets that number without a single permanent change. A built-in outdoor kitchen adds value to a house the renter does not own, while a portable setup moves to the next home.
Ten minutes is all the teardown takes: cart folded, grill latched, cooler emptied, and the whole kitchen fits in a closet until next weekend. Buying the cart, grill and cooler together sets a renter back $120 to $220, which is less than one month of takeout for a family of four. Capacity is the limit: a portable grill cooks four burgers at a time, not twelve, so large parties need a second grill or a slower pace. A small apartment balcony holds the setup with 24 inches of walkway to spare, while a charcoal grill needs a fire-safe mat underneath on a wood deck.
Thrifted Bar Stools
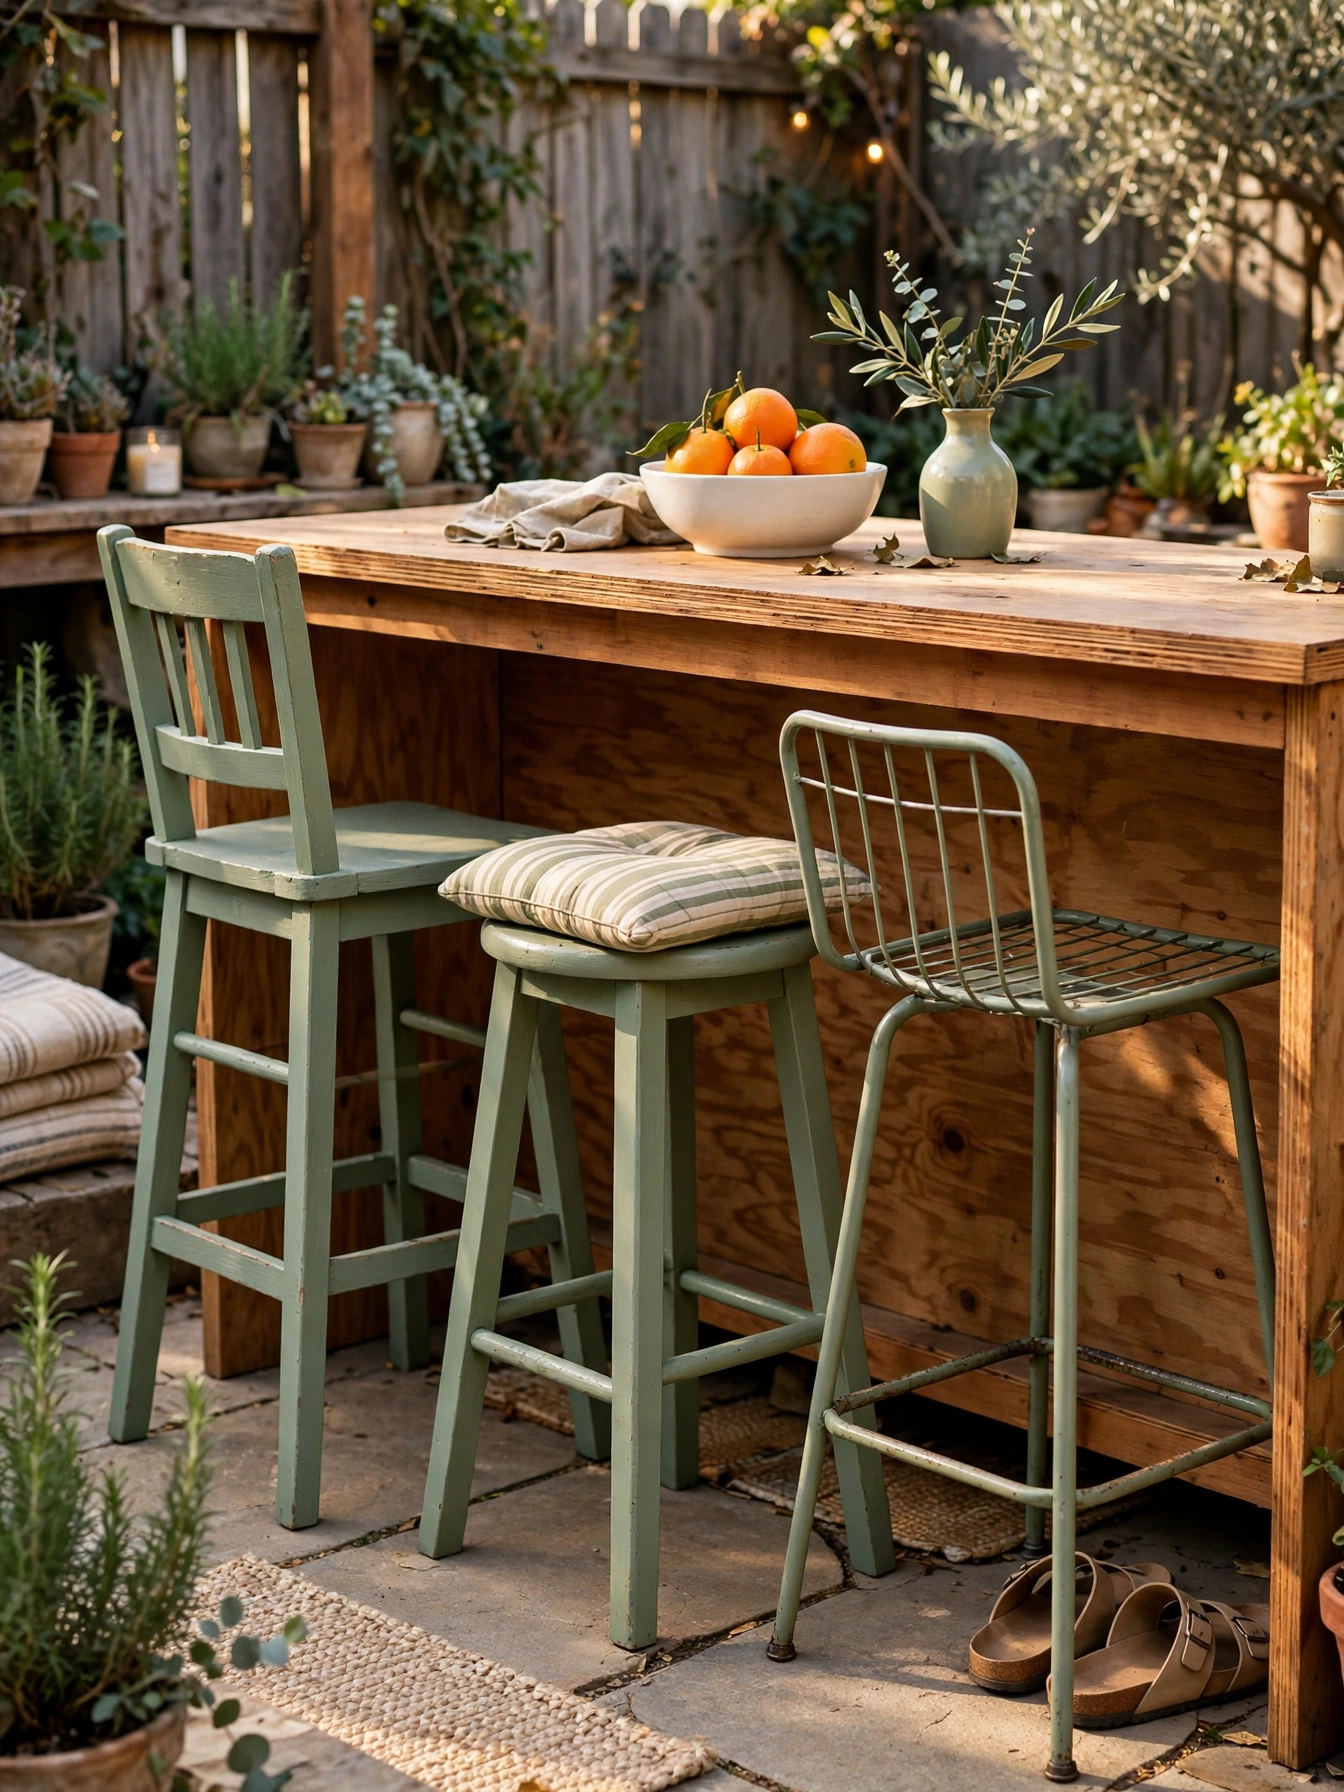
Why This Works:
- Thrifted stools at $10 to $25 each beat new ones by $50 or more
- One paint color ties mismatched stools into a matching set
- A 24 inch seat height pairs with a 36 inch outdoor counter
- Metal footrests at 12 inches high keep feet off the patio
Thrift stores sell bar stools by the dozen, and a coat of paint turns the odd ones into a set. Measure the seat height before buying: a 24 inch stool pairs with a 36 inch counter, while a 30 inch stool needs a 42 inch bar, and a stool that is 2 inches too tall forces knees into the counter edge. Check the joints by rocking the stool side to side, and pass on any stool with a cracked leg or a wobbly rung, since outdoor use widens every weakness. Sand the old finish with 120 grit paper, prime with an exterior bonding primer, and finish with two coats of exterior paint rated for wood and metal. New outdoor stools sell at $60 to $120 each, against a thrifted stool plus paint at a fifth of that price.
Three stools at a 36 inch counter turn morning coffee into a sit-down meal, with one paint color doing the work of matching frames that never matched in the shop. Mismatched frames disappear under one paint color, yet the seats may still differ in shape, so test each stool for comfort before painting. Outdoor paint fades in a season of full sun, so store the stools under cover in winter or repaint each spring. With paint and primer, a matching set of three thrifted stools costs $30 to $75, which leaves room in the budget for cushions.
Shade Sail Canopy

Why This Works:
- One 12 by 12 foot sail shades a full cooking zone for $90 or less
- HDPE fabric blocks up to 90 percent of UV rays
- Three anchor points install in an afternoon with basic tools
- The sail comes down in ten minutes before a storm
A shade sail cools an outdoor kitchen faster than any umbrella, and the fabric does the work. A 12 by 12 foot triangle of HDPE shade cloth blocks up to 90 percent of UV rays while letting rain pass through the weave, which keeps the cooking zone dry enough to use and cool enough to enjoy. Anchor two corners to the house with 3/8 inch lag bolts into studs, and set the third corner on a 12 foot steel pole sunk 2 feet into concrete. Hang the sail with the lowest corner 7 feet high and the highest corner 10 feet high, a slope that keeps the fabric above head height while letting rain run off the low edge. A fixed pergola roof asks $1,500 to $4,000 for the same shade, a sum that buys the sail version many times over.
Midday grilling stays comfortable under a sail, since the fabric drops the temperature under it by 10 to 15 degrees on a hot afternoon. The trade-off is weather: a sail flaps in high wind and collects water if it sags, so take it down before a storm and tension it with a turnbuckle after every rain. A 12 by 12 foot sail costs $40 to $90, poles and hardware add $50 to $80, and $90 to $170 covers the whole canopy installed. An umbrella shades one seat for about the same money, but it cannot cover a whole cooking zone.
Fire Pit Cooking Ring
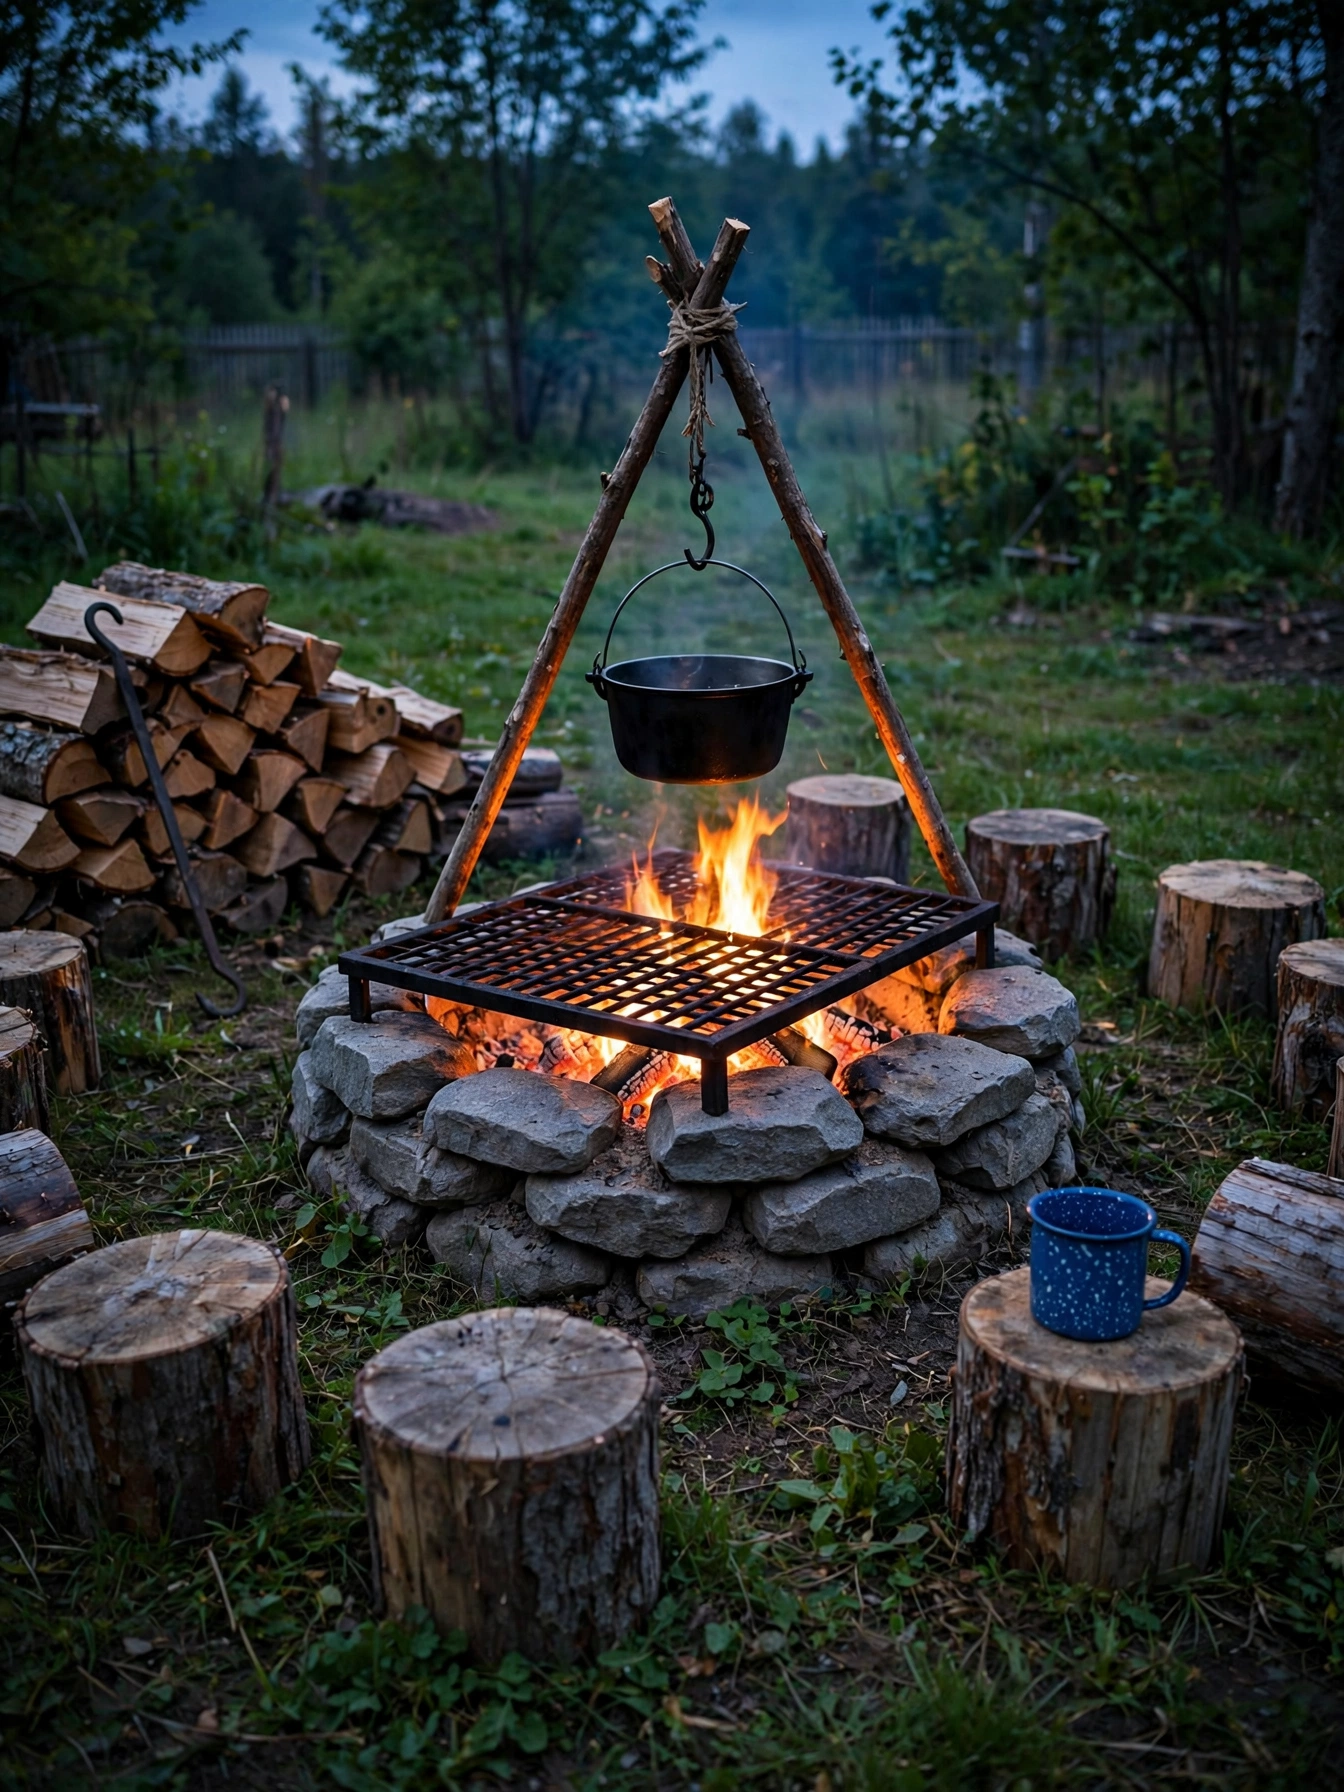
Why This Works:
- A 36 inch stone ring cooks dinner and heats the patio in one fire
- Fieldstones from a yard or a quarry cost $1 to $3 each
- A 22 inch grill grate drops onto the ring for direct-heat cooking
- Log seats at 18 inches high cost nothing when cut from a fallen tree
A fire pit ring cooks with wood instead of gas, and the stone circle is the whole appliance. Stack fieldstones into a ring 36 inches across and 12 inches high, with the stones touching and no mortar, so heat escapes through the gaps instead of cracking the wall. Lay a 22 inch round grill grate across the ring at 6 inches above the coals, which gives direct heat for burgers and a cooler edge for vegetables. Site the ring at least 10 feet from the house, the fence and any overhanging tree, which is the minimum clearance most fire codes require for an open flame. Never burn pressure-treated lumber or painted wood in the ring, since the chemicals release toxic smoke and coat the grate.
Evenings stretch longer around a fire ring, because the cooking fire becomes the gathering spot once dinner is done. A ring of 20 to 25 fieldstones costs $20 to $75, the grate adds $25 to $40, and $50 to $120 pays for the whole cooking setup. Control is the catch: wood fire cooks unevenly and needs 30 minutes to build good coals, while a gas grill lights in seconds and holds a steady temperature. Keep a 5 gallon bucket of water and a shovel within 10 feet of the ring every time it burns.
Herb Crate Garden

Why This Works:
- A crate of basil pays for itself after three grocery store bunches
- Herbs within arm’s reach of the grill get used every single meal
- Crates at 12 inches deep drain well, so roots never sit in water
- A separate crate keeps mint from taking over the basil
Herbs belong beside the grill, and a wooden crate is the cheapest planter that drains properly. Line a 12 by 18 inch crate with landscape fabric, fill it with 6 inches of potting mix, and plant basil, parsley and rosemary in 4 inch pots set into the soil. Each herb needs 6 hours of direct sun, so set the crates on the sunny side of the counter. Rosemary goes a full week between drinks because it likes dry soil, while basil needs watering every 3 days. Drill four 1/2 inch drainage holes in the crate bottom, because standing water rots roots within two weeks. The same planting area in a purpose-built raised herb bed runs $80 to $150, next to a $10 crate box and a bag of soil.
A cook snips basil straight into the pan instead of opening a plastic pack, and at three or four cookouts a week the crate pays for itself within a month. Winter is the limit: most herbs die at the first frost, so move the crates inside or replant each spring. A windowsill herb kit sells for a similar sum yet gets less sun, while the crate sits beside the chopping board where the cooking happens. Watering takes two minutes a day, and the crates need no weeding once the plants fill in. Fresh herbs cost $2 to $4 a bunch at the store, so a $15 crate of three plants saves money within a month of regular use.
Cooler Drink Station
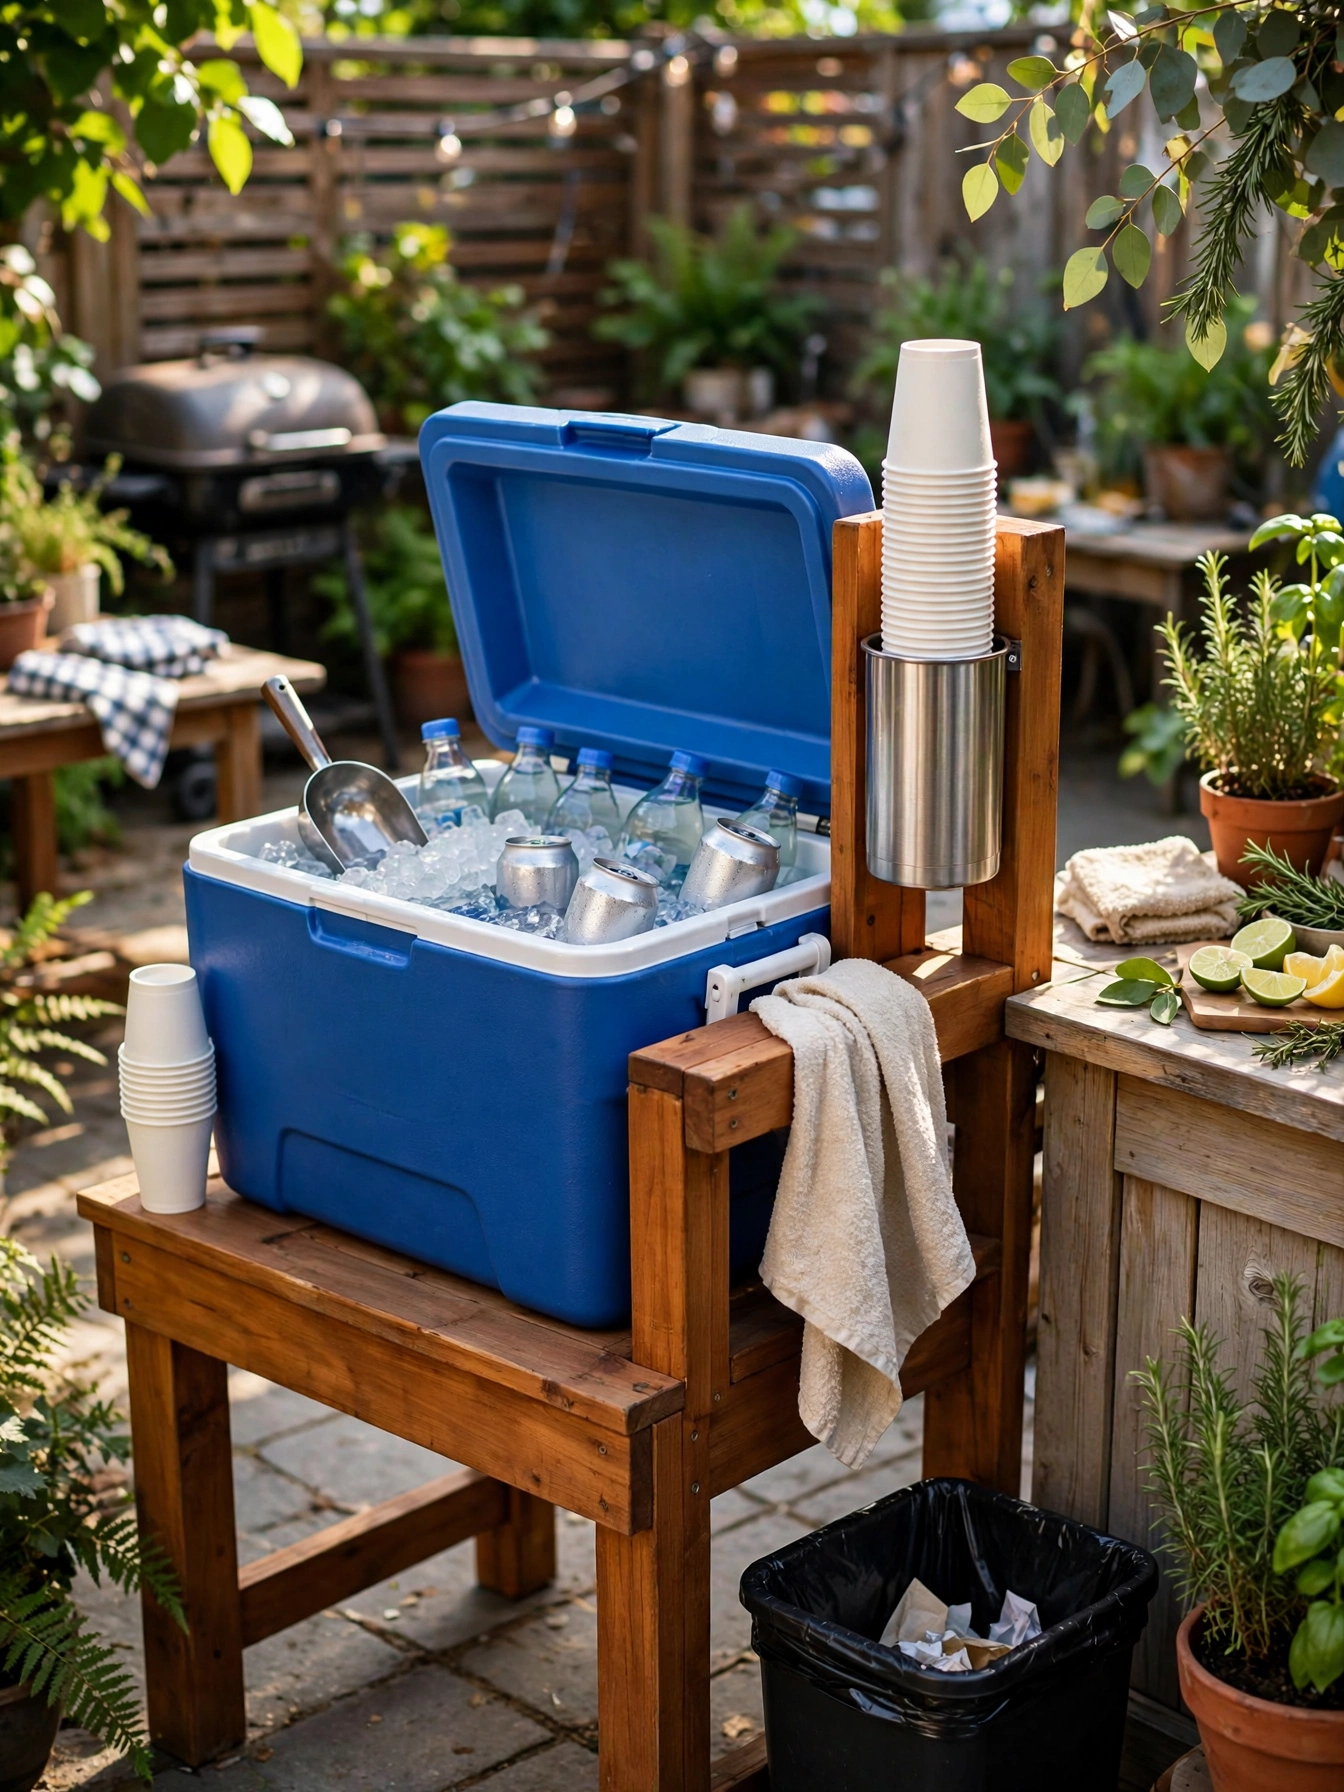
Why This Works:
- A 48 quart cooler holds 40 cans plus 20 pounds of ice
- A wooden stand lifts the cooler rim to 38 inches, so nobody bends down
- A spigot or a scoop serves drinks without lifting a heavy lid
- The station moves to the shade as the sun shifts across the yard
A cooler drink station replaces a fridge for the price of ice. Set a 48 quart cooler on a simple wooden stand 24 inches high, which lifts the rim to about 38 inches and keeps the drinks at a comfortable reaching height. Fill the cooler with 20 pounds of ice for 40 cans, and keep the drain plug open over a gravel patch so meltwater drains instead of pooling around the cans. A cooler with a 5-day ice retention rating holds ice through a weekend, while a cheap thin-walled cooler loses its ice by Saturday night. Skip a cooler without a drain plug, because tipping 48 quarts of ice water across a patio ends the party fast.
Guests serve themselves all afternoon, which frees the cook from playing bartender between grill batches. Ice melts faster in direct sun, so park the station under the shade sail or a tree by noon. A 48 quart cooler costs $40 to $90, the stand takes $15 to $25 in lumber, and 20 pounds of ice runs about $6 a bag at a grocery store. The trade-off is daily effort: ice needs a fresh bag each morning, while a fridge just hums along.
Solar String Lighting
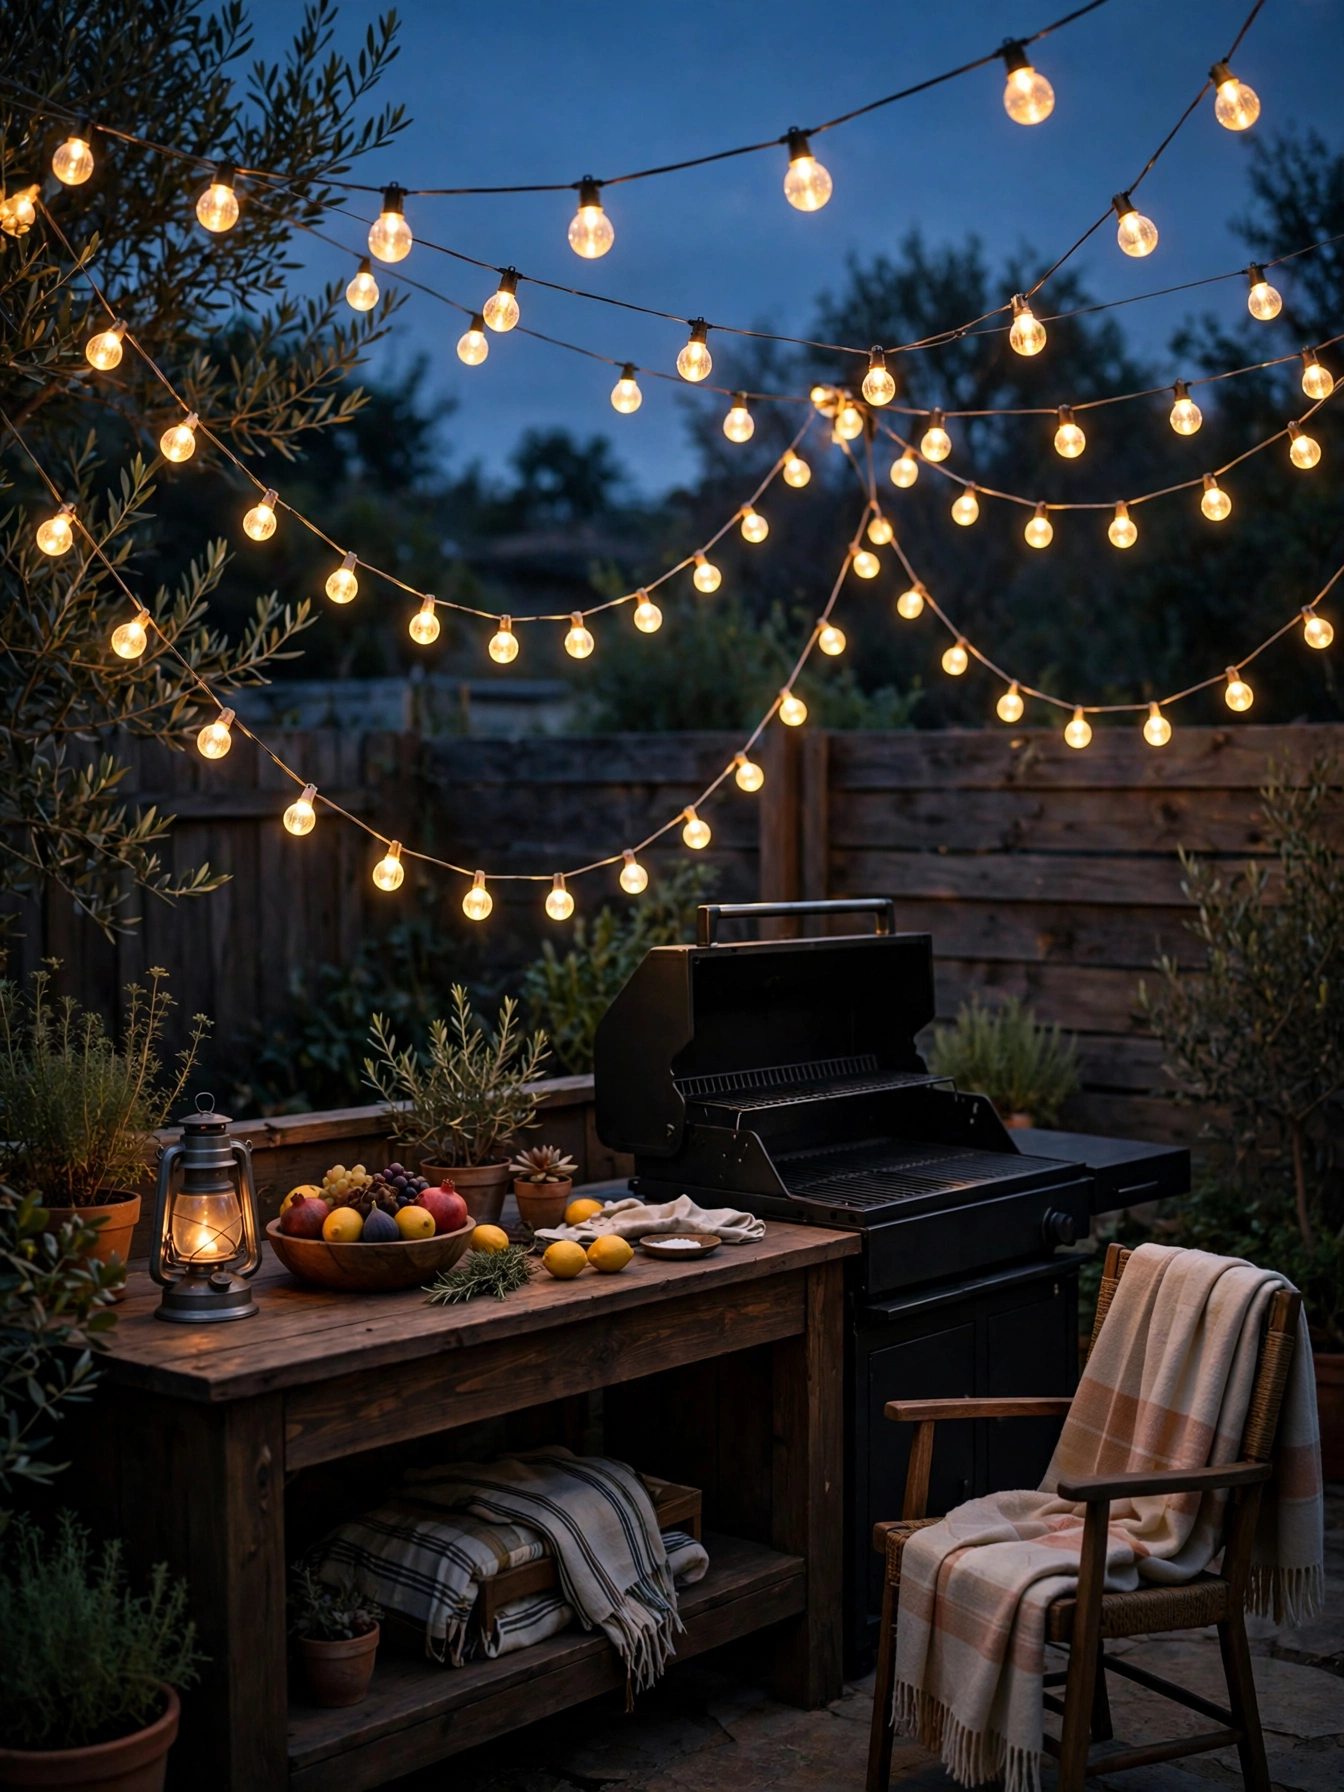
Why This Works:
- Solar strands need no outlet, no wiring and no new circuit
- Warm 2700K bulbs make food look fresh after sunset
- A 48 foot strand covers a 12 foot counter with light to spare
- The panel charges by day and switches on automatically at dusk
Solar string lights stretch the cooking day past sunset without a single wire. Hang 48 foot strands at 8 to 10 feet high, which is the height range HGTV recommends for outdoor string lights, and space the bulbs 12 inches apart so the glow stays even across the counter. A solar panel rated at 5 watts charges the battery in 6 hours of direct sun, which runs the lights for 8 hours after dark. Mount the panel facing south with no shade after 10 AM, because a panel in partial shade charges half as fast and the lights die before midnight. Wired patio lights need a weatherproof outlet and conduit, while solar strands hang from two hooks and a zip tie, and the bulbs should carry an IP65 rating for rain and dust.
An extra hour of light after sunset stretches the cooking day into the evening, when the summer runtime covers dinner and cleanup. Solar strands fade in winter when the sun sets early and the panel gets fewer charging hours, so expect 4 to 5 hours of light in December against 8 hours in June. A wired lighting kit costs about three times as much and needs an outdoor outlet, while solar strands move anywhere the sun reaches. Two 48 foot strands at $25 to $45 each light a 12 by 14 foot patio with warm 2700K bulbs.
Cheap Outdoor Kitchen Ideas from Salvage
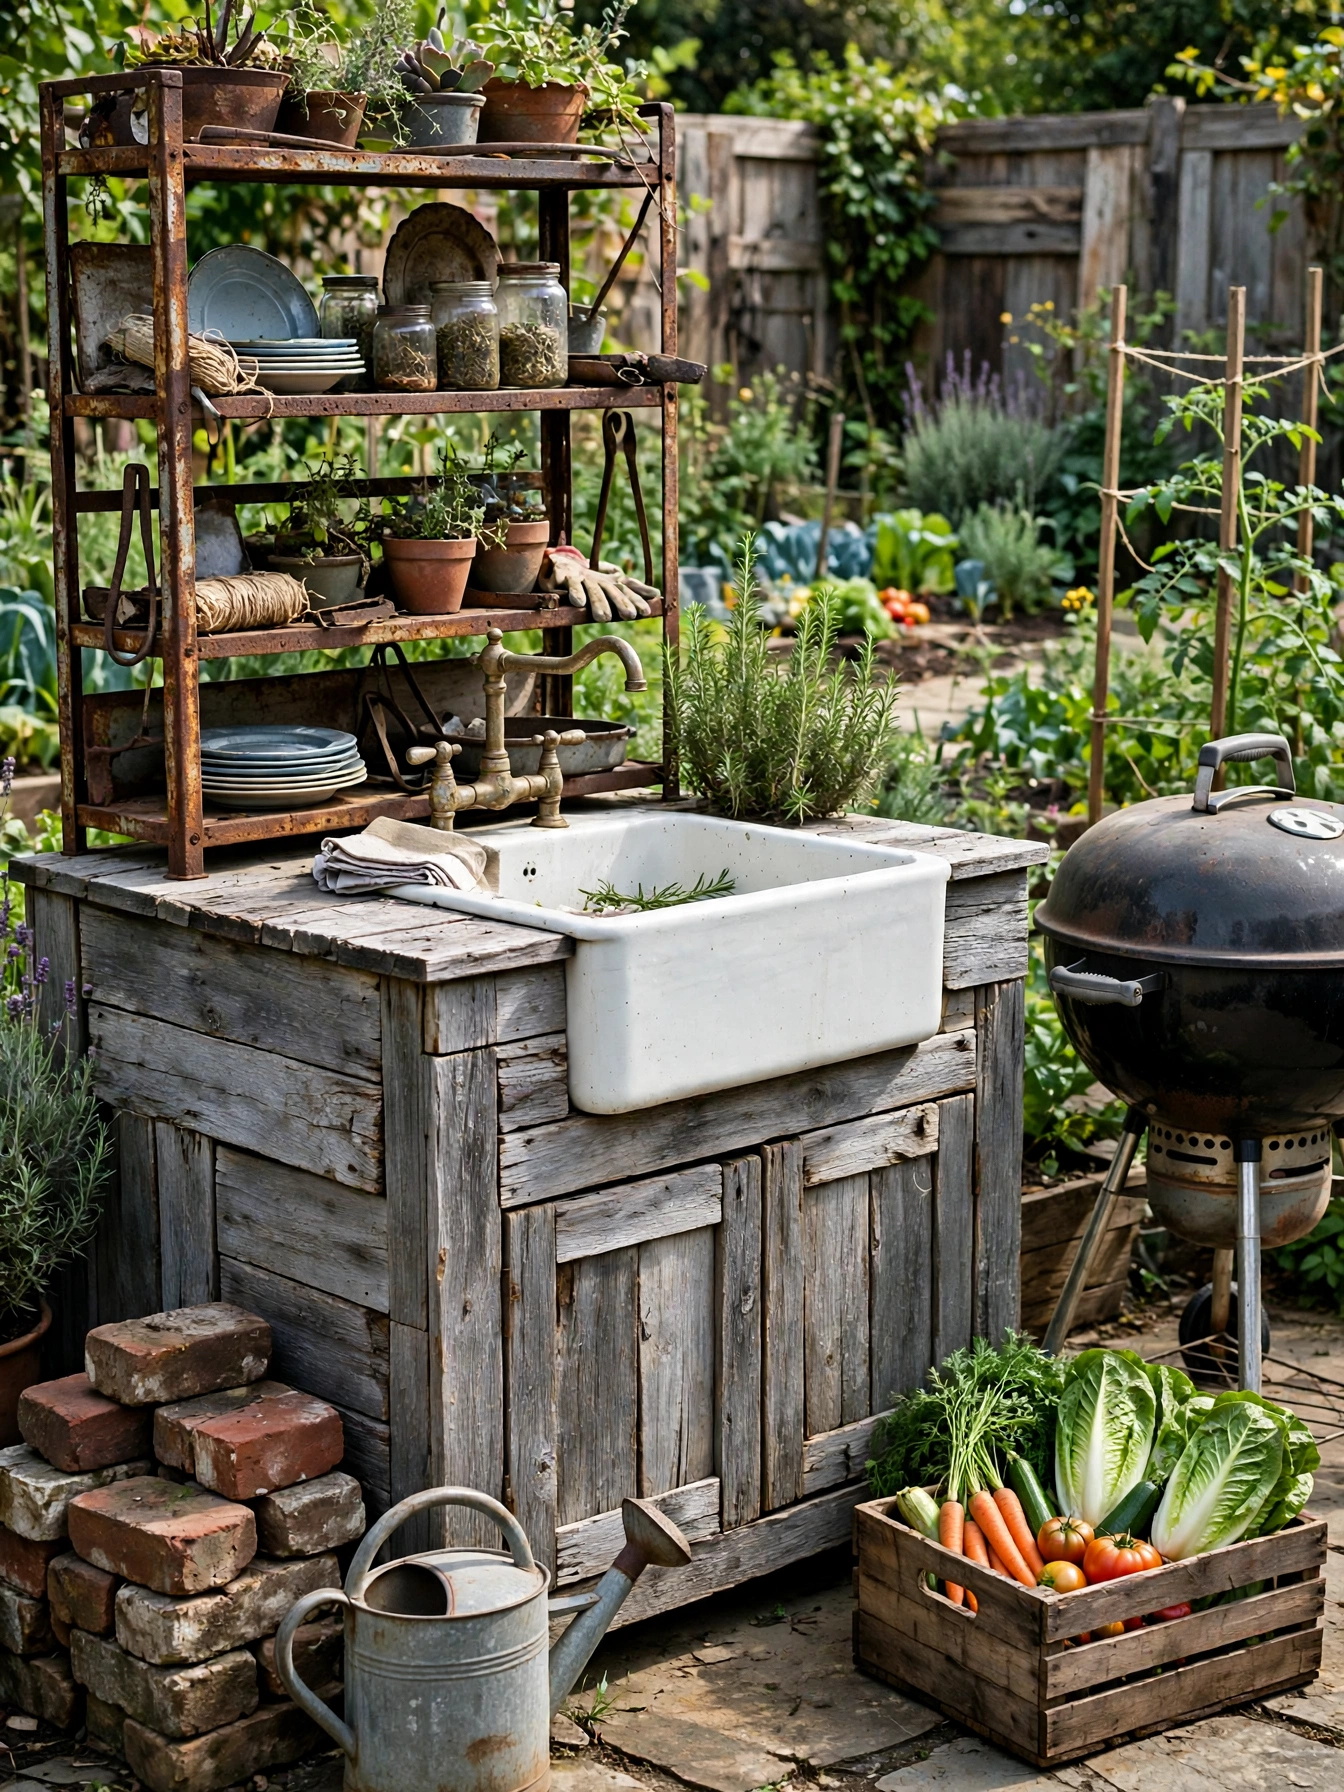
Why This Works:
- Reclaimed lumber at $1 to $2 a board foot beats new lumber by half
- An old porcelain sink adds character no new fixture can copy
- Salvage yards sell solid wood doors that become countertops
- Every salvaged piece keeps useful material out of a landfill
A reclaimed wood door at 30 by 80 inches makes a countertop after a sanding and two coats of exterior polyurethane, and old bricks at $0.50 each stack into a grill surround for less than the cost of lunch. Check every salvaged board for nails with a magnet before cutting, since a hidden nail ruins a saw blade in one pass. The Spruce notes that reclaimed lumber needs sealing on all sides, because old wood soaks up rain faster than new kiln-dried boards. At a salvage yard, a solid wood door sells for $20 to $50 instead of $150 or more new, and a porcelain farmhouse sink is $40 to $80 used instead of $300 new. Skip salvaged pressure-treated wood from an old deck, because the older treatment chemicals are not safe near food.
A month of weekend salvage-yard visits is the real price of this kitchen: each trip adds one piece, a door, a sink or a shelf, until the set is complete. In a salvage build, the counter, sink and shelf add up to $100 to $250, which is about a quarter of the retail price for the same pieces new. Time is the catch: a salvage kitchen takes a month of weekends to gather, while a store-bought set arrives in one delivery. Measure the yard before buying, since an 80 inch door countertop needs a 7 foot wall to fit.
Repurposed Dresser Bar
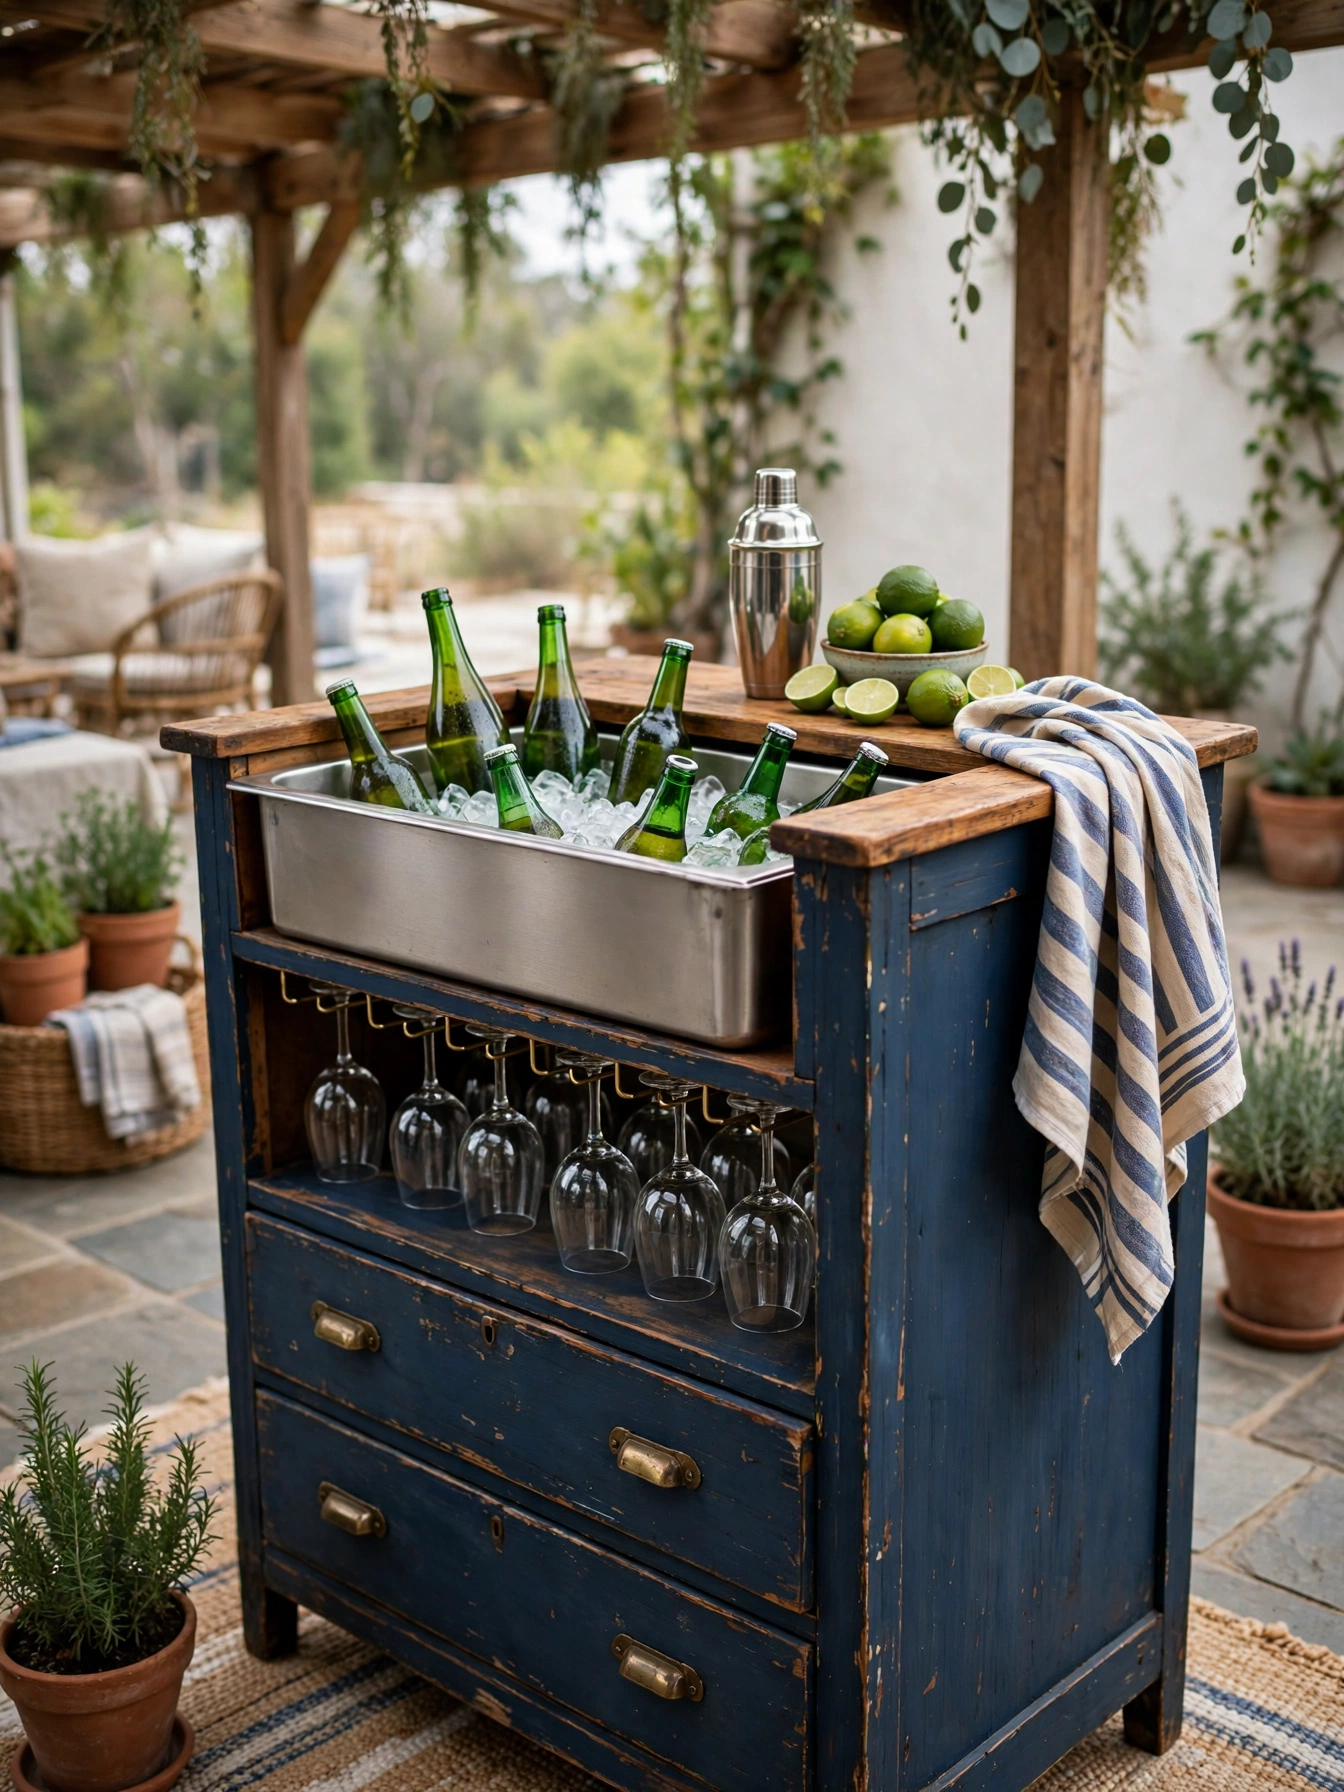
Why This Works:
- A $30 thrifted dresser becomes a bar with a top drawer removed
- The remaining drawers hold bottle openers, napkins and cups
- Dresser height matches a standard bar counter at 36 inches
- Hooks under the top shelf hang six glasses within reach
A dresser makes a better outdoor bar than most purpose-built carts, because the drawers already solve storage. Pull out the top drawer and drop in a 12 by 18 inch stainless steel ice bin, then seal the inside of the drawer cavity with two coats of exterior paint so meltwater never soaks the wood. A standard dresser stands 30 to 36 inches high and 18 inches deep, which matches bar height and fits a 12 inch deep bin with room for bottles behind it. Strip the old finish with 80 grit paper and repaint with exterior paint, since indoor paint peels off outdoor furniture in one rainy month. Keep the dresser under a roof overhang or a cover, because even painted wood swells when rain sits on it for days.
One piece of furniture now holds the ice, the bottles and the glasses, so a weekend party runs without trips back inside for supplies. The drawers keep bar tools sorted, yet the wood needs a fresh paint coat each year to survive outdoors. A metal bar cart costs more and never needs paint, but it holds half the storage and looks the same as every other cart. A thrifted dresser goes for $30 to $80, the ice bin adds $20 to $30, and paint and hooks bring the finished bar to $60 to $130 total.
Rain Barrel Handwash

Why This Works:
- A 55 gallon barrel catches free water from one downspout
- A spigot at 36 inches high fills a basin without bending down
- Gravity feed needs no pump, no power and no buried pipe
- The overflow hose waters the garden bed beside the patio
A rain barrel handwash station gives an outdoor kitchen running water without a pipe in the ground, for a tenth of the $400 to $900 a plumbed outdoor sink costs. Set a 55 gallon food-grade barrel on a wooden stand 34 inches high, which puts the spigot at about 36 inches, the same height as a kitchen sink. Connect the barrel to a downspout with a 3 inch diverter kit, and fit a brass spigot with a 3/4 inch thread at the bottom of the barrel. A full barrel holds 55 gallons, which covers about 100 hand washes at half a gallon each, and the overflow hose should run to a garden bed or a gravel patch, never onto the patio. Never drink from a rain barrel, since roof runoff carries dirt and bird droppings even through a mesh screen.
Garden cooks wash hands and vegetables without a trip inside, and the station works best for a household with a downspout near the patio. The water runs cold and stops when the barrel empties, so a dry spell means hauling a hose again. A 55 gallon barrel costs $60 to $100, the stand and diverter add $30 to $50, and the spigot and gravel take the finished station to $90 to $150. Maintenance is the catch: the mesh screen needs a rinse every month, or leaves clog the diverter and the barrel stays empty.
FAQs
What are the best cheap outdoor kitchen ideas that actually work?
A pallet counter at $40 to $90 plus a used grill at $40 to $90 lands near $80 to $180. The 36 inch height stacks up this way: one 5.5 inch pallet on a 30 inch frame plus a 3/4 inch top: 30 + 5.5 + 0.75 equals 36.25 inches.
How much does a budget outdoor kitchen cost in total?
A full setup with a counter, grill, sink and storage comes to $250 to $500 when the counter is pallet wood and the grill is secondhand. A gas grill adds $80 to $200, while a stock tank sink adds $80 to $150, so the grill choice sets the final total.
Can I build cheap outdoor kitchen ideas as a renter?
Yes, when every piece stands free. For $120 to $220 you get a folding cart, a portable grill and a 48 quart cooler, and the setup breaks down in 10 minutes with no holes in any wall. Park the grill on a fire-safe mat; store the gear inside in winter.
What cheap materials hold up best outdoors?
Concrete pavers, galvanized steel and HDPE shade fabric last longest on a small budget. Pavers at $3 to $6 each and 1.5 inches thick take hot pans without scorching, while sealed reclaimed lumber needs a fresh coat each year to resist rain.
How do I keep a cheap outdoor kitchen dry in the rain?
Roll the counter under cover on locking casters, hang a shade sail at 7 to 10 feet high, and seal wood with one coat of exterior polyurethane each spring. Store cushions and paper goods inside, and cover the grill with a $20 cover after every use.
Conclusion
Put the money into heat, height and storage instead of brand names, and a cheap outdoor kitchen pays for itself fast. Start with a pallet counter at 36 inches, a rescued grill and a stock tank sink, then add storage and shade one piece at a time as the budget allows. Measure the patio first, buy the grill second, and build the counter to fit the space that is left. Follow HomelyCrafter on Pinterest for more ideas. Save this to your Pinterest boards so you can refer back to it!

Muhammad Israr is a home decor enthusiast and the writer behind Homely Crafter. He spends his days researching paint colors, layouts and budget-friendly styling ideas, then breaks them down into practical, easy-to-follow guides so you can decorate with confidence.
1 thought on “20 Frugal Cheap Outdoor Kitchen Ideas for Small Budgets”