
Open a pantry door on a weeknight and the next ten minutes decide whether dinner feels calm or chaotic. A shelf that is too deep hides the pasta sauce behind three rows of cans, and a door without storage wastes square footage in the kitchen. Kitchen pantry design ideas matter because the pantry is the cabinet family members open most, several times a day. According to the National Kitchen and Bath Association, pantry shelves work best at 12 to 16 inches deep, a range that keeps every item within reach. This guide walks through 21 storage systems, from pull-out shelves to bins, labels and lighting, with exact depths and clearances. Inside are measurements to check with a tape measure, material choices for daily use, and honest notes on cost and limits, so the plan fits a real kitchen.
Pull-Out Pantry Shelves
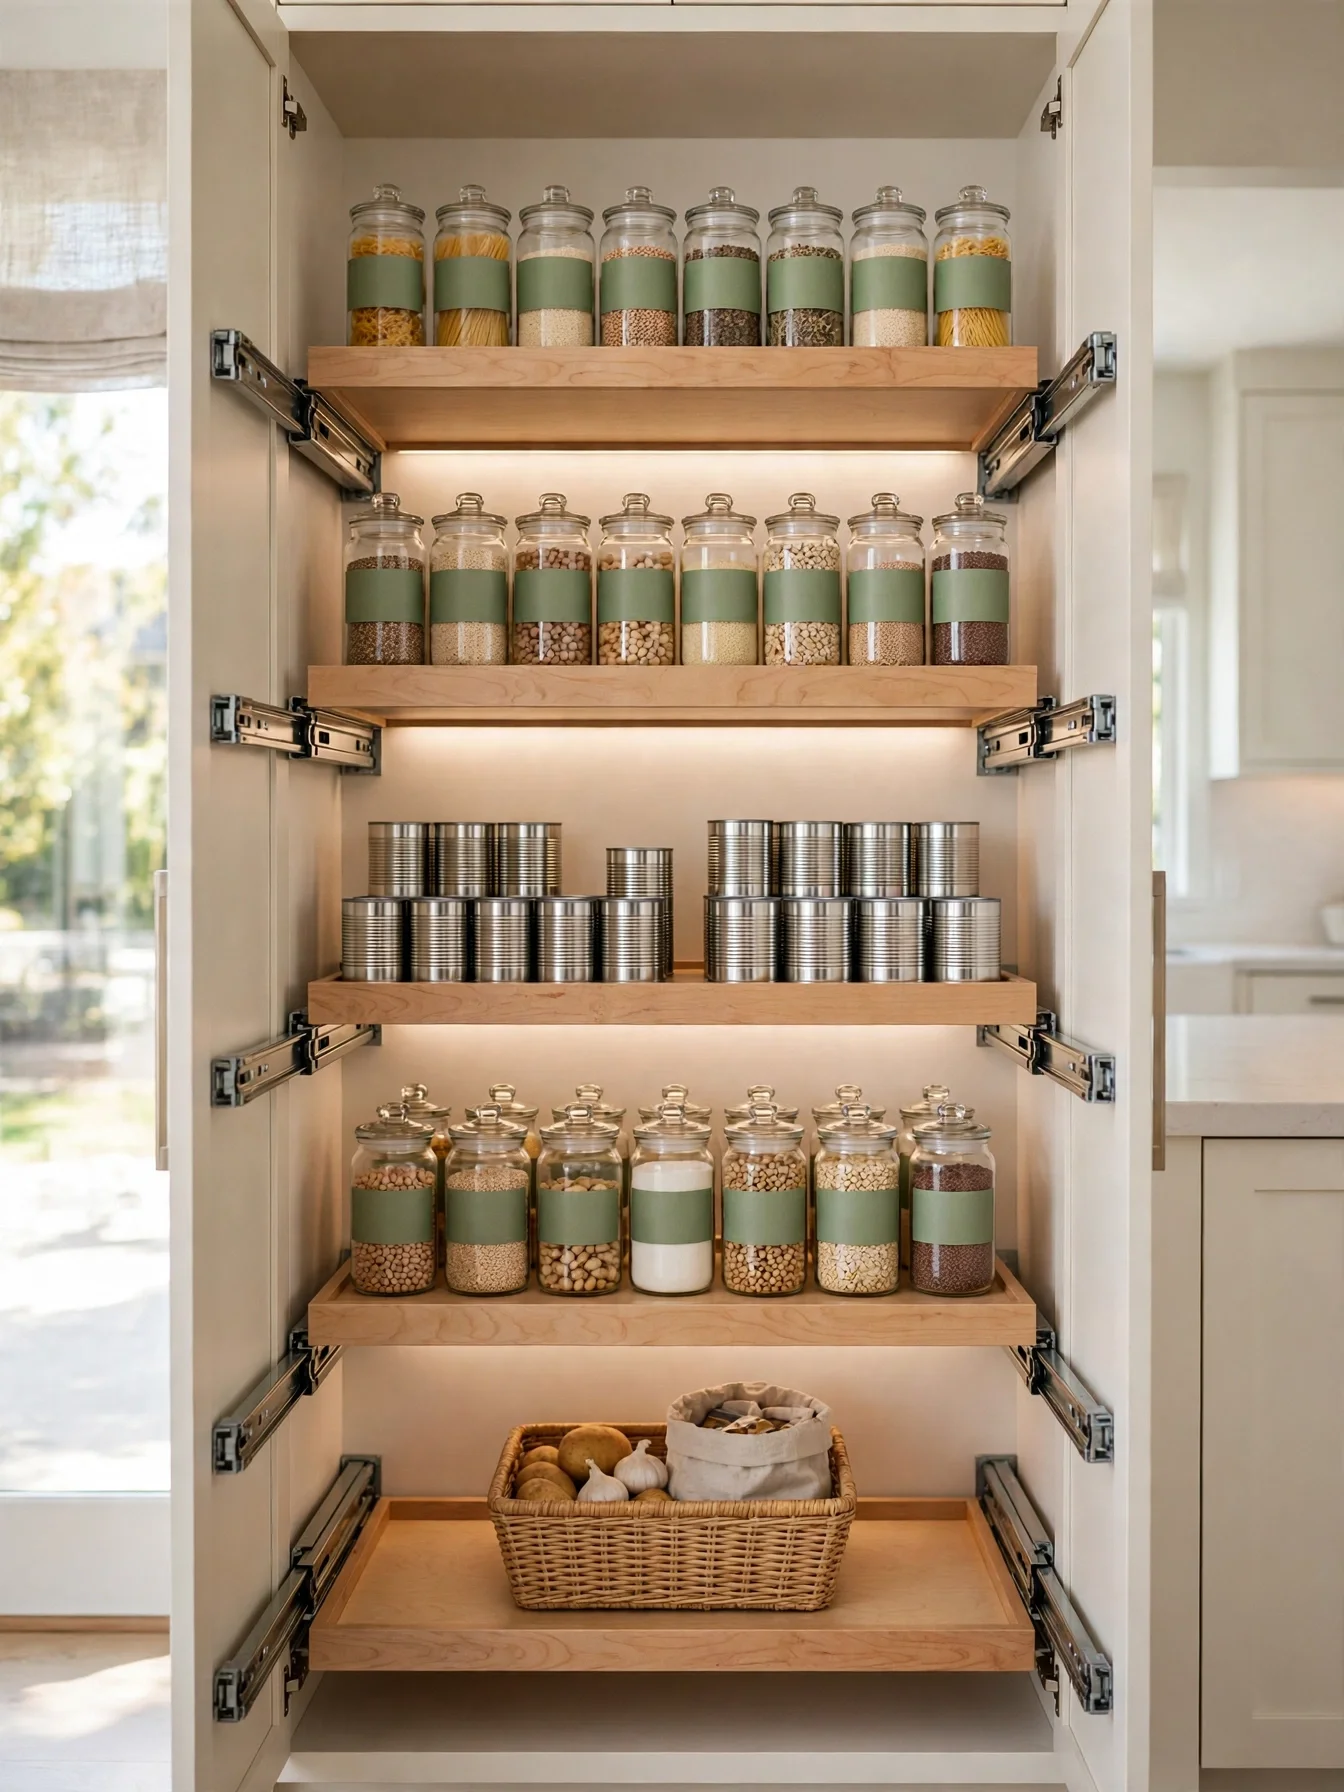
Why This Works:
- Full-extension slides bring the back row forward, so nothing hides out of reach
- A 12 inch shelf depth keeps cans in a single visible row
- Plywood shelves rated for 75 pounds hold heavy jars without sagging
- Pull-outs cut search time because every item faces forward
A standard tall cabinet runs 84 inches high and 24 inches deep, yet fixed shelves inside it waste the back 10 to 12 inches on every level. Pull-out shelves fix that waste by sliding the full depth toward the cook on ball-bearing slides rated for 75 to 100 pounds per shelf. Keep each shelf 12 to 14 inches deep for cans and jars, and leave 12 to 14 inches of vertical space between shelves so cereal boxes stand upright. Skip wire pull-outs for small items, since spice jars tip through the gaps; choose solid plywood or melamine bases instead. The National Kitchen and Bath Association recommends shelf depths of 12 to 16 inches for pantries, which matches this setup exactly.
With small children in the house, the lowest pull-out earns its keep as a snack drawer at a 30 inch height that small hands reach safely. The price of that convenience is real: a set of four pull-outs runs 400 to 900 dollars installed, roughly triple the price of fixed shelves. Heavy loads also wear cheap slides, so budget slides rated under 50 pounds will sag within a year. Measure the cabinet opening before ordering, and subtract 1 inch on each side for slide clearance so the shelf glides without rubbing the frame.
Walk-In Pantry Layout
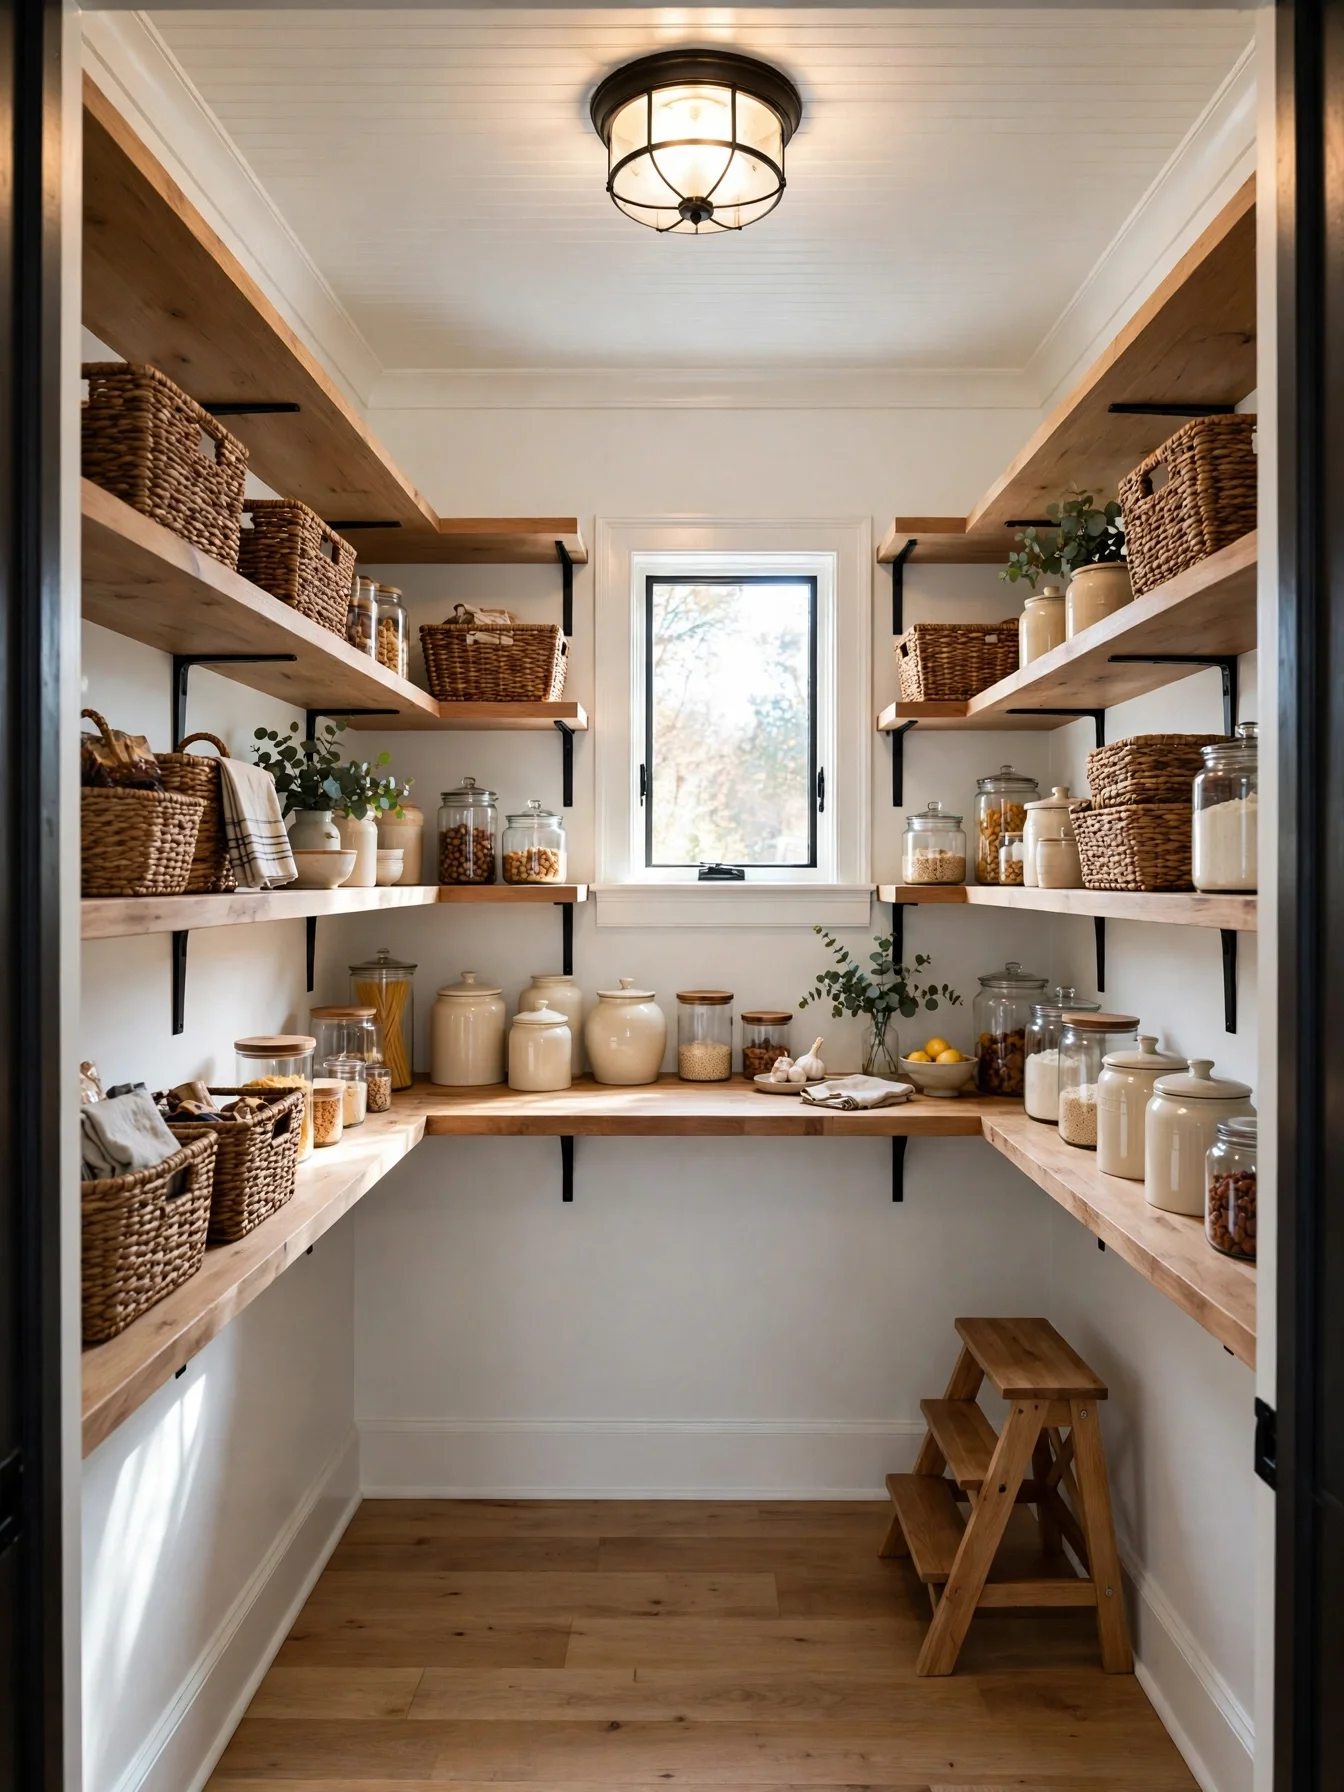
Why This Works:
- A U-shaped layout gives roughly three times the shelf length of a single wall
- A 36 inch center aisle lets two people pass without bumping
- Open shelves at eye level put daily items within a 60 inch reach
- A small counter gives a landing spot for grocery bags
A walk-in pantry needs a minimum footprint of 5 feet by 5 feet to work, and 5 feet by 7 feet feels far more comfortable for a family of four. Plan a 36 inch clear aisle down the center, with shelves 12 to 16 inches deep on the walls and a countertop at 36 inches high on one side. The 36 inch aisle holds with 12 inch shelves; with 16 inch shelves on both walls the aisle is 28 inches. Keep the top shelf no higher than 84 inches, and place a step stool nearby for anything above 72 inches. Do not fit shelves deeper than 16 inches on the side walls, since the back row disappears behind the front row and food expires unnoticed. The work triangle guideline of 4 to 9 feet between sink and stove still applies, so keep the pantry door within 6 feet of the main counter.
If the household buys in bulk once a month, the U shape pays off: a 5 by 7 foot room offers about 19 feet of wall per shelf level, or roughly 75 to 95 linear feet across four to five shelf levels, enough for a month of dry goods. Floor space is the real cost here, because carving out 35 square feet takes cabinet space from elsewhere in a small kitchen. Ventilation matters too, as a closed room without airflow traps humidity and softens crackers and cereal. Add a vent or a louvered door if the room feels stuffy after a week of use.
Adjustable Pantry Shelving
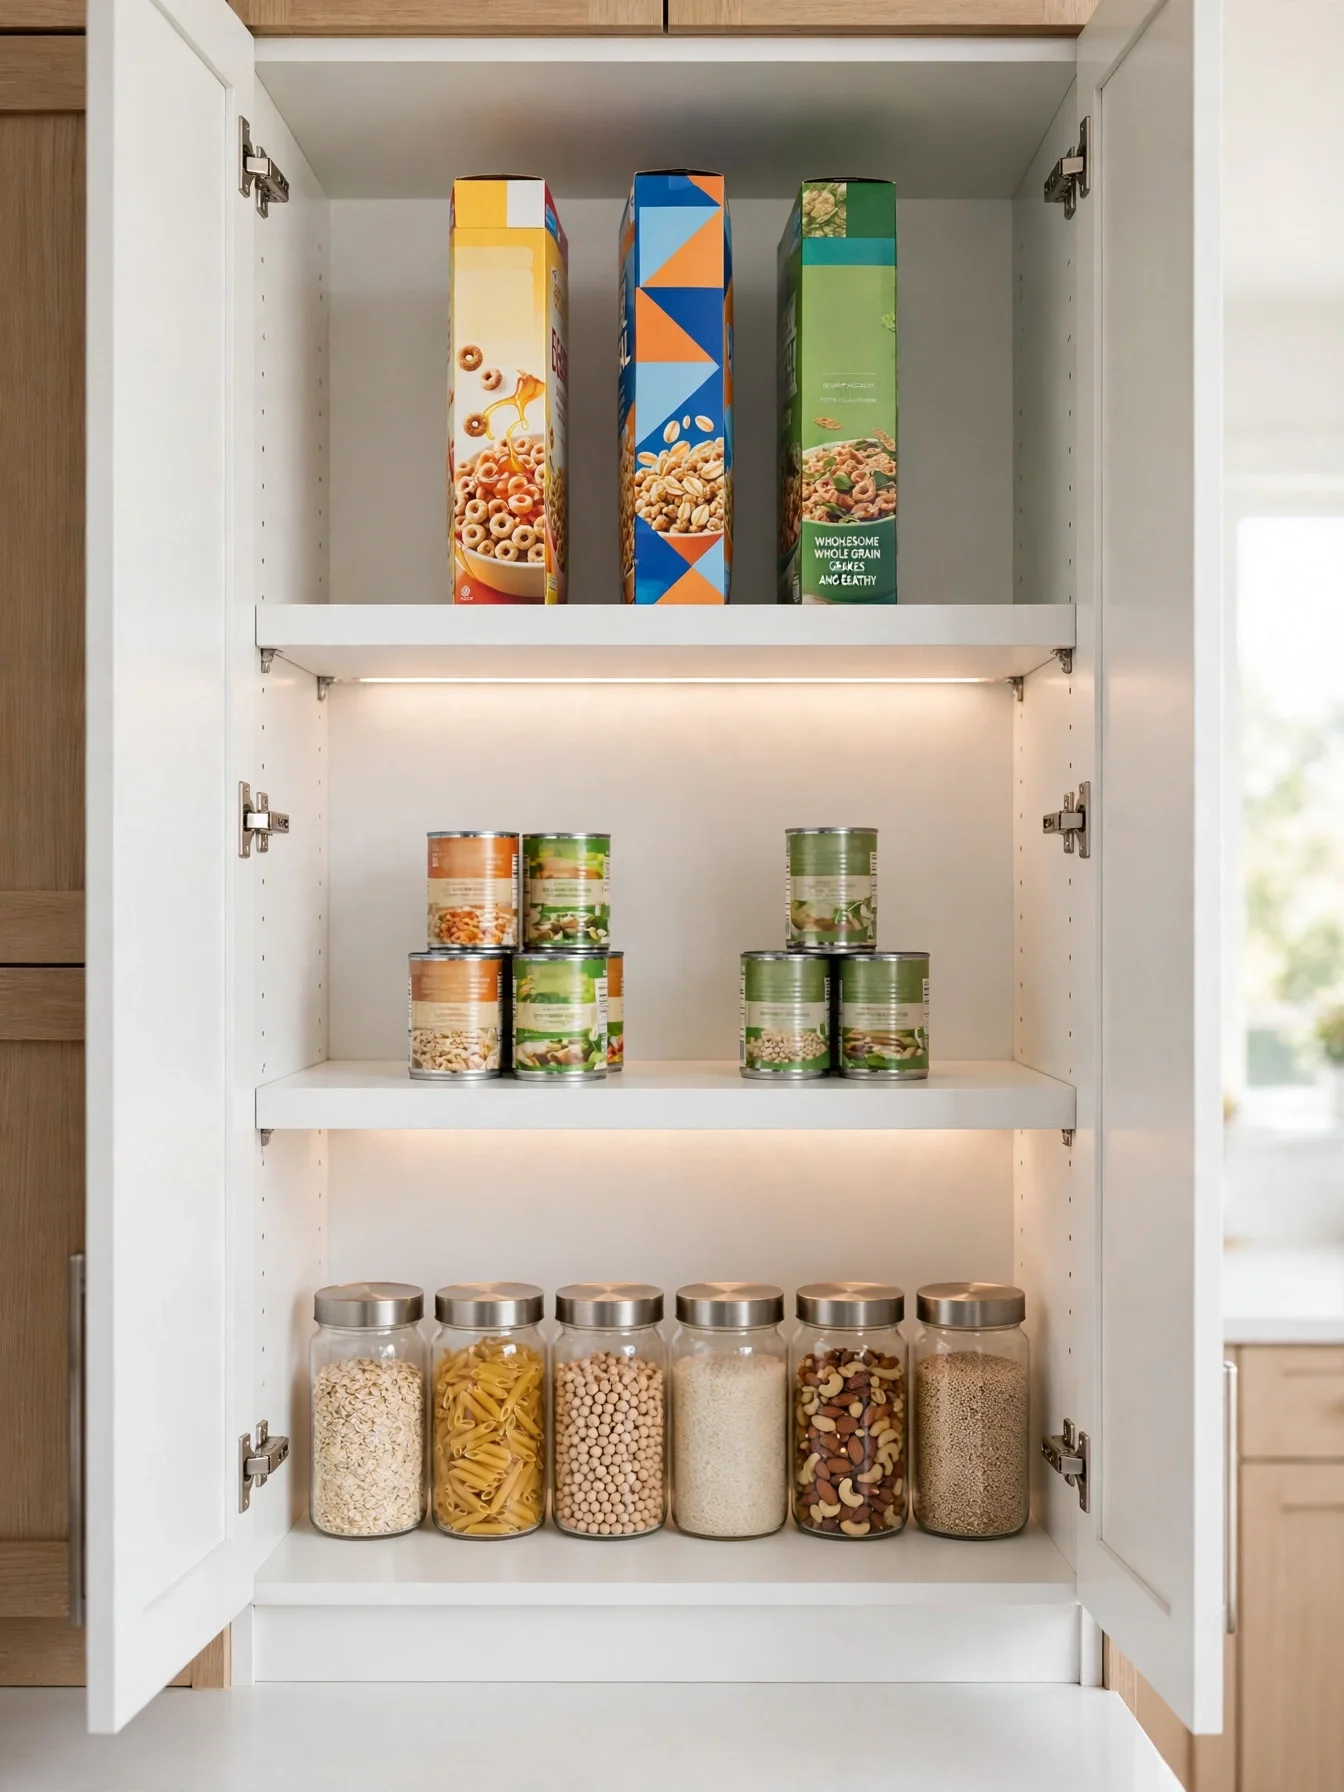
Why This Works:
- Shelf pins spaced every 1.25 inches allow height changes in seconds
- Tall shelves fit 12 inch cereal boxes without wasted air above
- Short shelves double can storage on the same wall
- Melamine wipes clean after a spill in under a minute
Adjustable shelving starts with vertical pin holes drilled every 1.25 inches, which lets each shelf move in small steps as storage needs change. Set the most-used shelf at 48 to 60 inches high, the comfortable reach zone for most adults, and reserve the 72 to 84 inch zone for seasonal items. Use 3/4 inch thick melamine or plywood for spans up to 36 inches, since thinner boards sag under a full load of cans within months. Steer clear of particleboard shelves thinner than 5/8 inch, since they bow under 40 pounds and never recover. Daily items belong at hand height, so set the most-used pantry shelf where an adult can reach it without stretching; upper cabinets sit 18 inches above the counter for the same reason, to keep the work zone handy.
A cabinet that has to serve baby food jars this year and tall pasta boxes next year is where this system shines, which makes it a strong fit for renters and growing families. What holds it back is discipline: adjustable shelves only help when someone actually moves them, and many stay at factory height for years. Pins also vanish easily, so keep four spares in a small bag taped inside the cabinet door. A quick seasonal reset every 3 months keeps the layout matched to what the household really buys.
Clear Pantry Bins
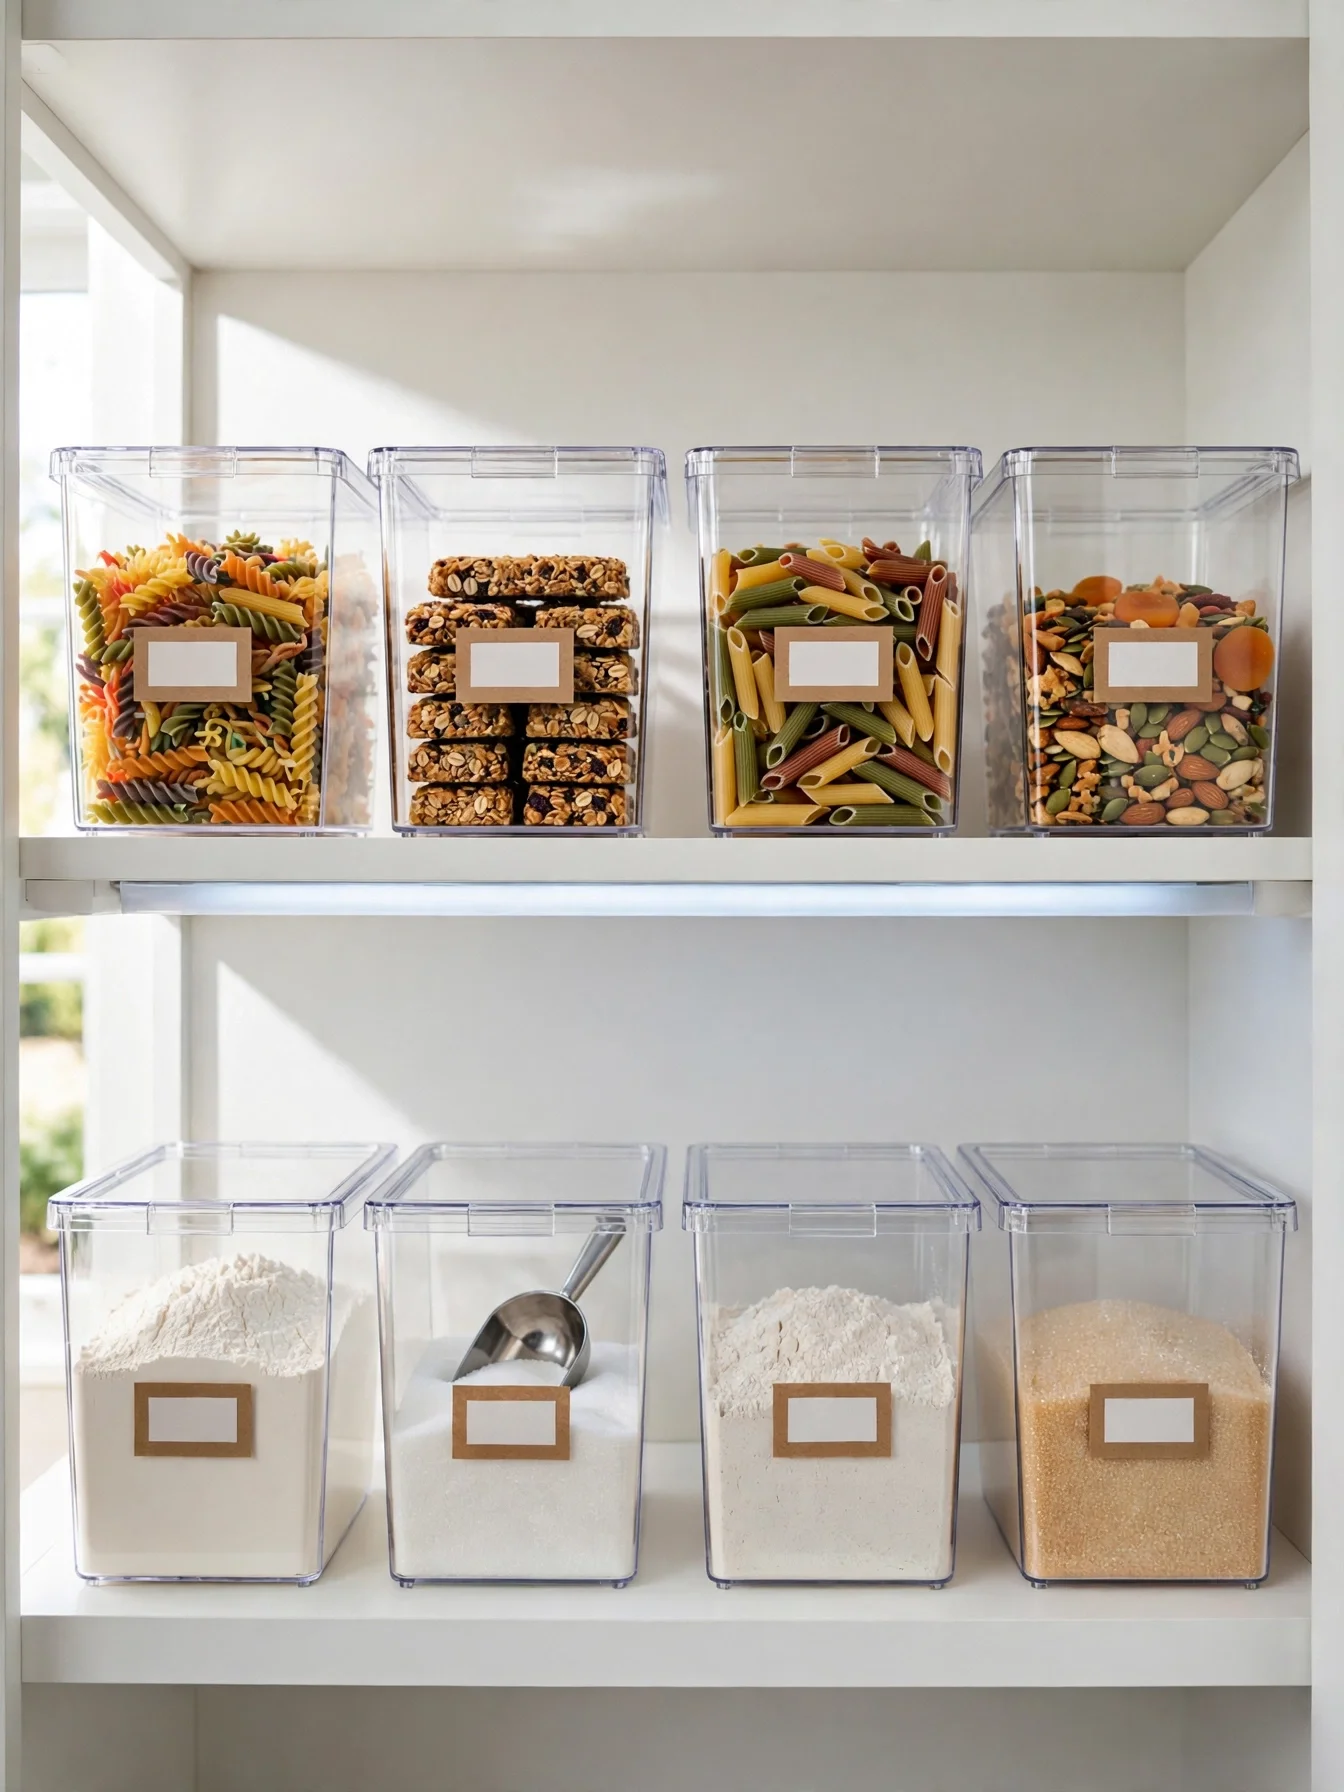
Why This Works:
- Clear walls show contents at a glance, so shopping lists write themselves
- Bins sized 10 by 8 inches corral loose packets into one pull
- Lids keep flour and sugar safe from pantry moths
- Matching bins make a 24 inch shelf look twice as neat
Clear bins work best in three sizes: small 6 by 4 inches for spice packets, medium 10 by 8 inches for snacks, and large 16 by 10 inches for bulk pasta. Set a large bin with the 10 inch side front to back, so it fits a 12 inch deep shelf with 2 inches to spare. Choose BPA-free acrylic with walls at least 2 millimeters thick, since thinner plastic cracks when a full bin drops 12 inches to the floor. Leave 1 inch of space above each bin so a hand fits in to grab the last granola bar. A common mistake is choosing opaque bins for everyday items, since the contents stay invisible and duplicates pile up behind the front row. A 12 inch deep shelf fits one row of medium bins with 2 inches of finger space at the front edge.
On a busy weeknight, pulling one bin of taco supplies beats opening six bags, so cooks who shop once and cook fast get the most from this system. The weak spot is the decanting habit: every grocery trip adds 10 minutes of pouring food into bins. Bins also cost 8 to 25 dollars each, and a full pantry needs 12 to 18 of them. Pick the five most-used categories first and add bins only where loose packets actually cause mess.
Labeled Pantry Jars
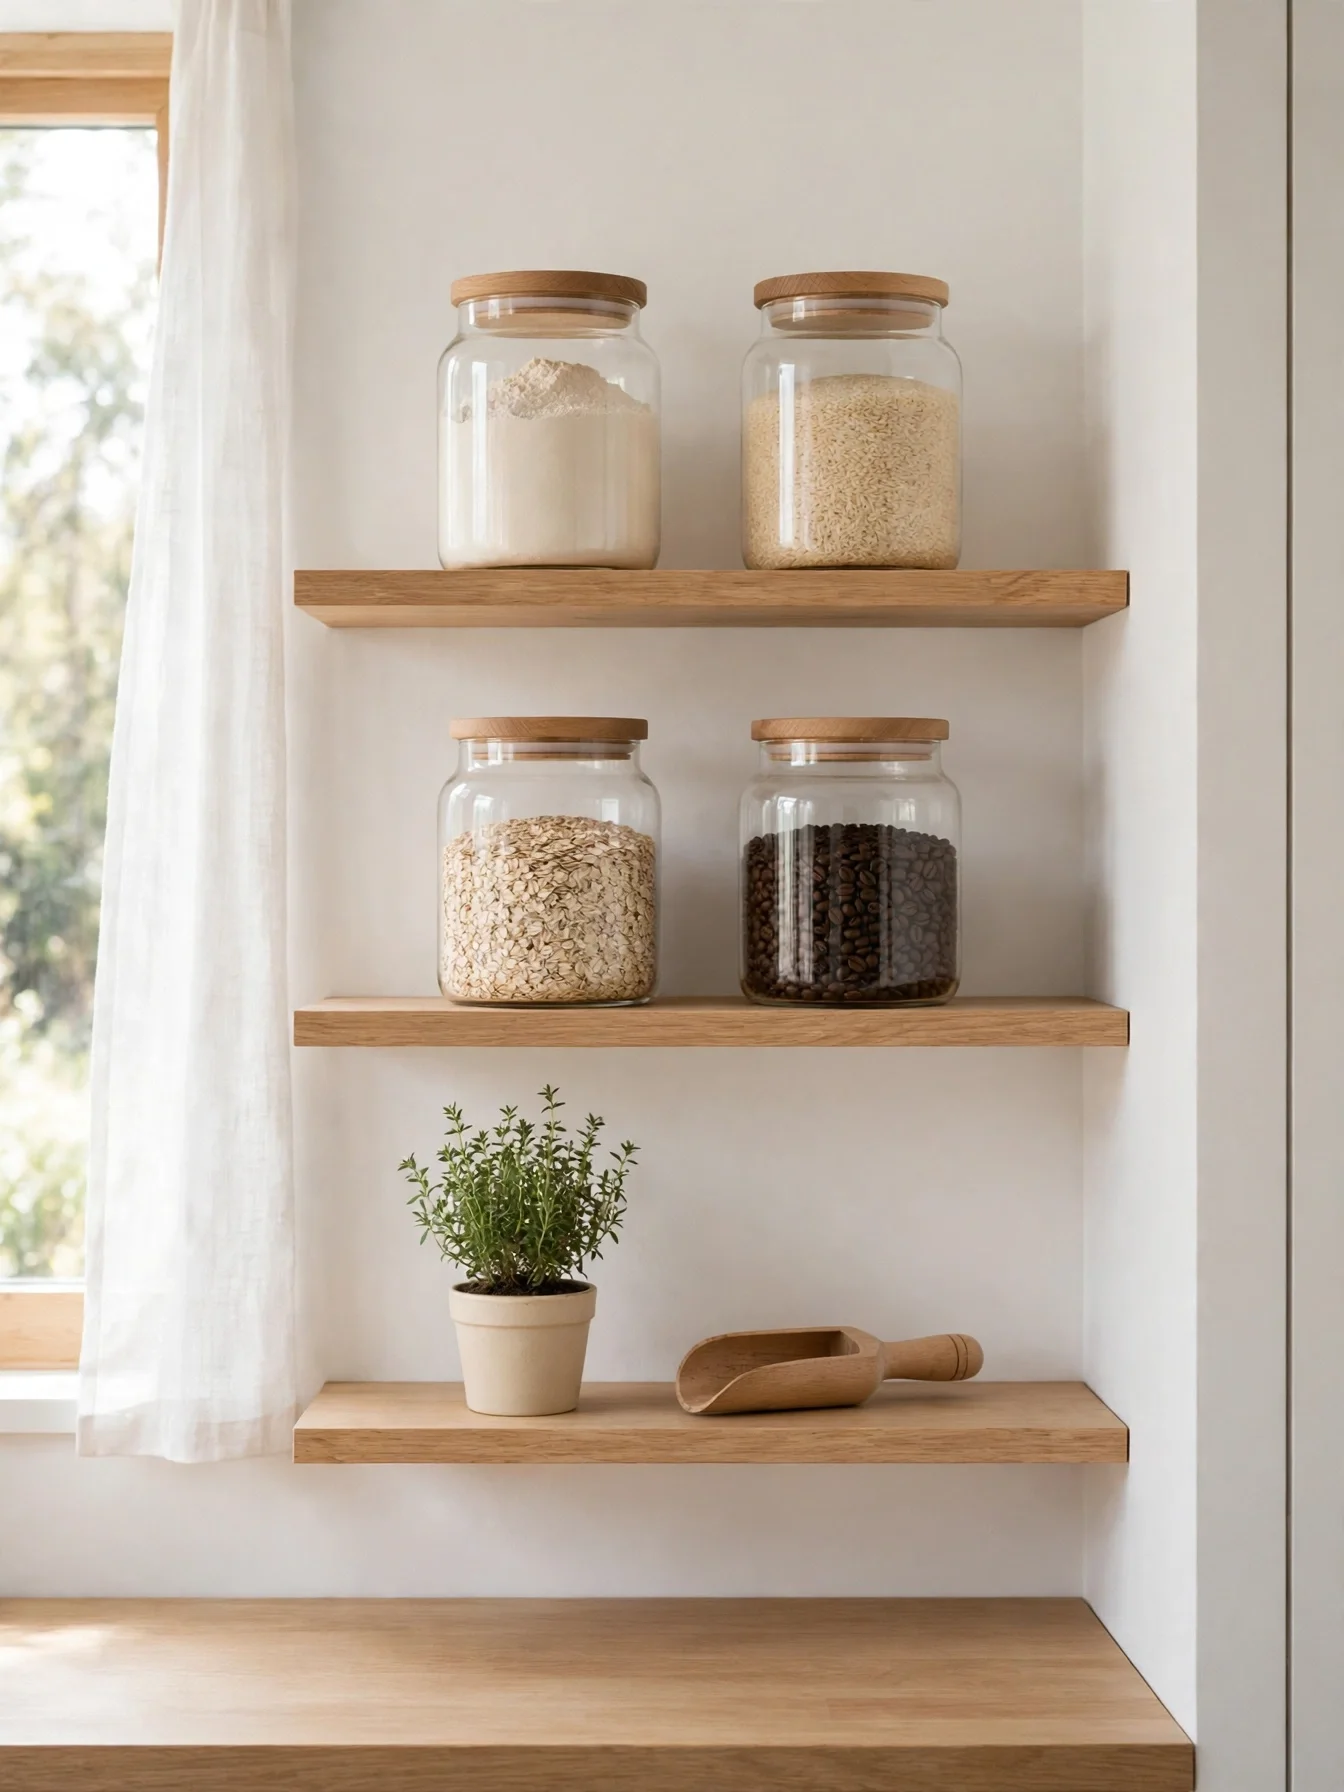
Why This Works:
- Glass jars show fill levels, so refills happen before food runs out
- Airtight lids keep flour fresh for 6 months instead of 6 weeks
- Labels stop the salt and sugar mix-up at a glance
- Uniform jars turn a shelf into a calm visual rhythm
Glass jars in 32 ounce, 64 ounce and 128 ounce sizes cover nearly every dry good in a home pantry. A 64 ounce jar holds about 2 pounds of flour, and a 32 ounce jar holds about 1.5 pounds of rice, which matches a two-week supply for most households. Jars with silicone-seal lids are the safer pick: a loose lid lets humidity in and clumps sugar within 3 weeks. Watch out for jars wider than 6 inches on a 12 inch shelf, since two rows will not fit side by side and the back row hides. Label the front face at eye level, 48 to 60 inches high, where a cook reads it without lifting the jar.
Flour, sugar and oats stay visible and measurable without opening five bags, so bakers notice the biggest difference here. Time and money are the real cost: a set of 12 quality jars runs 60 to 120 dollars and decanting adds 15 minutes to each shopping trip. Glass also breaks, so keep heavy jars below 48 inches where a drop falls a shorter distance. Keep one spare jar empty for the next bulk buy.
Slim Door Racks

Why This Works:
- A 4 inch deep rack adds storage without blocking shelf access
- Three tiers hold 24 spice jars on a door that held nothing
- Spices stay visible at eye level between 48 and 60 inches
- Steel racks rated for 15 pounds per tier hold full glass jars
Slim racks mount on the inside of a pantry door with screws into solid wood or with heavy-duty adhesive rated for 20 pounds. Keep each rack 3 to 4 inches deep, since anything deeper hits the shelves when the door closes on a 24 inch deep cabinet. Space tiers 10 to 12 inches apart so tall sauce bottles fit without tilting. Never mount racks on hollow-core doors unless the screws hit the solid frame edge, since the thin skin will not hold 15 pounds of jars for long. Check the gap between the door and the front shelf edge first, and leave at least 1 inch of clearance.
Where floor space is already gone, the door is the only surface left, and it adds about 6 square feet of storage without taking a single inch of floor, so a small kitchen gains storage where none seemed possible. A fully loaded door strains hinges over time, so check hinge screws every 6 months and tighten them at the first sign of sag. Racks also suit small items only, as a gallon jug will never fit a 4 inch rack. Reserve the door for spices, sauces and packets under 12 inches tall.
Kitchen Pantry Design Ideas

Why This Works:
- Mixing open and closed storage hides clutter while showing pretty jars
- A 36 inch counter height gives a staging spot for meal prep
- Brass pulls and walnut trim warm up plain white cabinets
- Zoned shelves put daily items at 48 inches and bulk goods below
A full pantry wall works when it is planned in zones rather than as one long row of identical shelves. Put daily breakfast items between 36 and 60 inches high, baking supplies at 60 to 72 inches, and bulk goods below 36 inches where their weight sits low and safe. Upper cabinets 18 inches above the counter keep the work surface clear, and island clearance of 42 to 48 inches on all sides lets two cooks move without collision. It is tempting to line the wall with identical 12 inch shelves from floor to ceiling, but tall items end up crammed and short items waste vertical space. Vary shelf heights so each zone matches what it actually holds.
Cook five nights a week and the zone plan pays for itself quickly, since it cuts the walk between pantry and stove to a few steps. Planning time is the part people underestimate, though, because a zoned wall needs a full inventory list before a single shelf goes in. Cost also climbs, with a custom 8 foot pantry wall running 3,000 to 6,000 dollars against 800 dollars for stock cabinets. Start with the zone map on paper, then buy shelves to match it.
Deep Pantry Drawers

Why This Works:
- A 10 inch deep drawer holds 25 pounds of potatoes without bruising
- Top-down view shows every item, so nothing rots unseen at the back
- Soft-close slides rated for 100 pounds glide even when full
- Dividers stop onions and potatoes from rolling together
Deep drawers beat deep shelves for heavy and bulky food because the whole drawer comes to the cook instead of forcing a reach into darkness. Build drawers 22 inches deep front to back and 24 inches wide, with 10 to 12 inch tall sides, a drawer front 12 to 15 inches tall, and full-extension slides rated for 100 pounds. A front taller than the box sides is normal and keeps contents visible from above. Do not fill these tall drawers with small packets, since a shallow layer vanishes under a tall pile. Wood dividers at 6 inch intervals keep root vegetables separated, and onions stored apart from potatoes last 2 to 3 months instead of 2 to 3 weeks.
One drawer holds a 10 pound bag of potatoes plus a 5 pound bag of onions with room to spare, so large families that buy produce in bulk are the natural fit. Cost and weight are the downside, as a bank of three deep drawers runs 600 to 1,200 dollars, and a full drawer weighs 40 pounds or more. Slides wear faster under daily heavy use, so choose soft-close hardware from a known maker and keep the load under the rated limit.
Tiered Spice Risers

Why This Works:
- Three tiers lift the back row 4 inches, so all labels stay visible
- A 10 inch deep riser fits a standard 12 inch shelf with room to spare
- Bamboo resists humidity better than raw pine in a kitchen
- Matching jars make 30 spices look calm instead of chaotic
Tiered risers solve the classic spice problem, where the back row hides behind the front and duplicates get bought twice. Choose a riser 10 inches deep and 15 inches wide, with steps rising 2 inches per tier to a total height of 6 inches. Standard 4 ounce spice jars stand 4 inches tall, so the top tier needs 10 inches of clearance above the shelf. Avoid risers taller than 6 inches on a shelf with only 12 inches of vertical space, because the top jars will not clear the shelf above. Place the most-used spices on the front tier at 48 to 60 inches high, inside the easiest reach zone.
Reach for spices daily and the right jar appears in 3 seconds instead of 30, a speed boost that pays off every time a weeknight cook grabs a jar. Capacity is what you give up for that speed: a riser holds 18 to 24 jars while a flat shelf holds 30, so the display costs some density. Risers also slide on smooth shelves, so add a thin non-slip mat underneath. Confirm the shelf height before buying, and skip the riser if clearance falls under 10 inches.
Wire Pantry Baskets
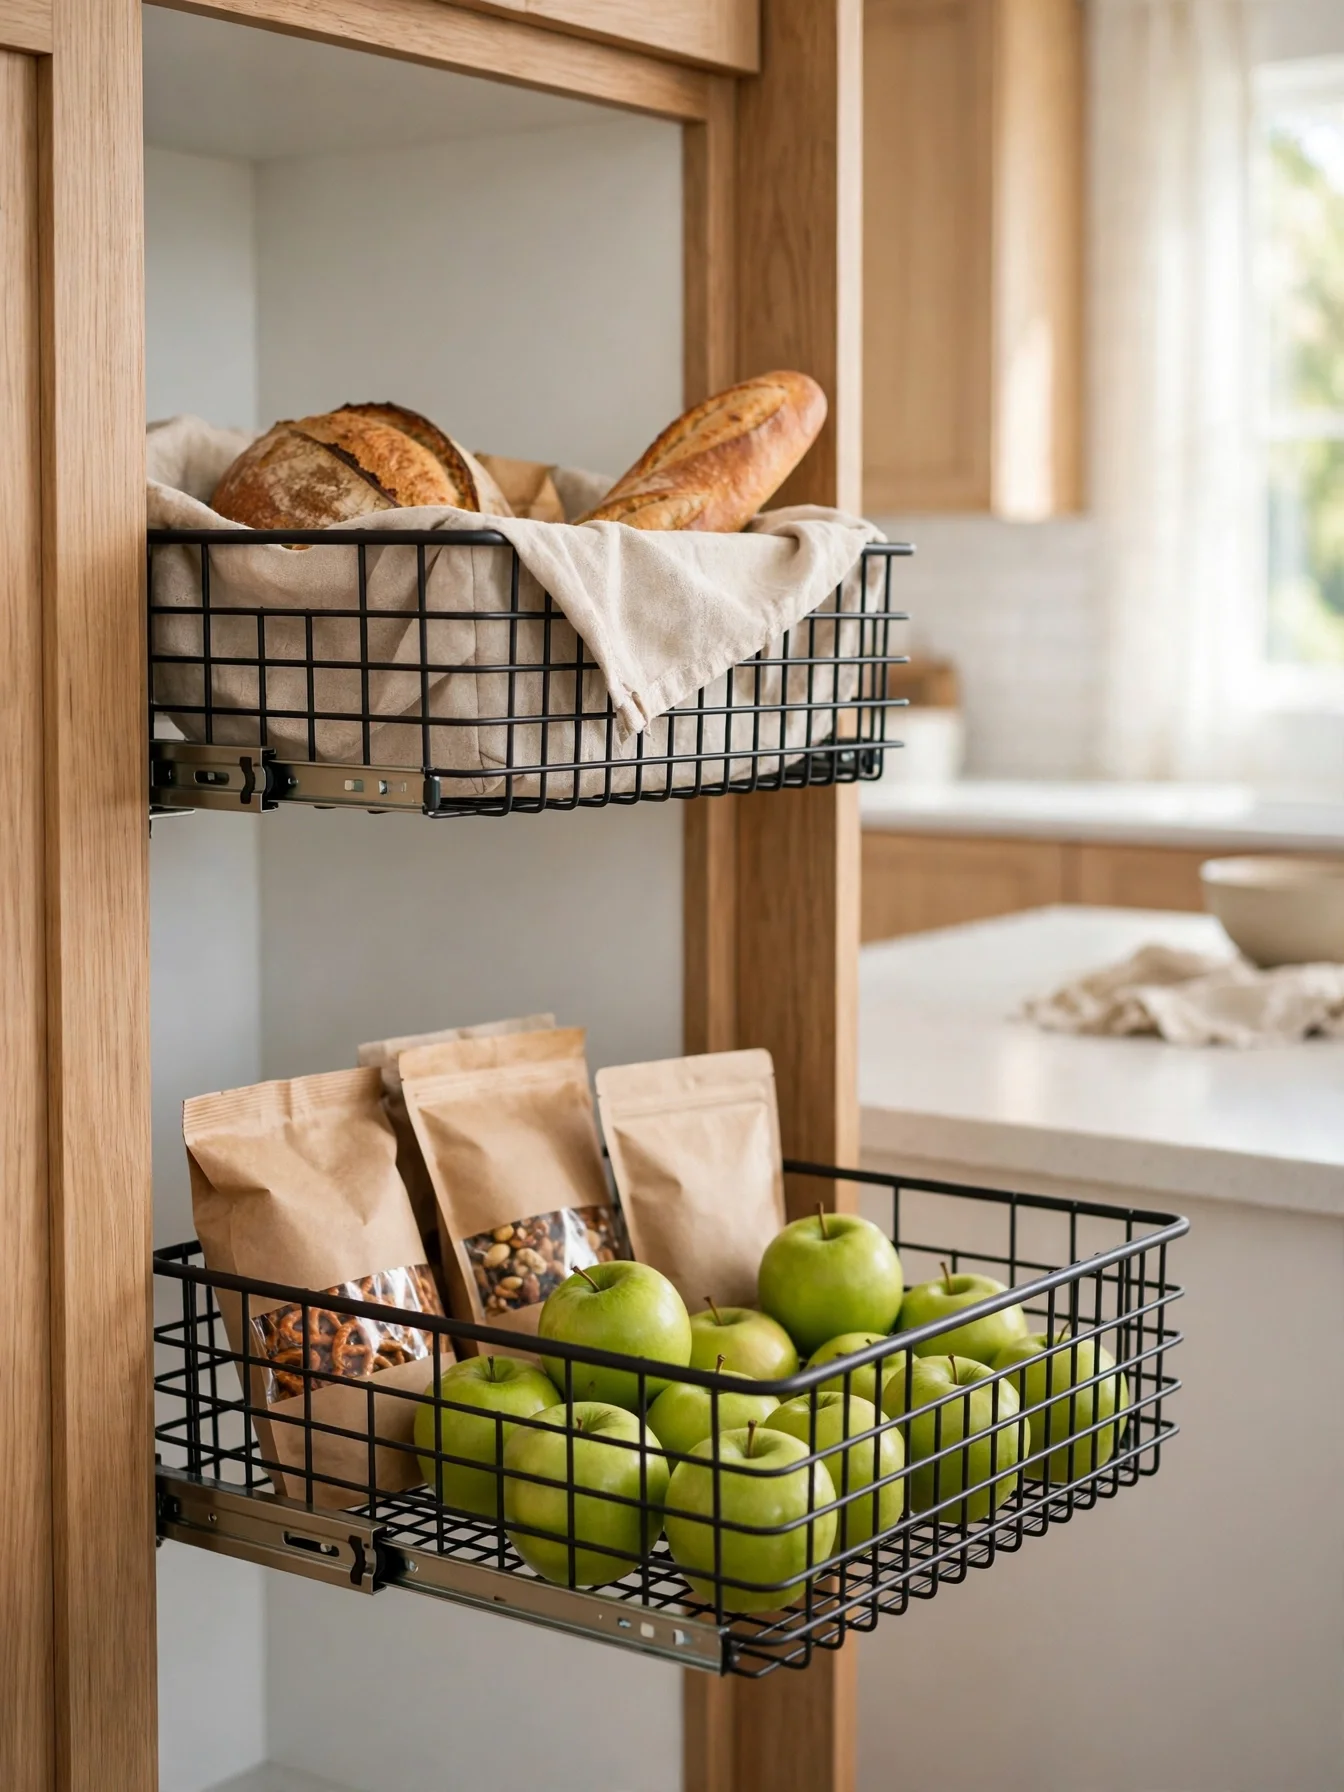
Why This Works:
- Open wire sides let air flow, so onions and fruit stay dry and mold free longer
- Slide-out rails bring the whole basket forward for easy loading
- A 6 inch basket depth holds fruit without stacking and bruising
- Black wire reads as a design detail instead of plain storage
Wire baskets suit food that needs airflow, such as onions and fruit, better than solid bins do. Keep bread in a closed bin or bag instead, since open air dries a loaf out faster. Choose baskets 14 to 16 inches wide and 6 to 8 inches deep, mounted on full-extension rails rated for 50 pounds. Space baskets 10 to 12 inches apart vertically so a loaf of bread fits without squashing. Steer clear of wire baskets for flour, rice or small packets, since fine items fall through the gaps and create a mess on the shelf below. Line the basket with a washable linen cloth when storing small fruit such as grapes or cherry tomatoes.
For households that buy onions and fruit by the bag, air circulation through the wire prevents moisture buildup and mold, which is where these baskets earn their place. Everything inside stays on show, though, and that is the drawback: wire reveals every crumpled bag, so this system suits tidy households more than busy ones. Baskets also cost 25 to 60 dollars each, and a tall cabinet needs four to six of them. Pair wire baskets with one solid bin per shelf for the small items that would otherwise slip through.
Corner Pantry Shelves
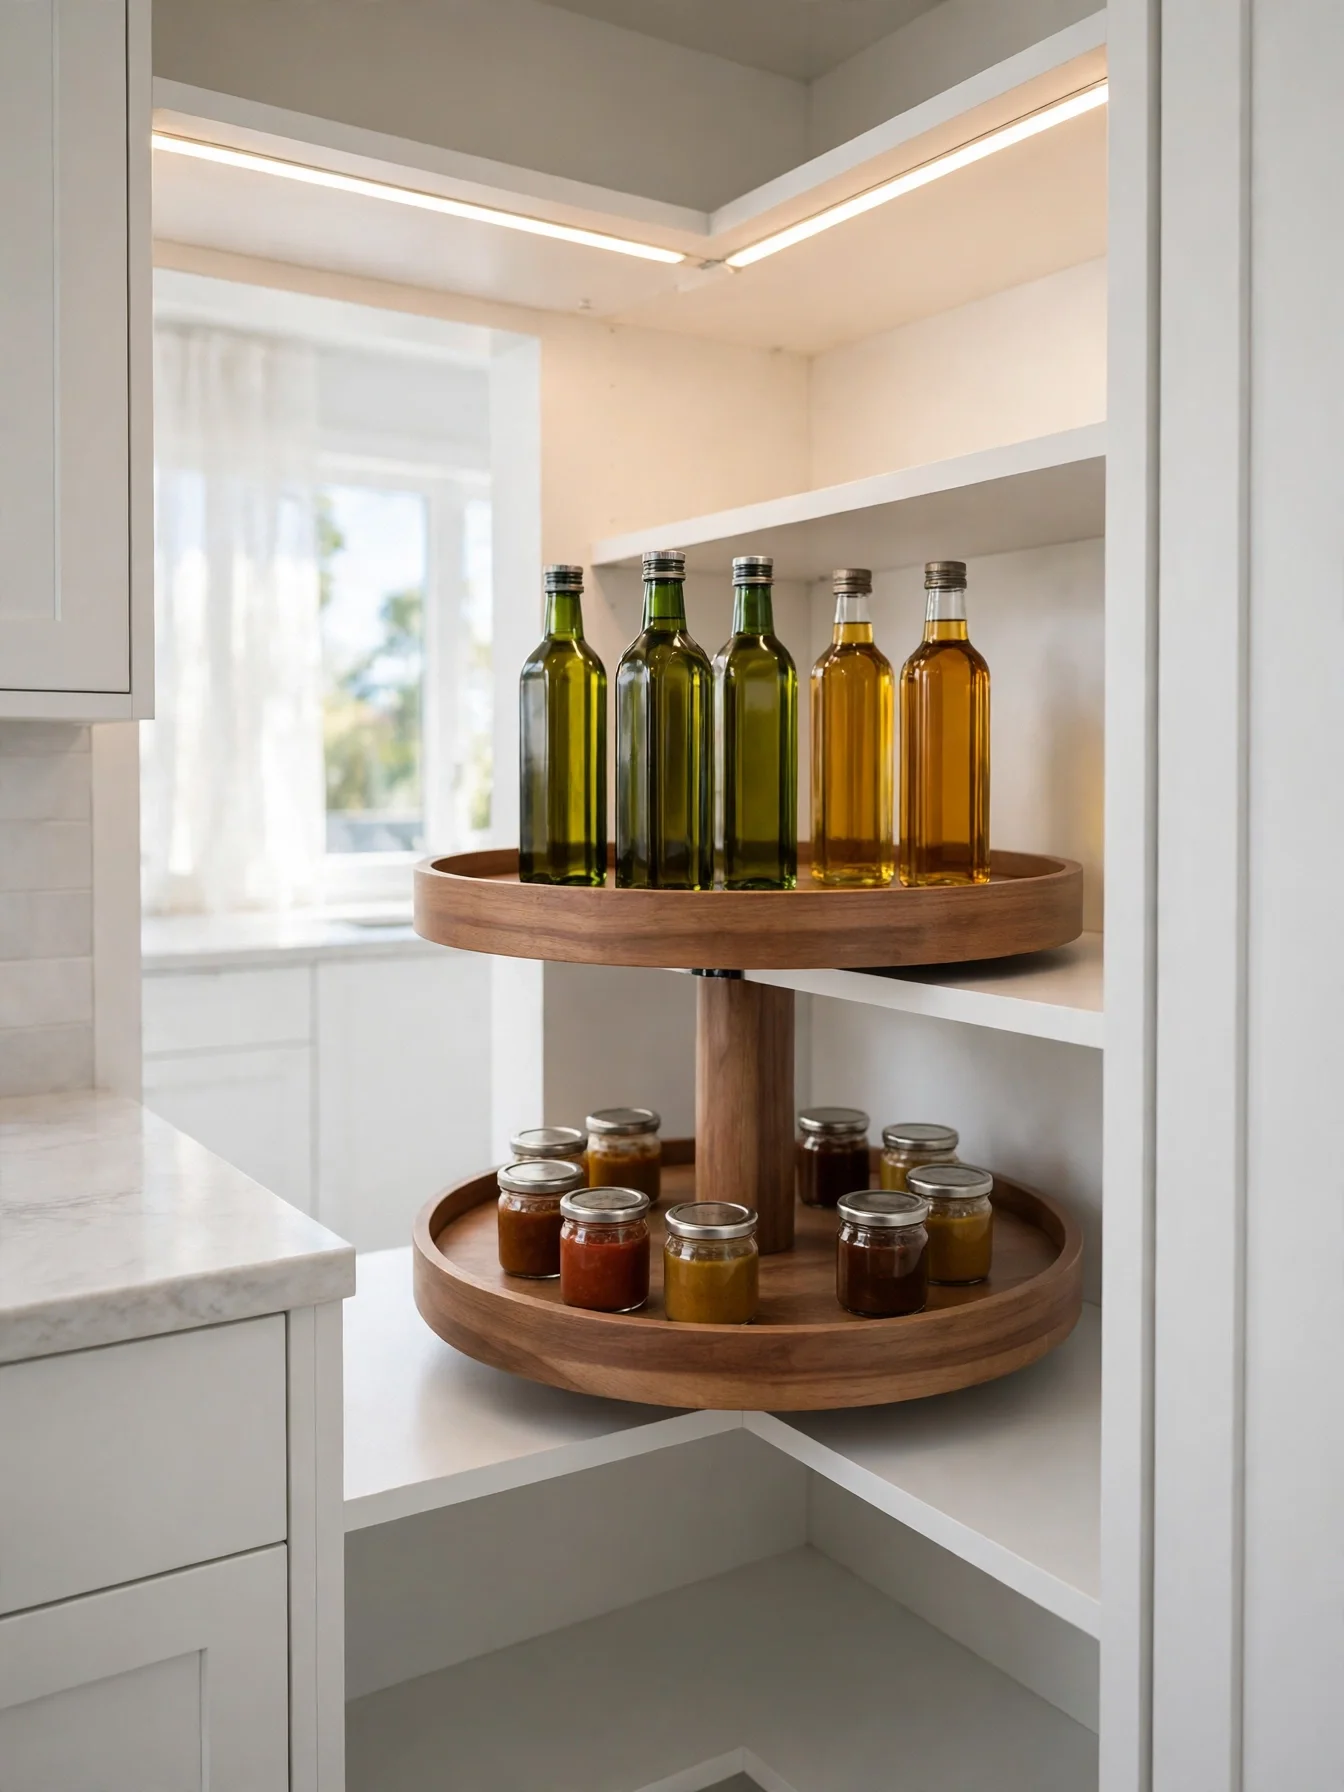
Why This Works:
- A 28 inch turntable recovers the dead corner that fixed shelves waste
- Two tiers double the usable surface inside the same footprint
- Oils stay upright and visible with one spin instead of a deep reach
- Jars stay in a single row on the 12 inch shelf depth circling the turntable
Corner cabinets waste more space than any other spot in a kitchen, and a turntable is the simplest fix. Install a 28 inch diameter lazy Susan on each shelf level of a 36 inch corner cabinet, leaving 4 inches of clearance on each side for the rotation. Keep bottles under 12 inches tall so they clear the shelf above, and load the heaviest items near the center where the bearing carries the weight best. Watch out for a turntable larger than 28 inches in a 36 inch cabinet, since the edge will jam against the door frame. A two-tier turntable holds 16 to 20 bottles, roughly double the count of a flat corner shelf.
Keep a dozen oils and sauces on hand and every bottle spins into view in one motion, which is the whole point of this fix. A small dead triangle about 6 inches deep still goes unused behind the turntable, and that is the compromise to accept. Turntables also wobble when loaded past 40 pounds, so keep the load under that limit and place glass bottles near the center. A non-slip mat on each tier stops bottles from sliding during the spin.
Pantry LED Lighting
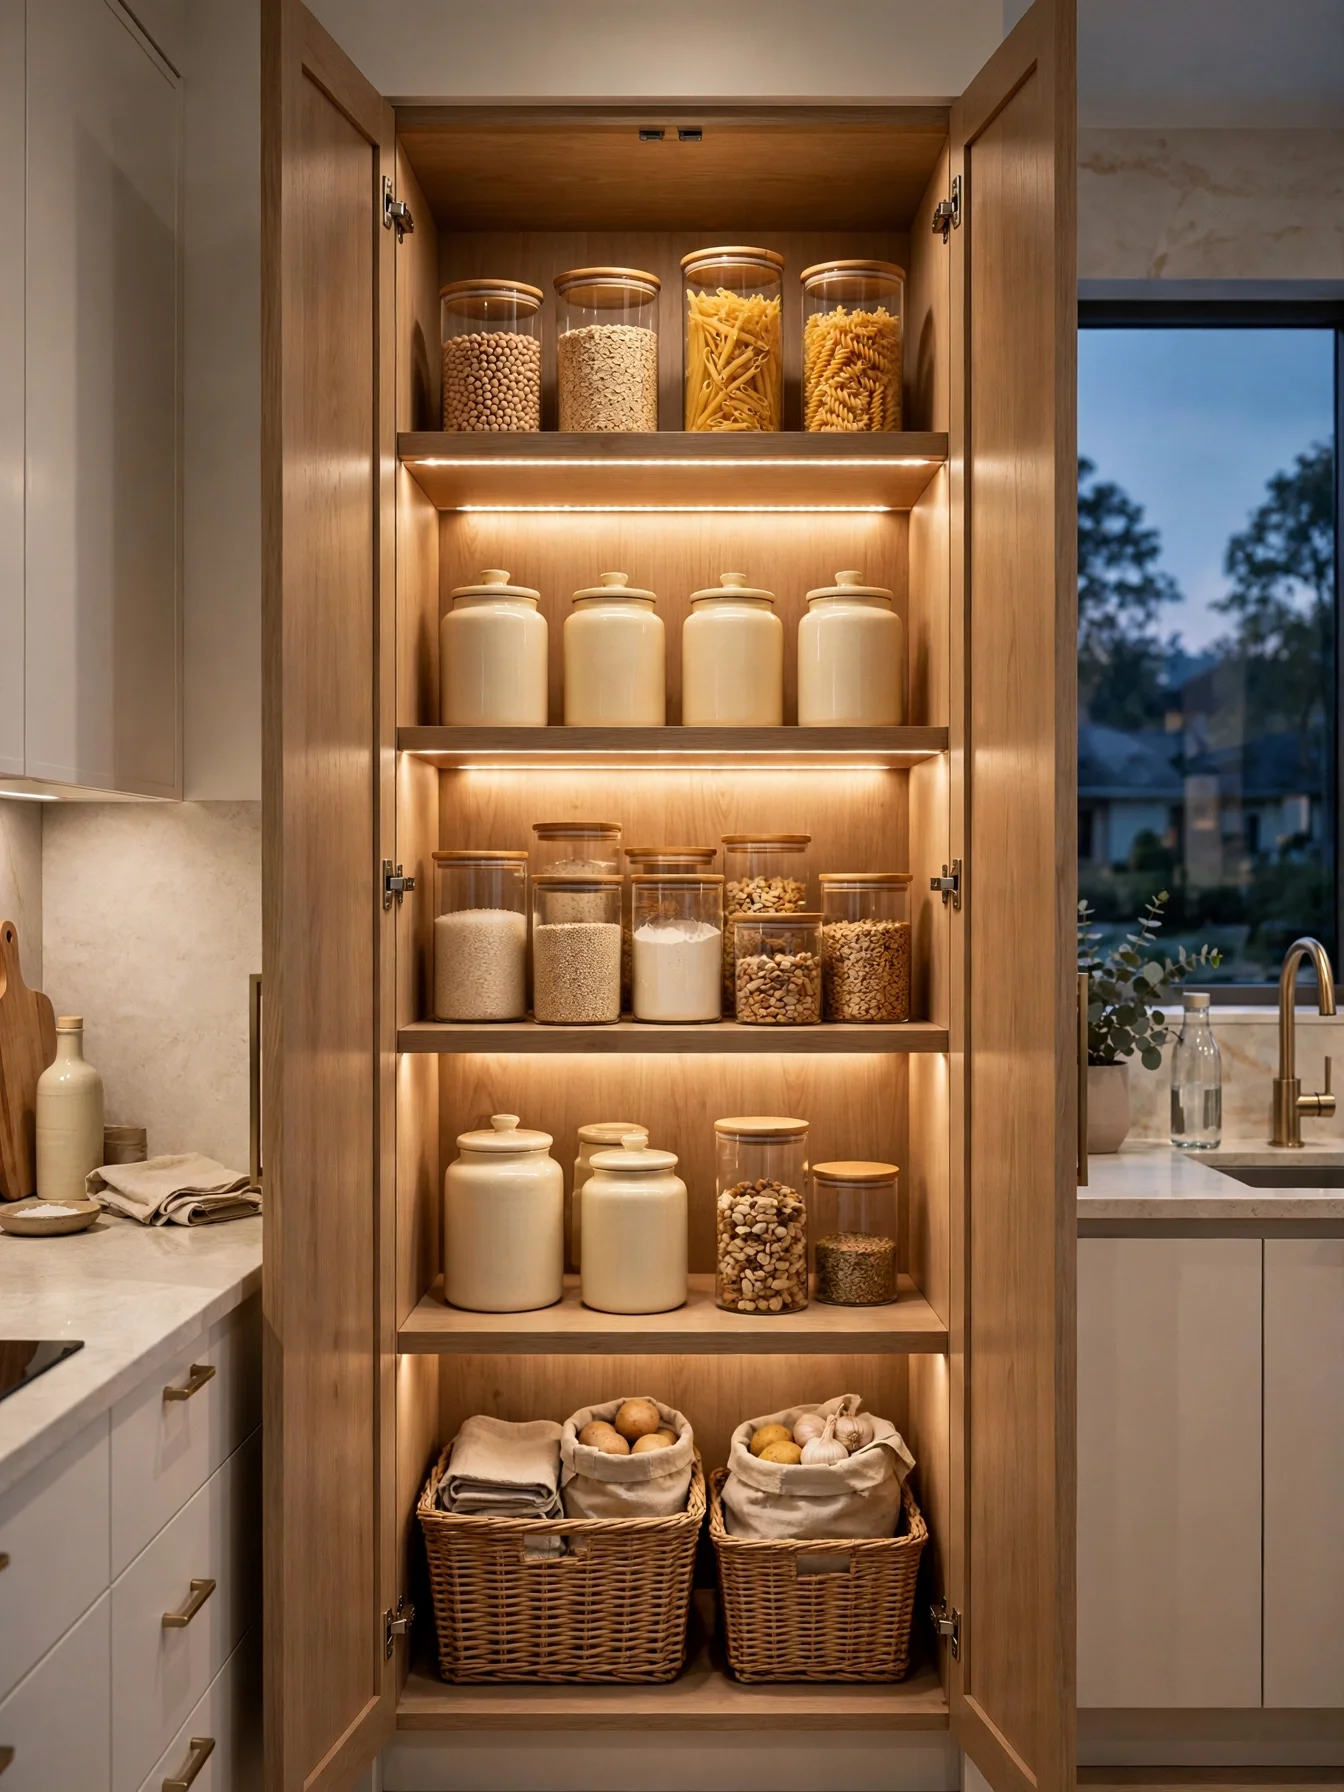
Why This Works:
- LED strips at 2700K to 3000K make labels readable without harsh glare
- A strip under each shelf removes the shadow that hides the back row
- Motion sensors switch lights on when the door opens, hands free
- LEDs use far less energy than old bulbs
Pantry lighting fails most often because a single ceiling bulb leaves every shelf in shadow. Mount an LED strip under the front edge of each shelf, set to 2700K to 3000K for a warm tone that matches the rest of the kitchen. A strip rated at 300 to 400 lumens per foot lights a 24 inch deep shelf evenly, and a motion sensor adds 15 dollars while removing the need for a switch. Cool white strips above 4000K are a poor choice, since food looks gray and unappetizing under them. Tuck the driver out of sight at the top of the cabinet, at least 6 inches from any heat source.
After dark, a lit pantry ends the habit of pulling every jar forward to read its label, so evening cooks feel the difference first. Wiring is the awkward part: hardwired strips need a power source inside or beside the cabinet. Battery strips avoid wiring but need new batteries every 3 to 4 months. A licensed electrician should handle any new circuit or hardwired connection inside the cabinet, since kitchen wiring must meet local code and a mistake risks more than a dark shelf.
Airtight Food Containers
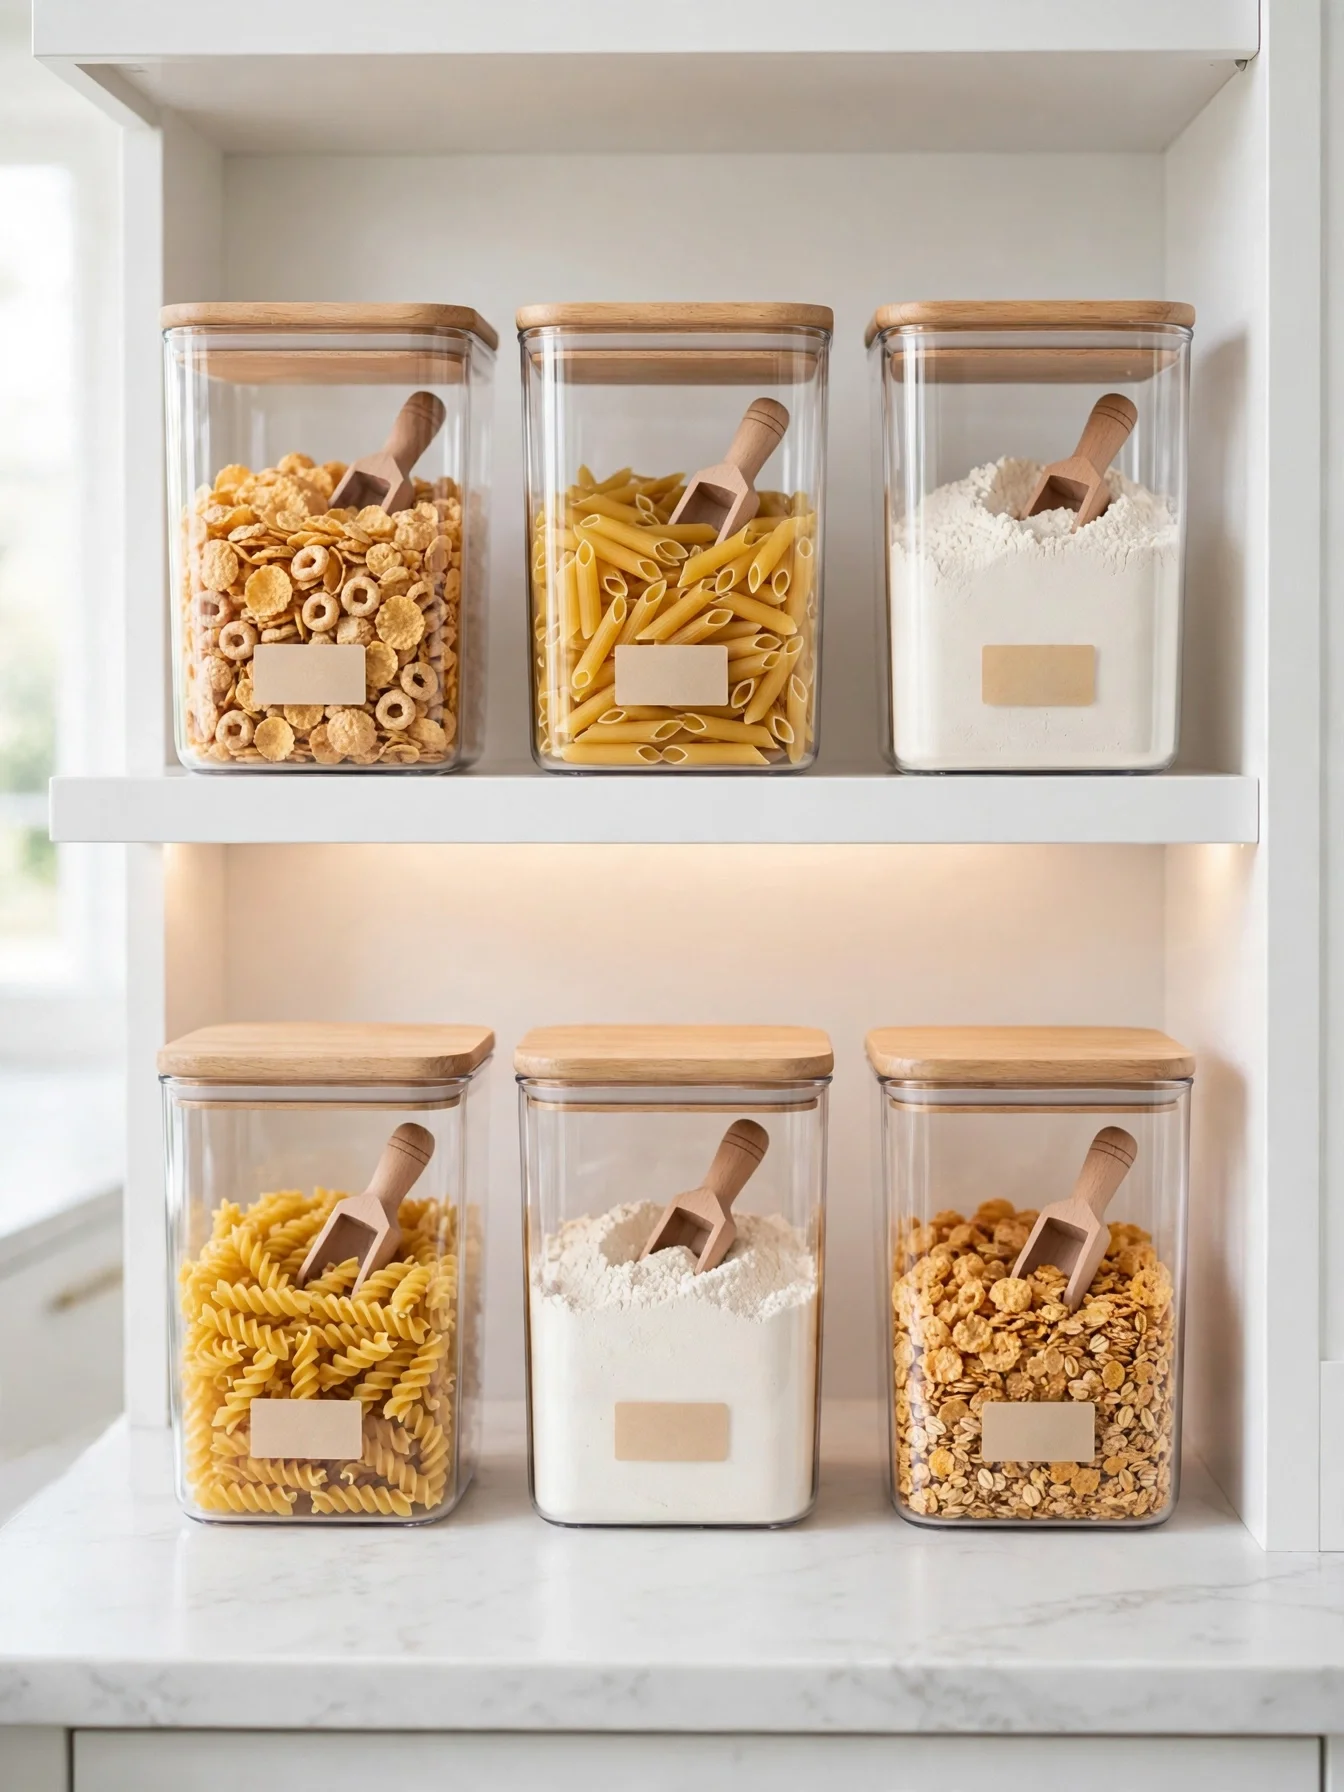
Why This Works:
- Silicone seals keep cereal crisp for 3 months instead of 3 weeks
- Square containers pack with less wasted space than round ones
- Clear walls show the fill level before the next shopping trip
- Stacking lids let a 12 inch shelf hold two layers safely
Airtight containers earn their place by protecting food from humidity, which softens cereal and clumps flour and sugar fast. Choose square or rectangular containers in 1.5 quart, 3 quart and 5 quart sizes, since squares pack tightly while round jars leave gaps. A 5 quart container holds about 5 pounds of flour, and a 3 quart container holds a full box of cereal. Press the lid to test the seal, and confirm it stays shut with no air escaping. A common mistake is buying containers without a silicone gasket, since a loose lid lets moisture in within days and clumps sugar and flour.
Breakfast stays crunchy and flour stays powdery for months, so cereal and baking households are the ones who gain the most here. Upfront cost is the hurdle, with a set of 8 quality containers running 50 to 90 dollars, plus the 10 minutes of decanting after each shop. Containers also need a home when empty, so keep one spare shelf section 12 inches wide for empties awaiting refill. Wash the seals every month so crumbs do not break the airtight fit.
Small Kitchen Pantry Design Ideas
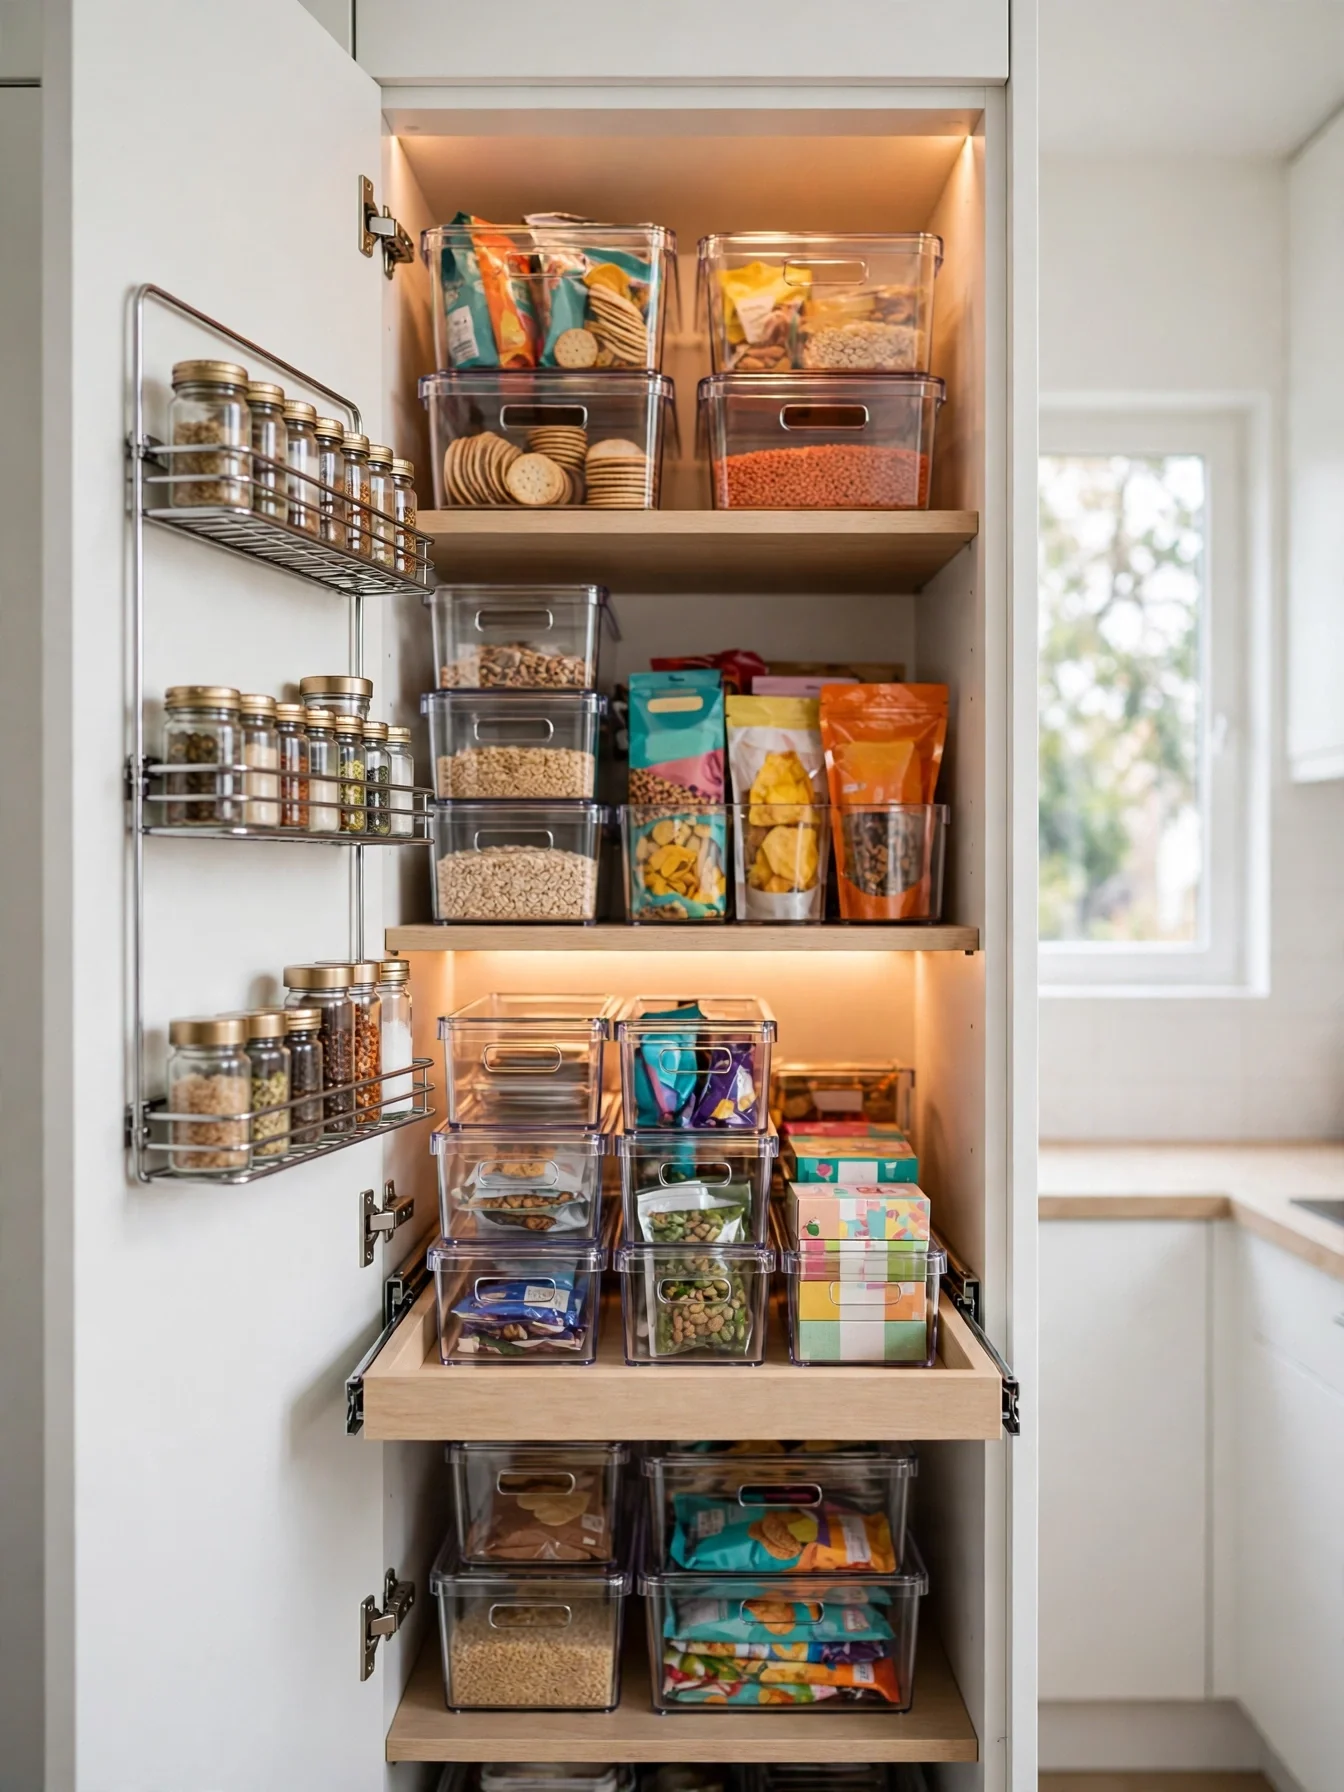
Why This Works:
- An 18 inch wide cabinet holds a week of groceries when every inch is planned
- Door racks add 6 square feet of storage to a cabinet with no extra floor
- Stacked bins use vertical space that loose bags waste
- A pull-out shelf at 36 inches brings heavy items to waist height
Small kitchens reward planning more than spending, because an 18 inch wide pantry cabinet can hold a full week of dry goods when the layout is tight. Use shelves 12 inches deep, door racks 4 inches deep, and one pull-out shelf at 36 inches high for heavy items such as flour and rice. At 72 inches, the top shelf stays within reach of a short step stool, so store only light items above 72 inches. Never buy bulk sizes that do not fit the cabinet, since a 10 pound bag of rice with no home ends up on the counter for a month. Tape the cabinet dimensions inside the door before shopping, so a bin or rack that looks right online does not arrive too wide to fit.
No renovation, under 150 dollars in bins and racks: that is the whole appeal for apartment cooks and renters. Capacity is the limit, because a small pantry cannot hold a month of bulk goods, so a weekly shop becomes part of the routine. Overflow also creeps in fast, so a one-in-one-out rule keeps the cabinet honest. Review the contents every 2 weeks and move anything unused to a donation box.
Roll-Out Pantry Trays
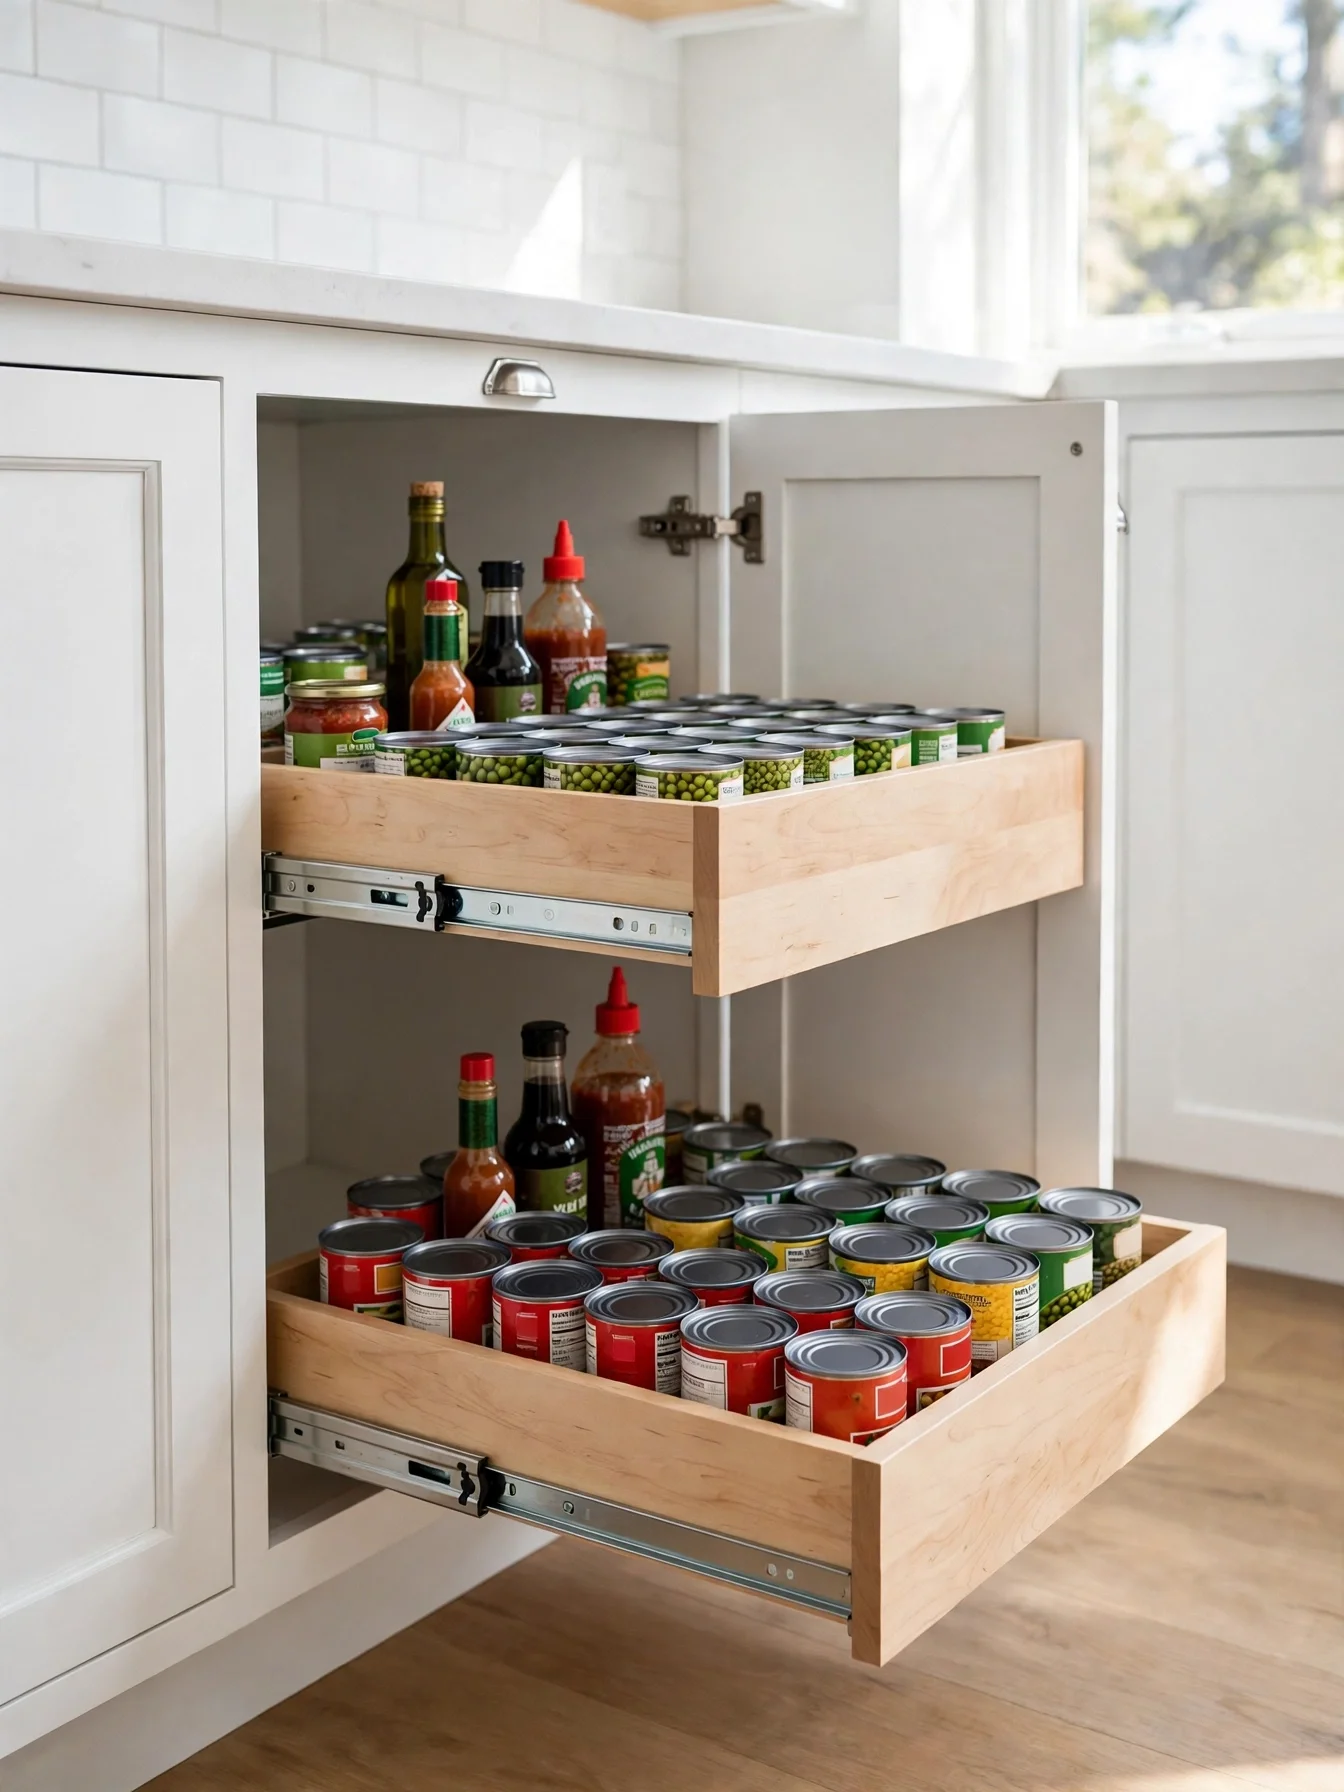
Why This Works:
- Full-extension trays bring cans from 24 inches deep to the front edge
- Low 3 inch sides keep cans visible while stopping them from tipping
- Trays rated for 75 pounds hold a full load of canned goods
- A tray at knee height ends the crouch and reach into dark cabinets
Roll-out trays suit lower cabinets best, where a fixed shelf forces a crouch and a blind reach into 24 inches of darkness. Build trays 22 inches deep and 20 inches wide for a 24 inch cabinet, with 3 inch sides that contain cans without hiding their labels. Mount them on full-extension slides rated for 75 pounds, and space trays 12 to 14 inches apart so tall sauce bottles fit. Skip trays with sides taller than 4 inches, since the contents disappear behind the wall and the benefit fades. The bottom slot suits the heaviest tray, where a 40 pound load sits low and stable.
The deep crouch disappears entirely with a tray, which matters most to older cooks and anyone with sore knees. Slide hardware takes back a little of what the tray gives, about 1 inch per side, which slightly narrows the usable width. Trays also cost 80 to 150 dollars each installed, so a cabinet with three trays runs 240 to 450 dollars. Start with the lowest shelf, where the reach is hardest, and add trays upward only if the budget allows.
Pantry Chalkboard Labels
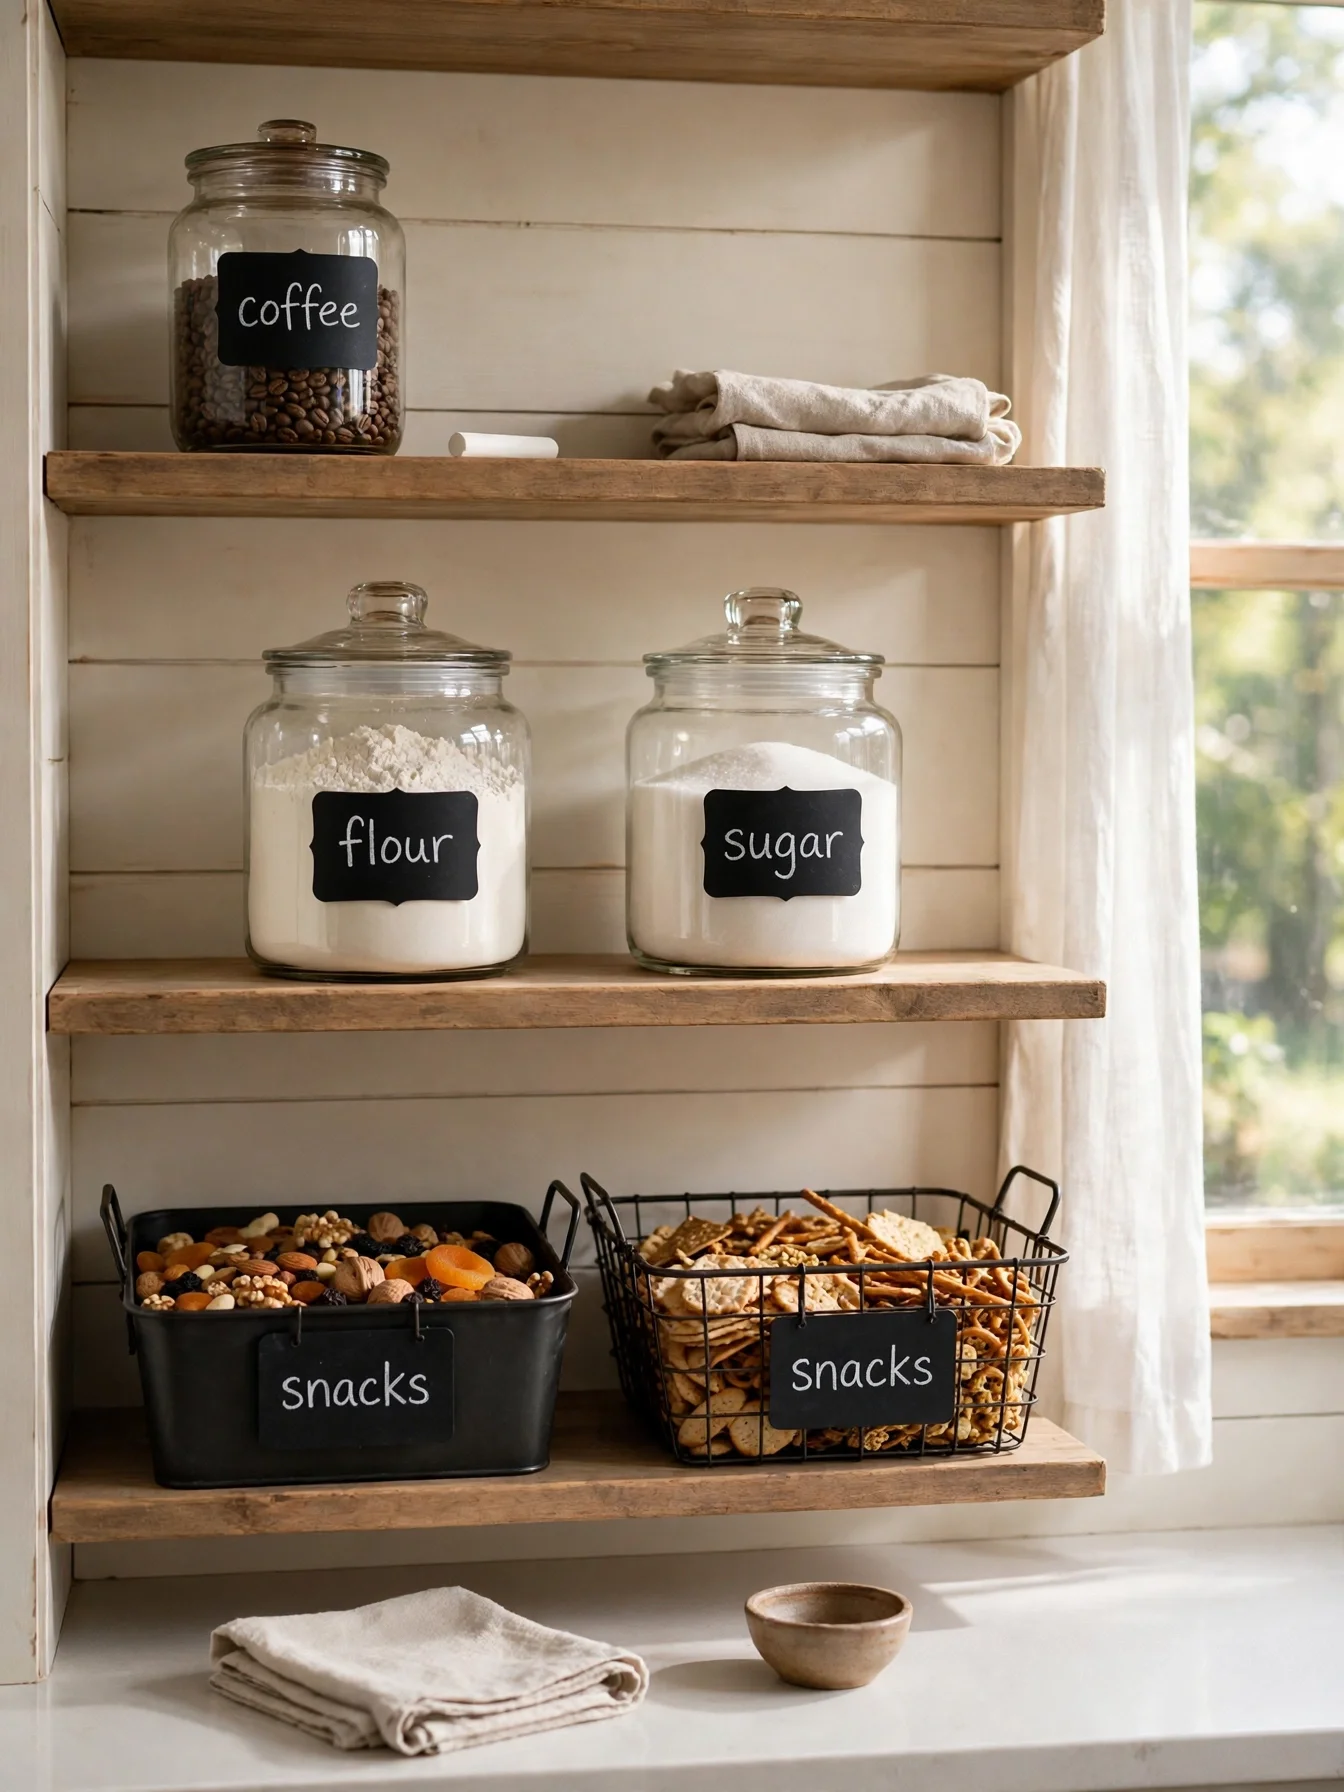
Why This Works:
- A 2 by 3 inch label is readable from 4 feet away at a glance
- Chalk wipes clean, so a label changes when the contents change
- Black labels create contrast that white paper labels cannot match
- Labels stop family members from opening five jars to find sugar
Chalkboard labels work best on smooth glass, metal and plastic, where the chalk writes cleanly and wipes off with a damp cloth. Choose labels 2 by 3 inches for jars and 3 by 4 inches for bins, and mount them at eye level between 48 and 60 inches high. Use liquid chalk markers for crisp lines, since regular chalk dusts off when a jar is handled daily. It is tempting to use chalk labels on rough wood or fabric, but the surface will not erase cleanly and old words ghost through the new ones. Keep a marker and a cloth inside the pantry door so relabeling takes 30 seconds instead of becoming a weekend chore.
In a shared kitchen, a clear label ends the daily question of where the sugar lives, so families who cook together get the most from this one. Maintenance is the trade-off to weigh: chalk smudges when a wet hand grabs a jar, and labels need a refresh every 2 to 3 months. Chalk also suits a casual style, so a sleek modern kitchen may prefer printed labels instead. Test one label for a week before labeling the whole pantry.
Vertical Pantry Dividers
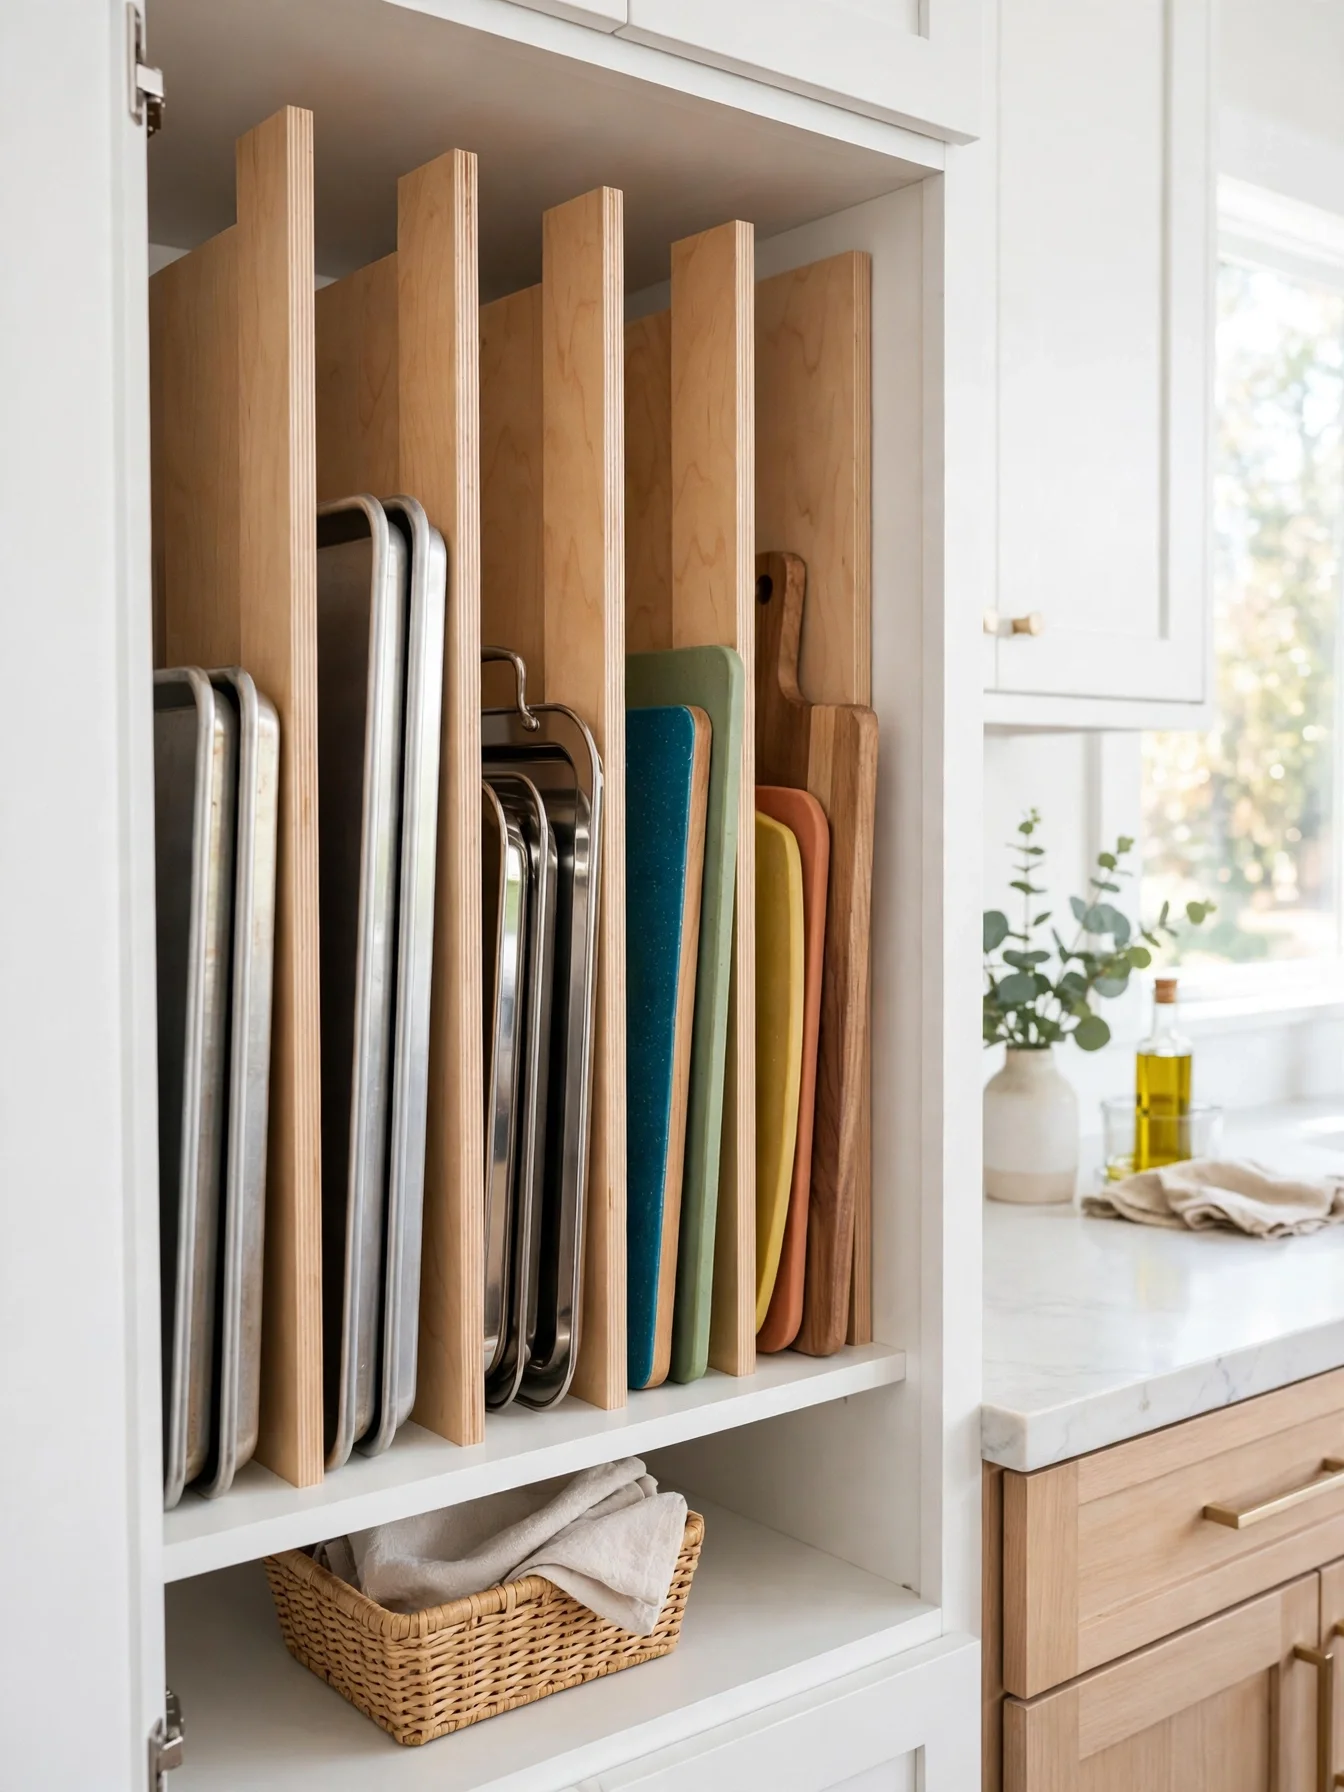
Why This Works:
- Upright storage ends the pile where the bottom tray never gets used
- Dividers spaced 3 inches apart fit baking sheets without wasted gaps
- 4 trays that once filled a whole shelf now stand in one 12 inch wide slot
- Vertical slots keep lids and boards visible from the front edge
Vertical dividers rescue the flat items that stack badly, such as baking sheets, cutting boards and serving trays. Set dividers 3 inches apart inside a cabinet 12 to 18 inches wide and 24 inches deep, using 3/4 inch plywood for rigidity. A slot height of 19 to 20 inches lets a standard half-sheet pan, 18 by 13 inches, slide in on its side with room to spare. Spacing dividers wider than 4 inches backfires, since trays lean and slide into each other, defeating the purpose. Place this slot beside the oven when possible, keeping the walk under 4 feet, well inside the 4 to 9 foot work triangle guideline.
The right pan appears in seconds instead of after lifting a stack of five, which is why bakers love this setup. Single-purpose use is its limit, because a divider slot holds flat items only and cannot adapt to cans or jars. Dividers also need a fixed cabinet, so renters should use a freestanding rack instead. Measure the largest tray first, then set the slot height 1 inch above it.
Pantry Appliance Garage

Why This Works:
- A tambour door hides three appliances without moving them daily
- A pull-out shelf at 36 inches brings the coffee maker to counter height
- The garage keeps counters clear across 24 inches of workspace
- Heat-resistant quartz inside handles a toaster safely
An appliance garage is a cabinet with a roll-up tambour door that hides small appliances while keeping them plugged in and ready. Build it 24 inches wide and 18 inches deep, with the interior counter at 36 inches high to match the main counter. Fit a pull-out shelf so the coffee maker slides forward 12 inches before brewing, keeping steam away from the cabinet top. A garage deeper than 18 inches causes trouble, since the back row of appliances becomes hard to reach and clean. Leave a 2 inch gap above the tallest appliance for airflow, and choose a quartz or stone interior surface that resists heat up to 300 degrees.
Leave the coffee maker plugged in and ready without it living on the counter, and daily blender users and coffee lovers will feel the benefit at once. Cost and space are the price of that convenience, as a garage with a tambour door runs 400 to 800 dollars and takes 24 inches of cabinet that could hold food. Steam also builds up inside a closed garage, so open the door for 10 minutes after brewing. A garage suits kitchens with at least 8 feet of counter, where giving up 24 inches still leaves room to work.
Stackable Storage Baskets
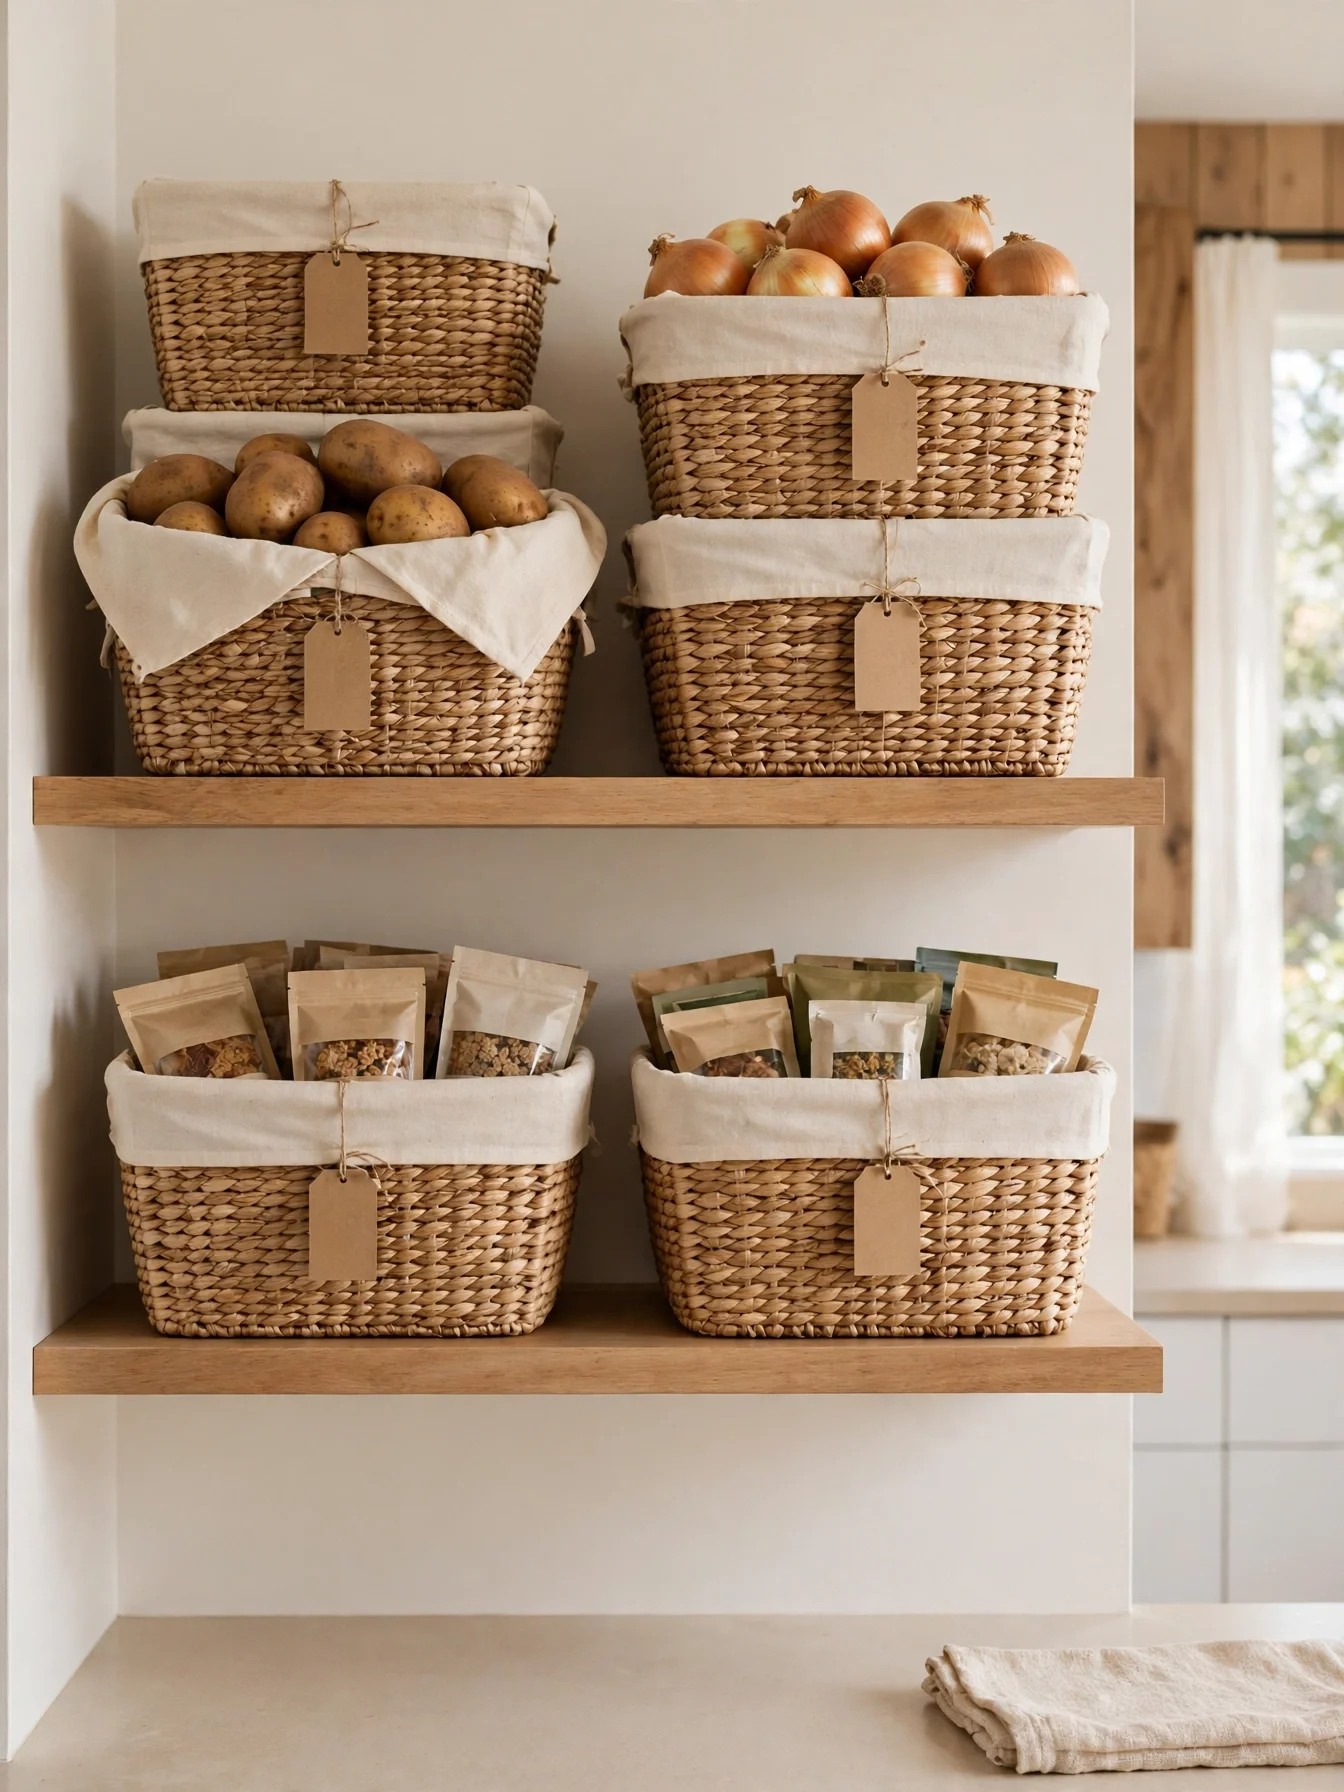
Why This Works:
- Stacking doubles capacity on a shelf without adding a single board
- Seagrass lets air flow, and onions stored in their own basket away from potatoes keep for 2 to 3 months instead of 2 to 3 weeks
- A pair of baskets fills a 24 inch shelf side by side, each one 12 by 10 inches
- Cotton liners stop small items from slipping through the weave
Stackable baskets work when the stack stays stable, which means choosing rigid frames with flat lids that lock together. Pick baskets 12 inches long, 10 inches wide and 6 inches tall, and stack no more than two high so the top basket lifts off safely with one hand. A 12 inch deep shelf fits one row exactly, and a 14 inch vertical gap between shelves fits a two-high stack with 2 inches to spare. Stacking three high is asking for trouble, since the top basket tips when pulled, and soft-sided baskets sag under weight, so skip those too. Line each basket with cotton so crumbs and small items stay contained.
Seagrass warms up plain white shelving without any extra decor, which is exactly the effect a natural-look kitchen is after. Cleaning is the chore that comes with them, because woven baskets trap crumbs and need a shake outside every month. They also absorb moisture, so keep them away from the sink side of the pantry and never store damp produce inside. A quick wipe with a dry cloth each week keeps them fresh.
Door-Mounted Pantry Hooks
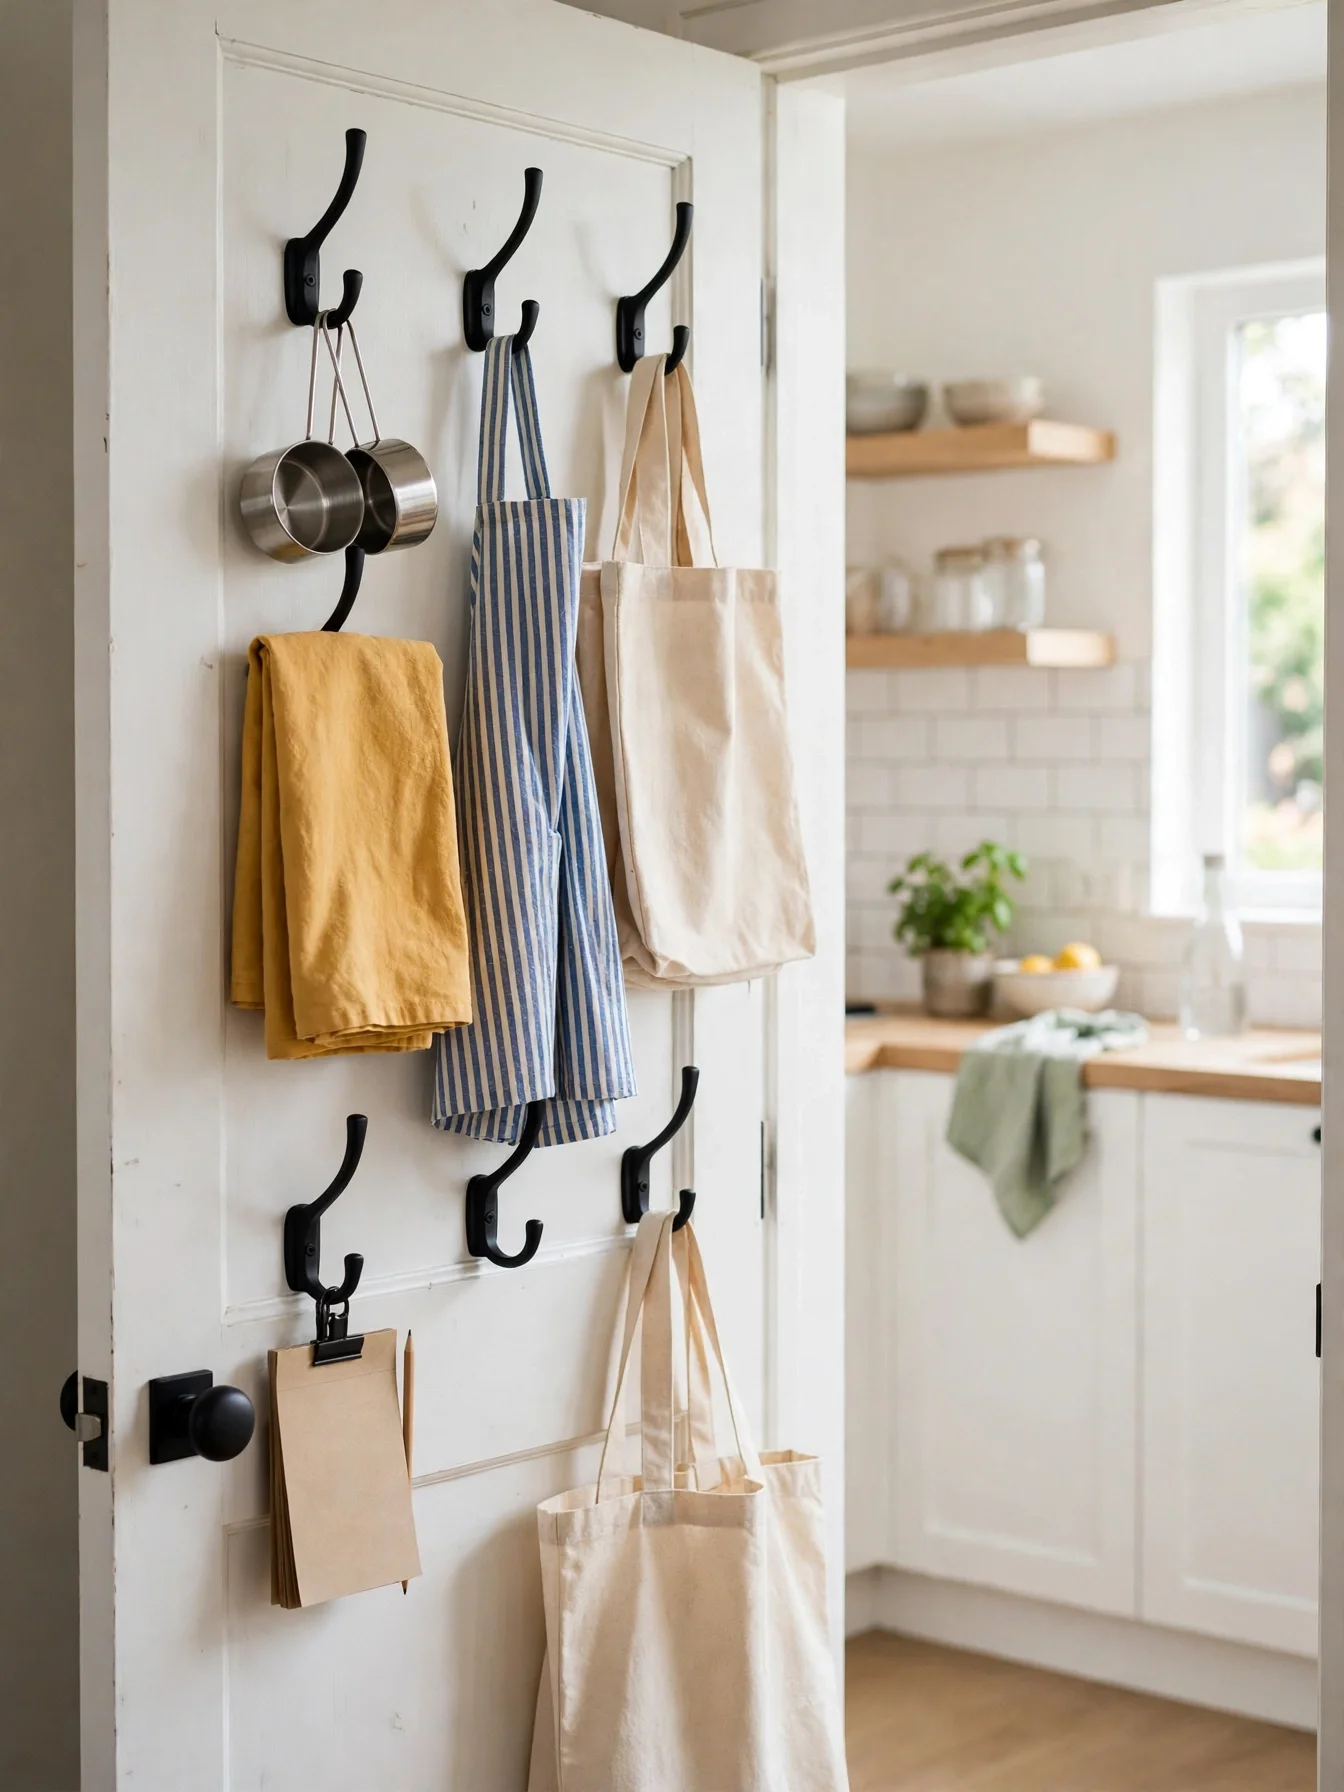
Why This Works:
- Hooks use the top 12 inches of door space that racks cannot reach
- Measuring cups hang within 2 seconds of the mixing bowl
- A row of 5 hooks holds aprons and bags that once filled a drawer
- Steel hooks rated for 5 pounds each hold a full set of cups safely
Door-mounted hooks suit the light, flat items that racks cannot hold, such as measuring cups, aprons and shopping bags. Mount a rail with 5 hooks at 60 inches high, spacing hooks 4 inches apart so cups do not clatter together. Choose hooks rated for 5 pounds each, screwed into the solid frame of the door rather than the hollow center panel. Adhesive hooks are a poor fit here, since steam and heat loosen the bond within weeks, and a falling set of cups lands on toes. Keep hanging items under 2 inches deep so the door still closes over a 12 inch shelf with 1 inch to spare.
Cups and aprons hang exactly where the mixing starts, so families that bake weekly are the best fit for this fix. Door weight and swing are the thing to watch, because a loaded door swings harder and can hit the neighboring cabinet if the clearance is under 2 inches. Before mounting anything, test the swing arc and keep the total load under 15 pounds. Hooks also suit a casual kitchen best, since the hanging items stay visible whenever the door opens.
Built-In Pantry Zones
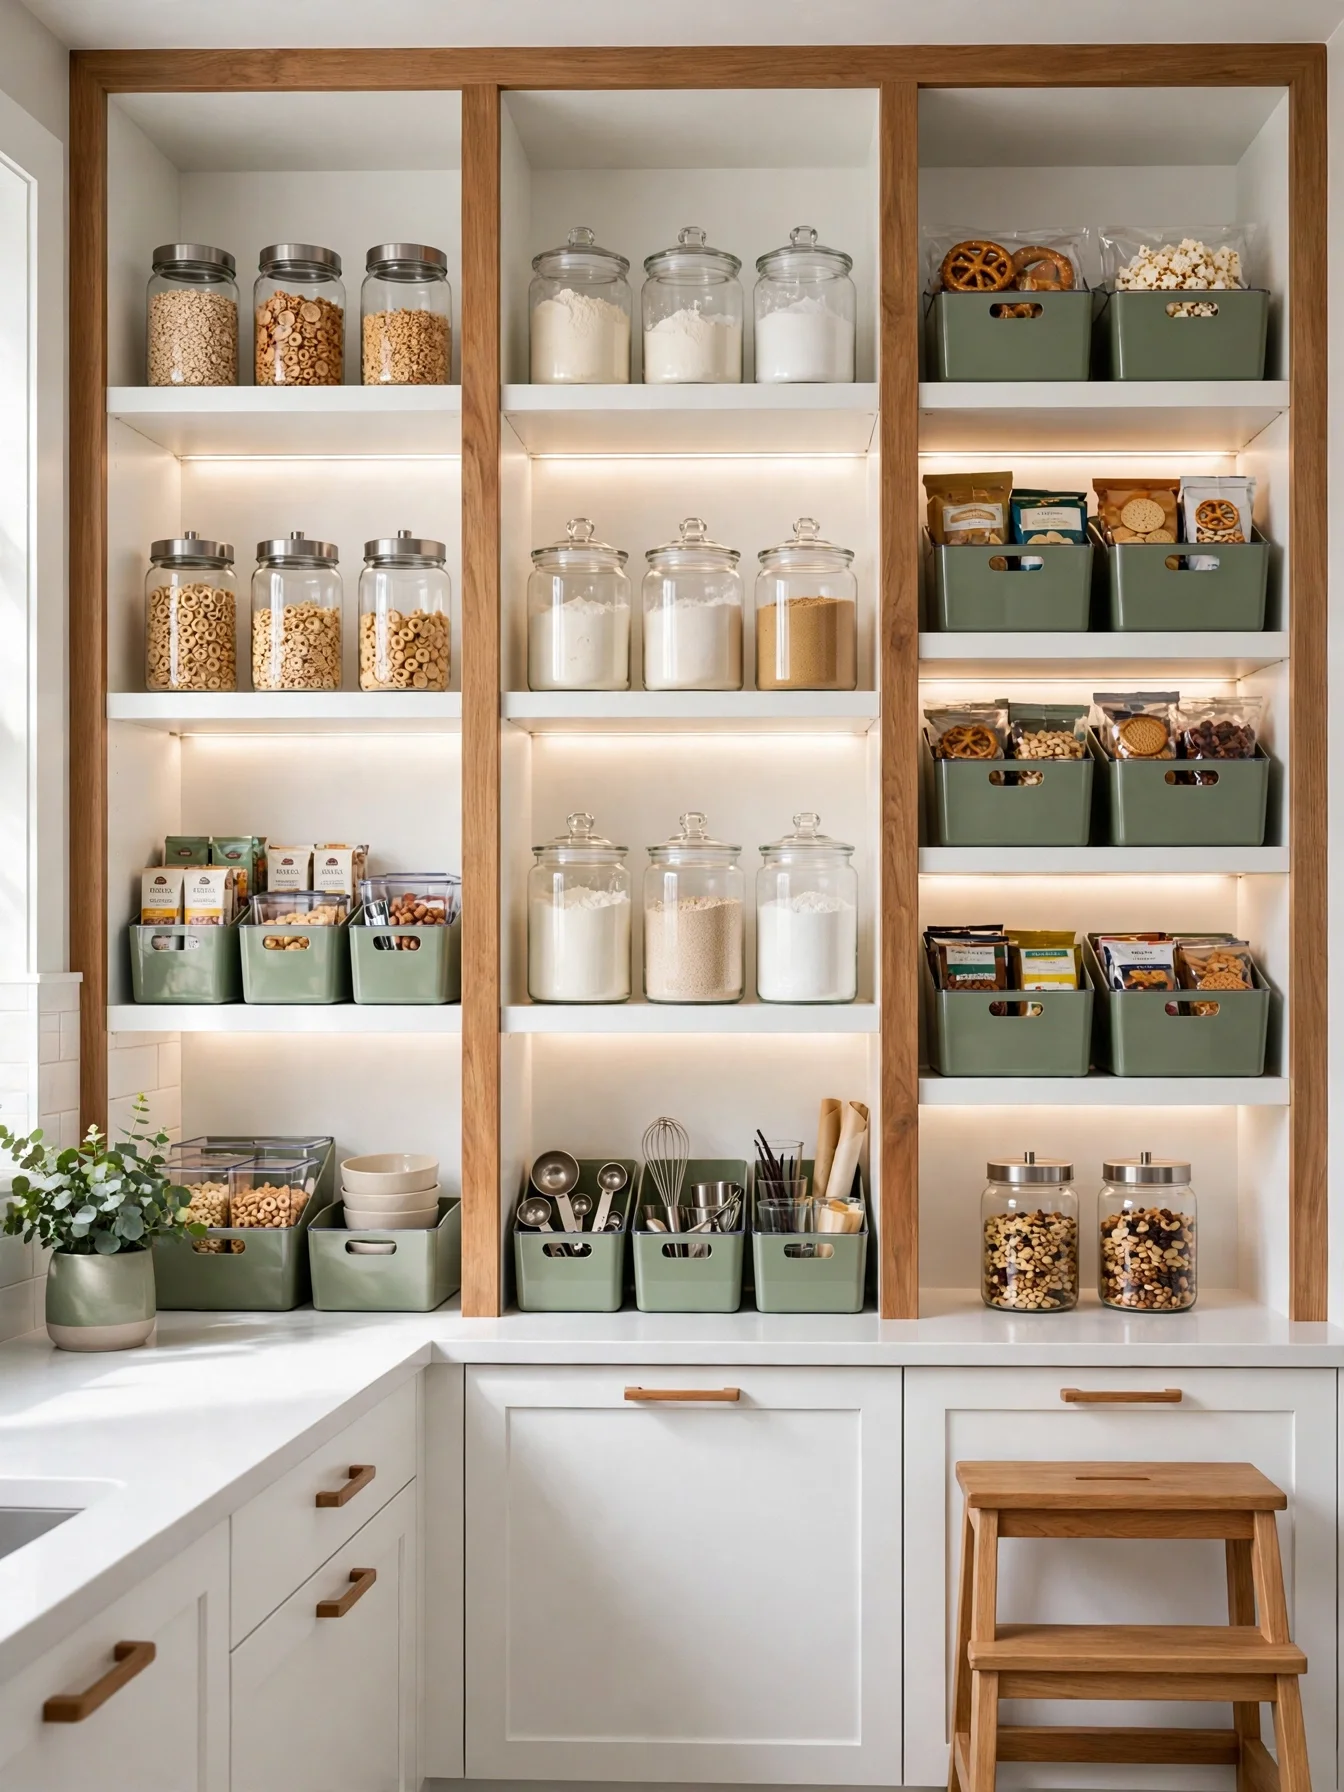
Why This Works:
- Bands cut search time because daily items live at eye level in one 24 inch section
- A waist-height cooking band keeps oils, sauces and tools within one arm’s reach
- A low band at 12 to 30 inches lets children serve themselves safely
- Matching bins in each band make the whole wall read as one plan
Built-in zones turn a pantry from a warehouse into a map, with each section serving one job. Divide a 6 foot pantry wall into four bands by shelf height instead of by meal: daily items at eye level, 48 to 60 inches; cooking supplies at waist height, 30 to 48 inches; heavy bulk and children’s items low down, 12 to 30 inches; and seasonal or overflow stock at the top, 60 to 84 inches. Give each band its own bin color, sage green for daily, cream for cooking, natural wood for low, and navy for top, so the eye finds the right section in a second. Mixing bands on a single shelf blurs the map, since items drift back into random piles. A weekly reset keeps the system honest: every Sunday, return five stray items to their band and move anything unused for a month up to the top band. A 36 inch counter height beside the zones gives a staging spot for lunch boxes and baking trays.
Give children the low band and they can pack their own lunches without climbing, and that independence is the real reward of this layout for families with school-age children. Rigidity is the risk to manage, because bands need a household routine to match, and a band that never gets used wastes a whole shelf. Review the bands every 3 months and move a divider when habits change. The system costs little, since zones need only bins and labels, often under 100 dollars for the full wall.
FAQs
What are the best kitchen pantry design ideas for a small kitchen?
Small kitchens benefit from a 12 inch shelf depth, 4 inch door racks and a pull-out shelf at 36 inches high, which together add 6 square feet of storage without cabinets. Keep the top shelf at 72 inches and follow a one-in-one-out rule so the 18 inch cabinet never overflows.
How deep should pantry shelves be?
Pantry shelves work best at 12 to 16 inches deep, which keeps every item in a single visible row. Shelves deeper than 16 inches hide the back row, and food expires unnoticed behind the front. According to the National Kitchen and Bath Association, this range suits most home pantries.
How do I organize kitchen pantry design ideas on a budget?
Start with 5 clear bins at 8 to 25 dollars each, a 15 dollar door rack and printed labels, for a total under 150 dollars. Sort food into 5 groups, breakfast, baking, snacks, cans and spices, and give each group one shelf section of 24 inches.
What lighting works best inside a pantry?
Warm LED strips at 2700K to 3000K, rated at 300 lumens per foot, light every shelf evenly without harsh glare. A 15 dollar motion sensor switches them on when the door opens. The Spruce recommends warm white light in kitchens because it keeps food colors natural and appetizing.
How often should I clean out my pantry?
Review the pantry every 3 months, check dates on the bottom labels, and remove anything past its date or untouched for 6 months. Wipe shelves with a damp cloth, wash bin seals monthly, and keep a donation box nearby for unopened food within 2 months of expiry.
Conclusion
Kitchen pantry design ideas work best when they match real habits instead of showroom photos, and three choices carry the most weight. Keep shelves 12 to 16 inches deep so nothing hides, put daily items between 36 and 60 inches high, and add light at 2700K to 3000K so every label reads at a glance. Start with one move today: measure the pantry, then add a single pull-out shelf or a set of clear bins to the most-used section. Follow HomelyCrafter on Pinterest for more ideas. Save this to your Pinterest boards so you can refer back to it!

Muhammad Israr is a home decor enthusiast and the writer behind Homely Crafter. He spends his days researching paint colors, layouts and budget-friendly styling ideas, then breaks them down into practical, easy-to-follow guides so you can decorate with confidence.
16 thoughts on “21 Smart Kitchen Pantry Design Ideas That Save Space”